73
Mounting the Camera Without Accessories
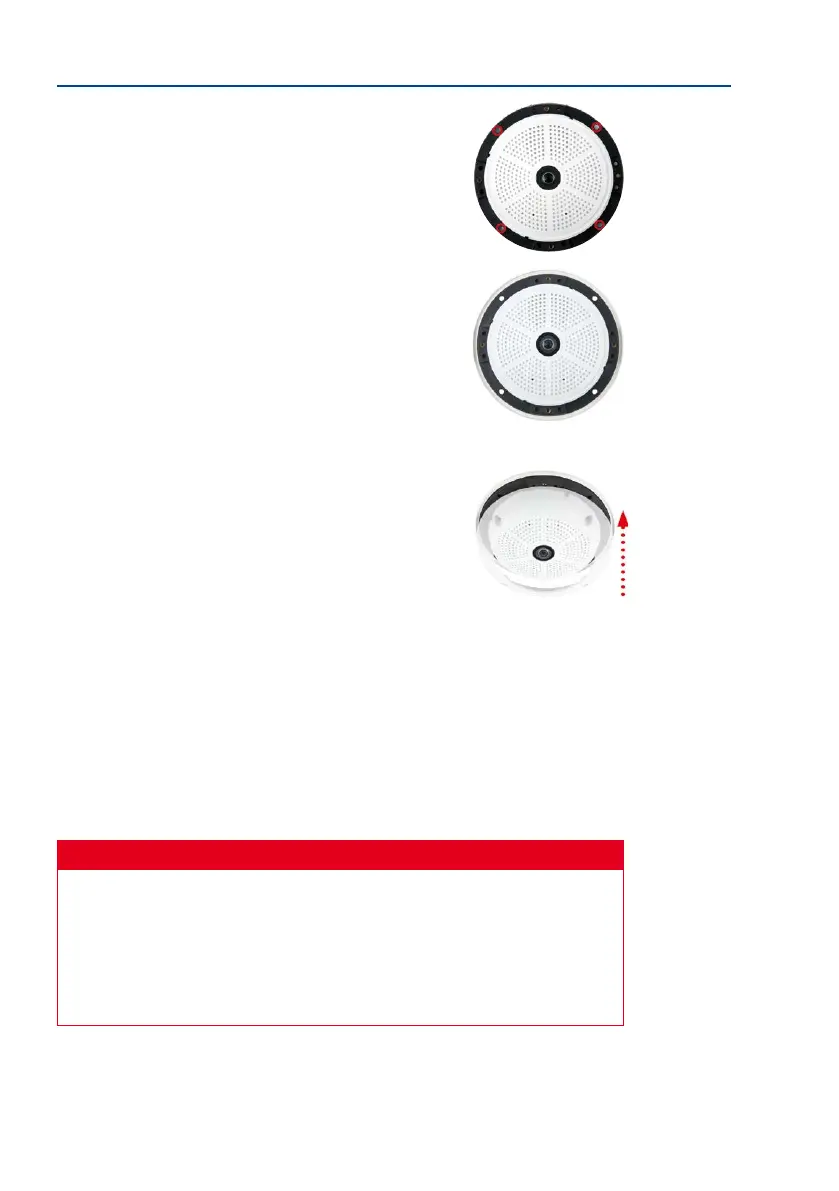
6. Mount the camera: Use the (included) screws to aix the
mounting ring and the camera at the designated position.
7. Install the rubber seal: Place the rubber seal with the
groove around the edge of the black mounting ring of the
camera.
8. Attach the outer shell: Replace the outer shell and screw
all four Allen screws tight using the supplied Allen wrench.
Ensure that the rubber seal is properly positioned.
9.
Clean the lens: If necessary, gently clean the front of the lens with a so cotton cloth.
Do not apply excessive pressure to the surface of the glass when cleaning the lens.
10.
Establish a connection to the camera, check the image: Establish a connection to the
camera as described in Section 3.1, «Manual and Automatic Operation – Overview»
and the following sections. The live image from the camera should be visible on the
computer monitor. Check image sections on the computer monitor as well.
Caution
The
maximum torque
for all screws is
1 to 1.2 Nm
.
Only use the factory pre-installed network cable supplied with the MOBOTIX camera.
Always ensure that the cable retainer with bayonet catch is closed properly around
the network cable. All openings at the back of the camera housing except the pressure
equalization element need to be sealed properly with the rubber plugs. This is the only
way to guarantee that the camera remains weatherproof.