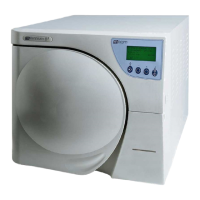
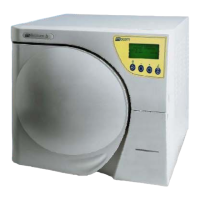
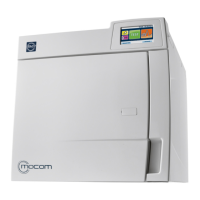
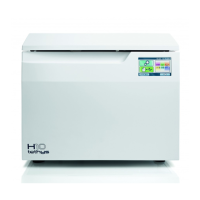
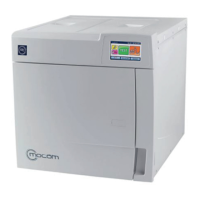
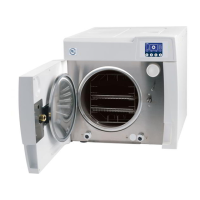
6. CONFIGURATION
27
To define the CUSTOM program to associate to one of the pre-set position (1, 2, 3 or 4)
proceed as follows:
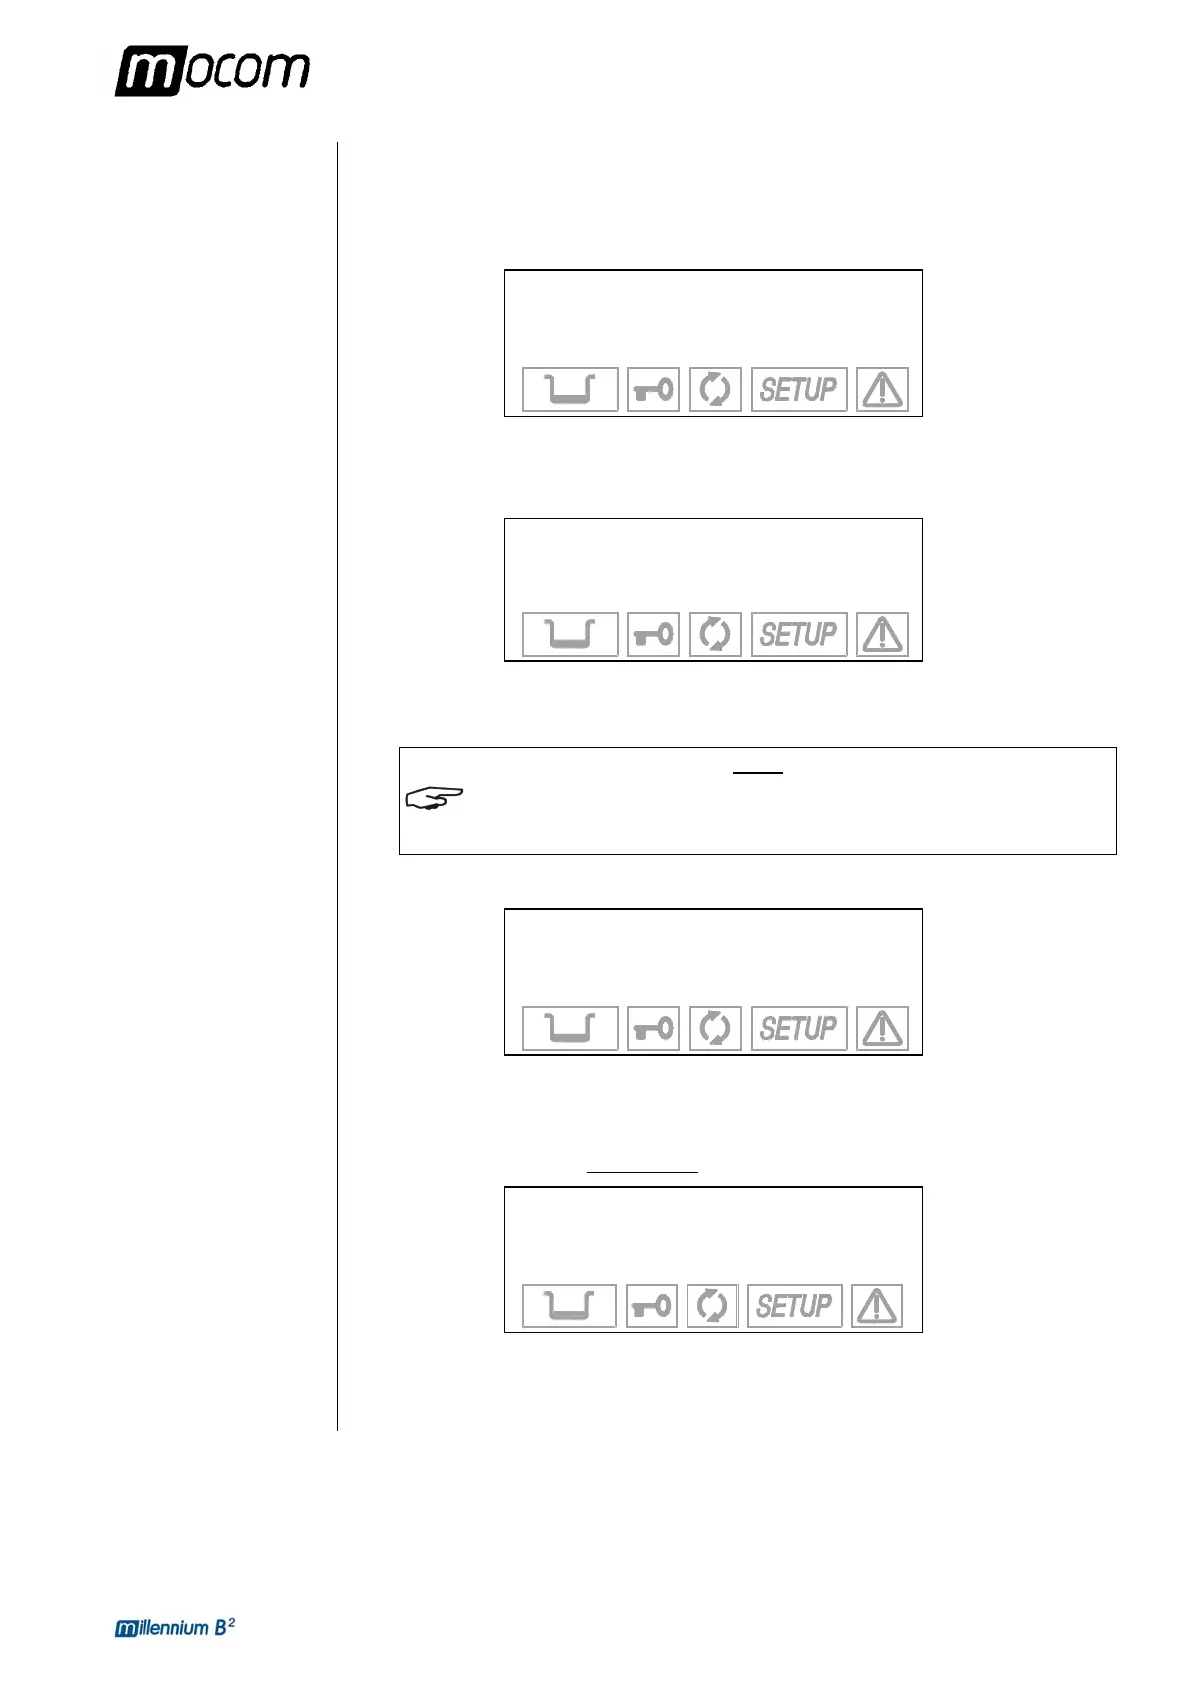
1. Select PROGRAMS, select the program number to which the program is to be associated
(see the previous description) and then select CUSTOM in the next screen; the following
menu appears:
→
134°C PROCESS +
121°C PROCESS ↑
EXIT ↓
-
Select 121 °C to perform a custom program with a sterilization process at 121 °C or 134 °C
for one at 134 °C. Move using the + and - keys and confirm with the ↵ key.
2. You will then go the screen:
TIME: XX min
+/- to set
↵ to enter
Ç to exit
Use the + and - keys to set the duration of the sterilization process and confirm with the ↵
key.
NOTE
THE DURATION OF THE STERILIZATION PROCESS IS VARIABLE FROM 4 TO 30 MINUTES
FOR THE PROGRAM AT 134 °C, AND FROM 20 TO 30 MINUTES FOR THE PROGRAM AT
121 °C.
3. After selecting the time, you go to the menu where you specify the type of initial vacuum:
→ FRACTION. VACUUM +
SINGLE VACUUM ↑
EXIT ↓
-
Select FRACTION. to perform a fractionated vacuum (indispensable for sterilizing hollow
bodies and porous materials), or SINGLE for a single preliminary vacuum phase (solid
instruments). Move using the + and - keys and confirm with the ↵ key.
4. At this point, you come to another menu
where you set the drying mode:
→
SHORT DRYING +
LONG DRYING ↑
EXIT ↓
-
Select LONG drying suitable for porous and/or wrapped loads, or SHORT if you need to
sterilize solid, loose materials (and even hollow so long as not wrapped). Move with the +
and - , confirm with the ↵ key.