22
KB MODE TUTORIAL - CREATING A PATTERN (continued)
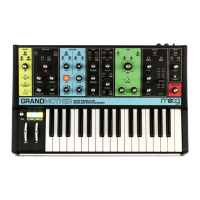
ADD A RATCHET TO STEP 6
Hold (SHIFT) while turning the GLIDE control. Octave/Location LEDs 1-4 will temporarily light yellow,
indicating the number of Ratchets (repeats) in the current step. Select a value of 2, which will produce
2 notes during the step (up to 4 can be selected). Octave/Location LED 6 is lit green to indicate a
Ratchet value greater than 1.
NOTE: Ratcheted steps are easier to hear if their Gate Length is set to a lower value.
TIE PATTERN STEPS 7 & 8
Play one note on the keyboard. Step LED 7 is blinking and the previous Step LEDs are lit solid.
Turn the GATE LENGTH control to its maximum value.
Play the same note you entered for Step 7 again. By tying from the previous step, this will create
a note of longer duration than a single step.
Now turn the GATE LENGTH control to select a value of 4, so that the 8th step is not tied to the
following step.
You can stop here or enter up to 32 steps into a pattern. If you enter more steps, Octave/Location LED 2
will light green, indicating you are on Page 2, while the Step LEDs indicate Steps 9 to 16. Octave/Location
LED 3 indicates Page 3 and Steps 17-24. Octave/Location LED 4 indicates Page 4 and Steps 25-32.
NOTE: If the red Octave/Location LED and the green Page LED are on the same LED, it will blink
between green and red to indicate both the page and octave.
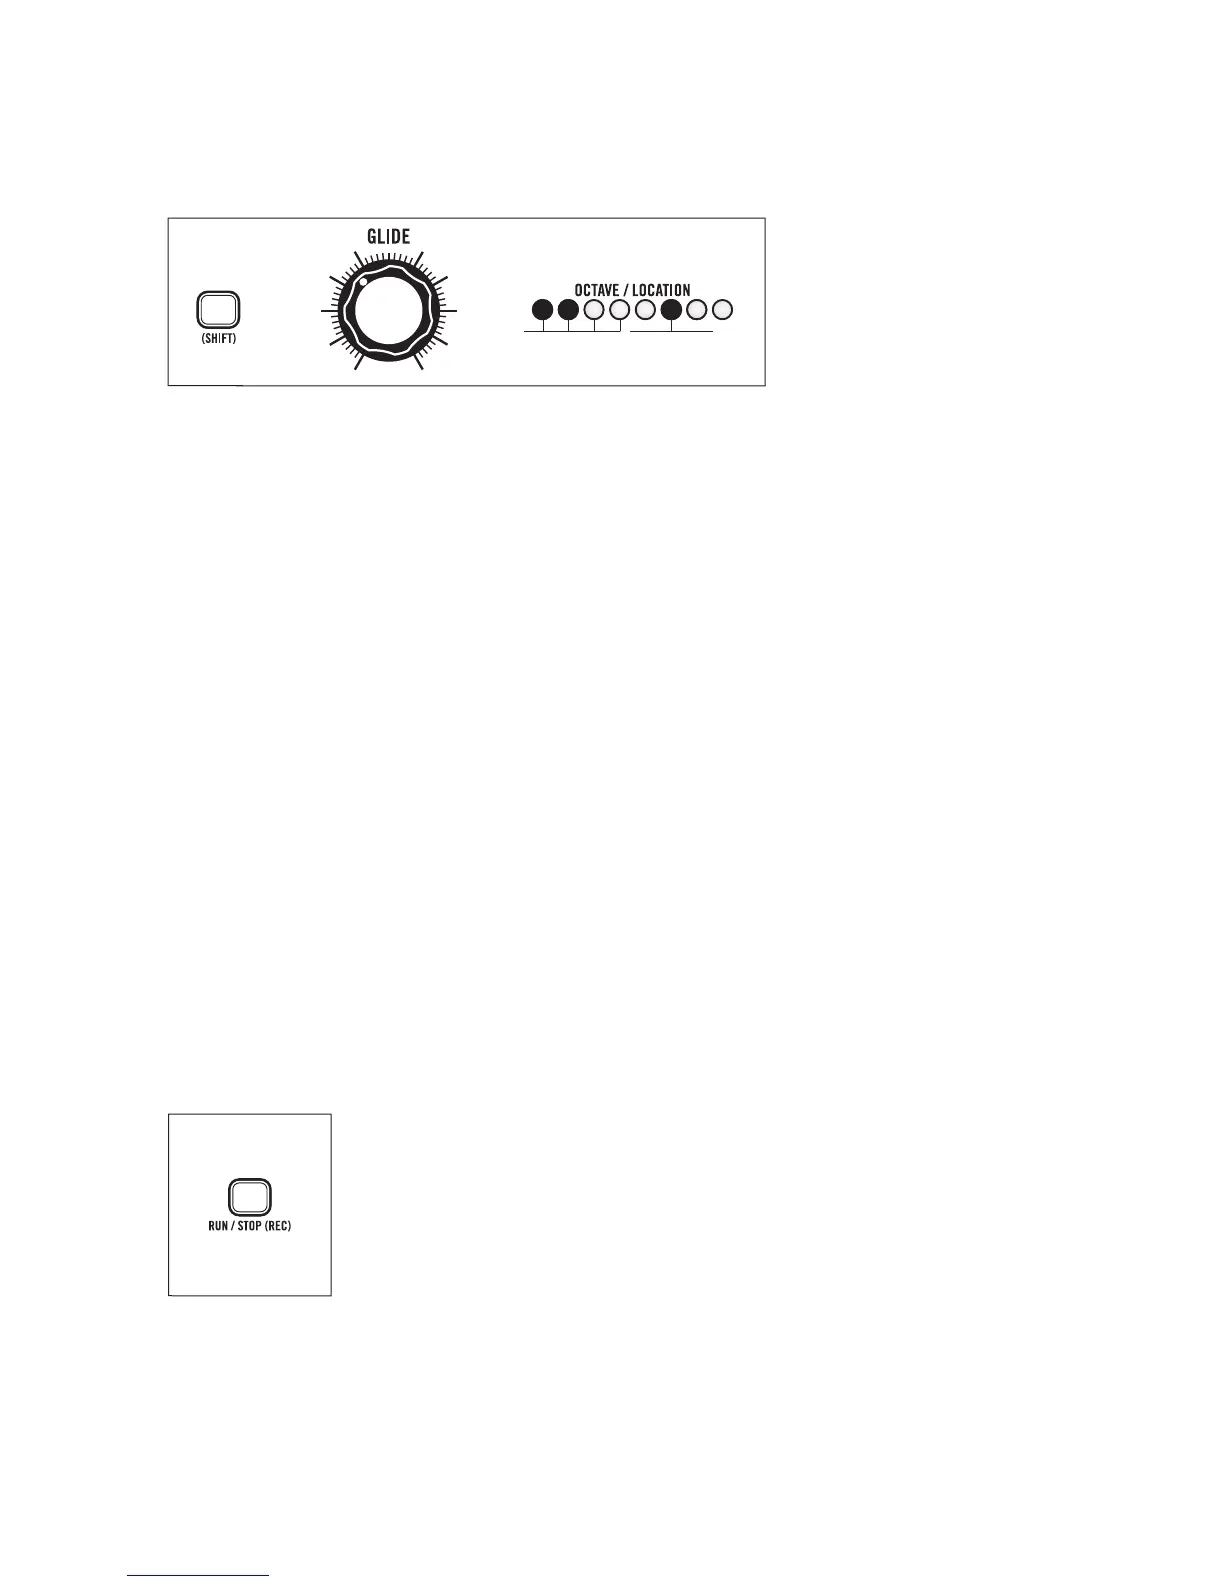
DE-ACTIVATE THE RECORD FUNCTION
When you have completed your pattern, press RUN/STOP to exit the Record
function. The Tempo LED will blink red indicating the internal clock is running again.
+
=
Green LEDYellow LEDS

 Loading...