User Manual
Normal: The Normal mode allows the oscilloscope to acquire a waveform only when
it is triggered. If no trigger occurs, the oscilloscope keeps waiting, and the previous
waveform, if any, will remain on the display. Single: In Single mode, after pressing the
Run/Stop key, the oscilloscope waits for trigger. While the trigger occurs, the
oscilloscope acquires one waveform then stop.
Single: In Single mode, after pressing the Run/Stop key, the oscilloscope waits for
trigger. While the trigger occurs, the oscilloscope acquires one waveform then stop.
3. Coupling:
Trigger coupling determines what part of the signal passes to the trigger circuit. Coupling
types include AC, DC, LF Reject and HF Reject.
AC: AC coupling blocks DC components.
DC: DC coupling passes both AC and DC components.
LF Reject: LF Reject coupling blocks DC component, and attenuates all signal with a
frequency lower than 8 kHz.
HF Reject: HF Reject coupling attenuates all signals with a frequency higher than
150 kHz.
4. Holdoff: Trigger holdoff can be used to stabilize a waveform. The holdoff time is the
oscilloscope's waiting period before starting a new trigger. The oscilloscope will not
trigger until the holdoff time has expired. It provides a chance for user to check the signal
in a short period and helps to check some complex signals, such as AM waveform etc.
How to Operate the Function Menu
The function menu control zone includes 8 function menu buttons: Measure, Acquire,
Utility, Cursor, Autoscale, Save, Display, Help and 4 immediate-execution buttons:
Autoset, Run/Stop, Single, Copy.
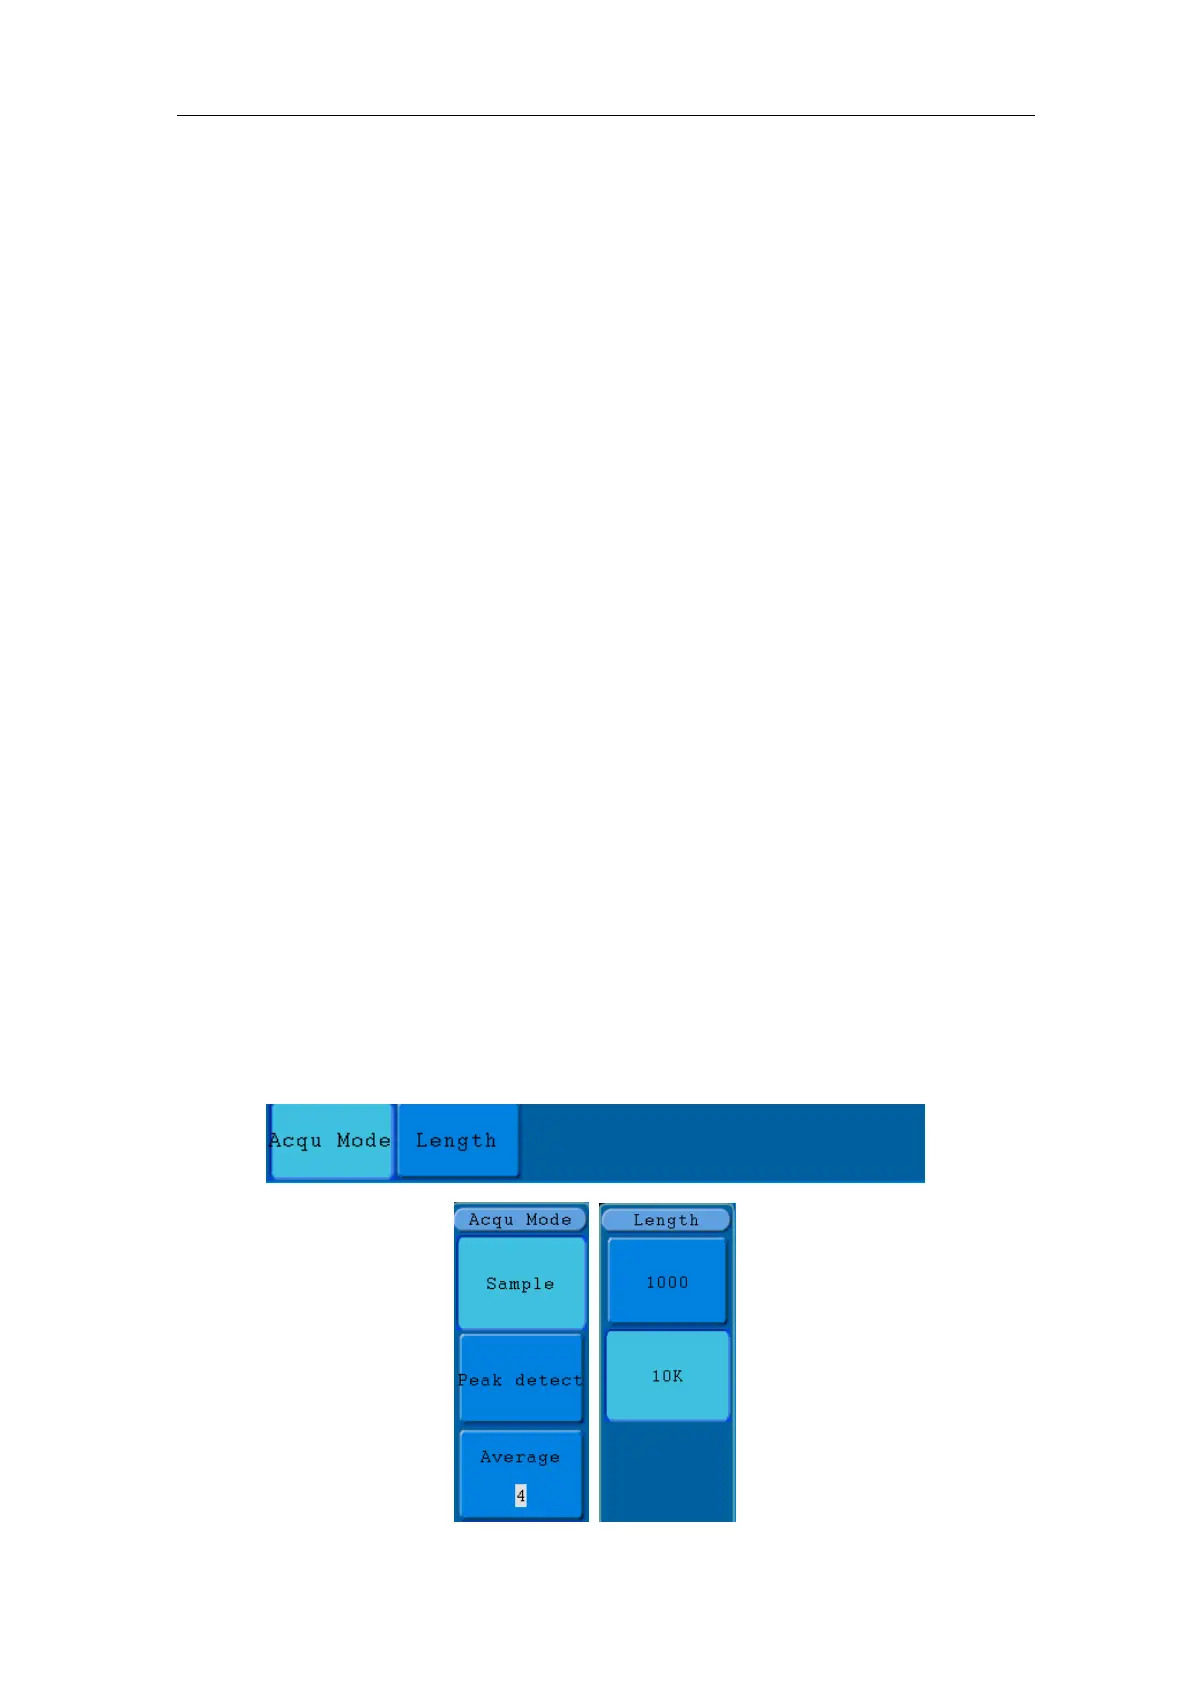
How to Implement Sampling Setup
Press the Acquire button and the menu is displayed in the screen, shown as Figure
5-26.