Printing in the Windows Environment 2-140
2.8 Appendix: Manual Installation Process of the Printer Driver
2
In Windows XP/Server 2003
0 Administrator privileges are required to perform this task.
1 Insert the printer driver CD-ROM into the CD-ROM drive of the computer.
2 From the Start menu, click [Printers and Faxes].
% If [Printers and Faxes] is not displayed, select [Control Panel] - [Printers and Other Hardware] -
[Printers and Faxes] from the Start menu.
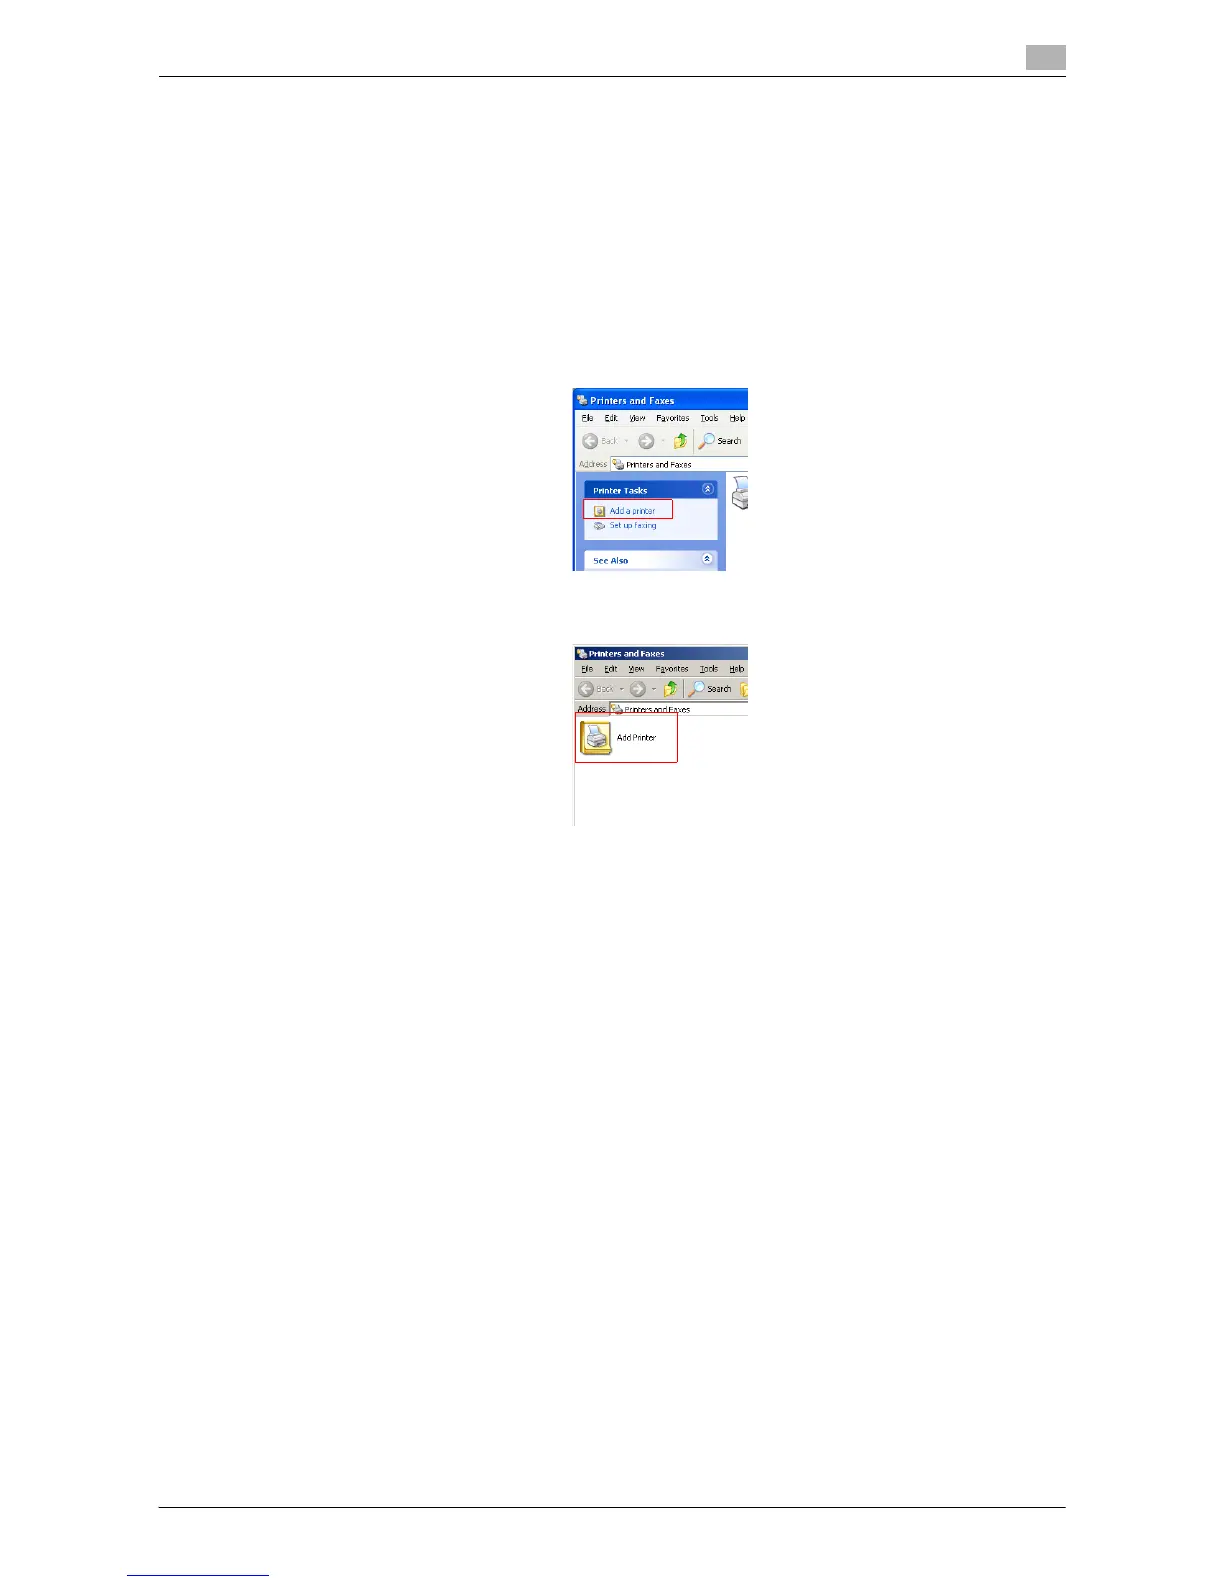
3 Select Printer Install.
% In Windows XP, select [Add a printer] from [Printer Tasks].
% In Windows Server 2003, double-click [Add Printer].
[Add Printer Wizard] appears.
4 Click [Next >].
5 In the [Local or Network Printer] page, select [A network printer, or a printer attached to another com-
puter], then click [Next >].
6 In the [Specify a Printer] page, select [Connect to a printer on the Internet or on a home or office net-
work:].
7 In [URL:], enter the URL for the machine in the following format, then click [Next >].
% http://<IP address of this machine>/ipp
Example: http://192.168.1.20/ipp
% When specifying to use IPPS printing, enter "https://[IP address for the machine]/ipp".
% If a confirmation dialog box appears after clicking [Next >], click [OK].
8 Click [Have Disk...].
9 Click [Browse...].
10 Select the folder on the CD-ROM containing the desired printer driver, then click [Open].
% Select the folder according to the printer driver, operating system, and language to be used.
Selectable printer drivers: PCL driver and PS driver
11 Click [OK].
The [Printers] list appears.
12 Click [OK].
 Loading...


