Maintenance Instructions
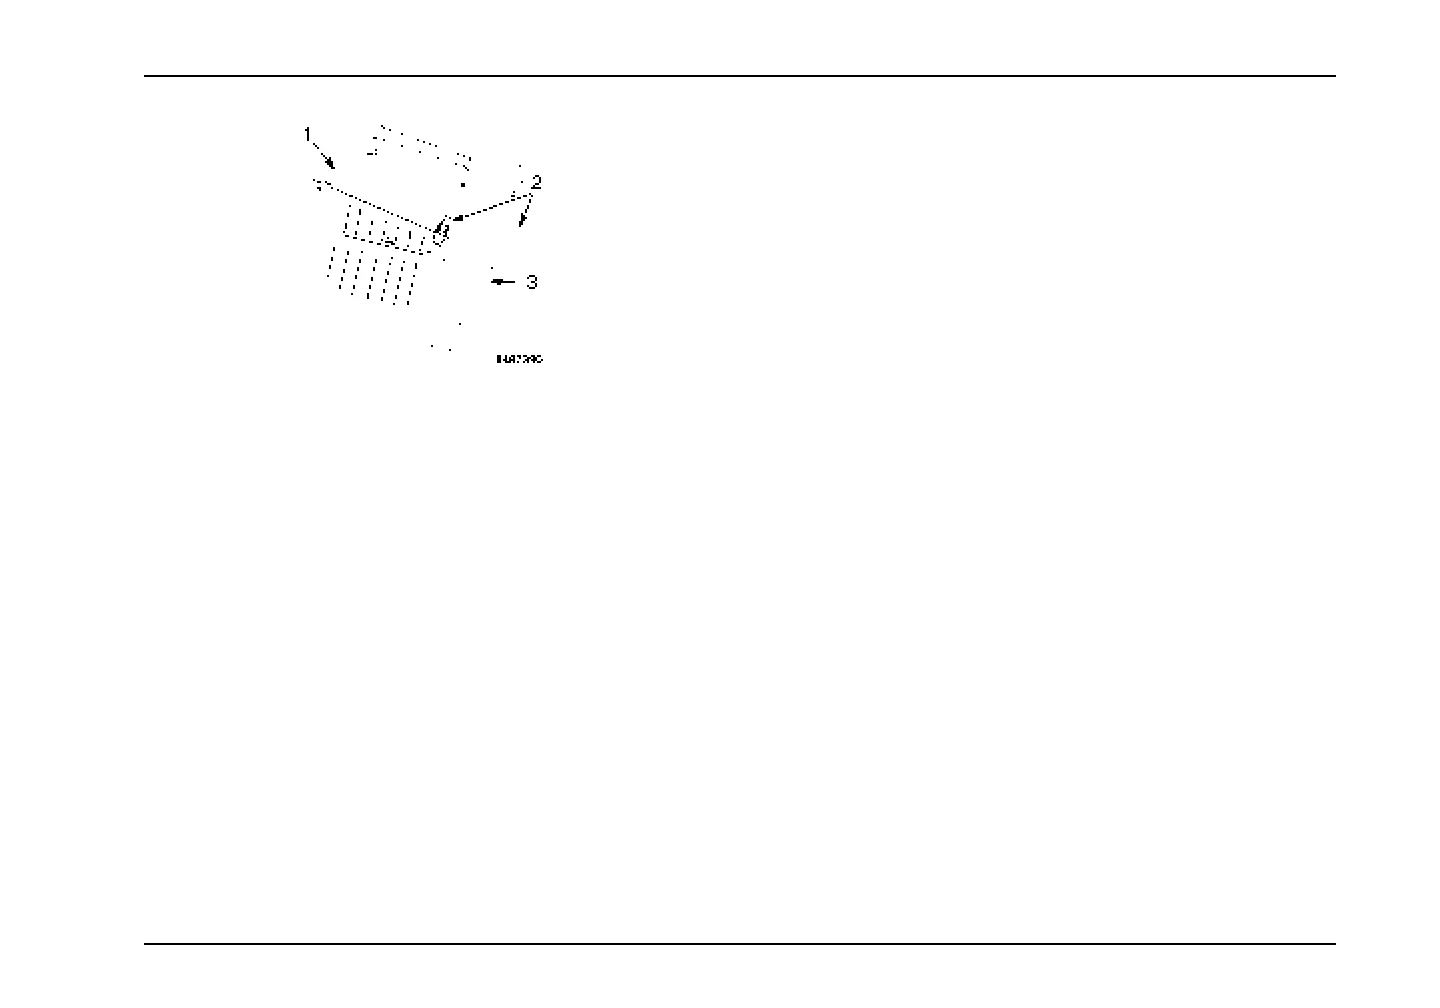
1. Inlet Lid
2. Holddown Latch
3. Air Cleaner Housing
NOTE: Be careful not to bump the air filter element while it is
in the housing; this can raise a cloud of dust that can enter
the clean side of the piping to the turbocharger.
1. For round air cleaner housings, lift the tab on the
air cleaner housing cover and rotate the cover
counterclockwise to unlatch and remove the cover.
For square air cleaner housings, unhook the holddown
latches and remove the inlet lid from air cleaner housing.
Remove the filter element carefully and slowly, then
discard the old element.
2. Wipe the inside of the air cleaner housing with a clean,
damp cloth. Be sure to clean the gasket sealing surface.
Be sure to wipe out any dust that has fallen into the port
to the turbocharger. DO NOT use compressed air for
this cleaning!
3. Visually inspect the air cleaner housing for damage or
distortion, which could allow unfiltered air to enter the
engine. Inspect to be sure that the rubber dust unloader
valveatbottomofhousingisinplace,freeofdebris,and
not cracked.
4. Inspect the new air filter element for a damaged or
nonresilient rubber gasket. Inspect the air filter element
body for dents or excessive pleat bunching. If any of
the mentioned conditions exist, obtain and install an
alternate new air filter element from your International®
dealer.
5. Carefully install the new air filter element into the air
cleaner housing.
6. For round air cleaner housings, install the air cleaner
end cover onto air cleaner housing, making sure that
the cover seats squarely on housing, and rotate cover
clockwise and latch tabs. For square air cleaner
housings, seat and install the inlet lid squarely onto air
cleaner housing, hook and latch inlet lid to air cleaner
housing with holddown latches.
7. When servicing is completed, reset air restriction gauge
by pushing and holding the reset button and releasing
it. The yellow indicator will drop below the window. The
air restriction gauge is now ready for the next operating
cycle.
3879634R1 183
 Loading...