Inspection Guide
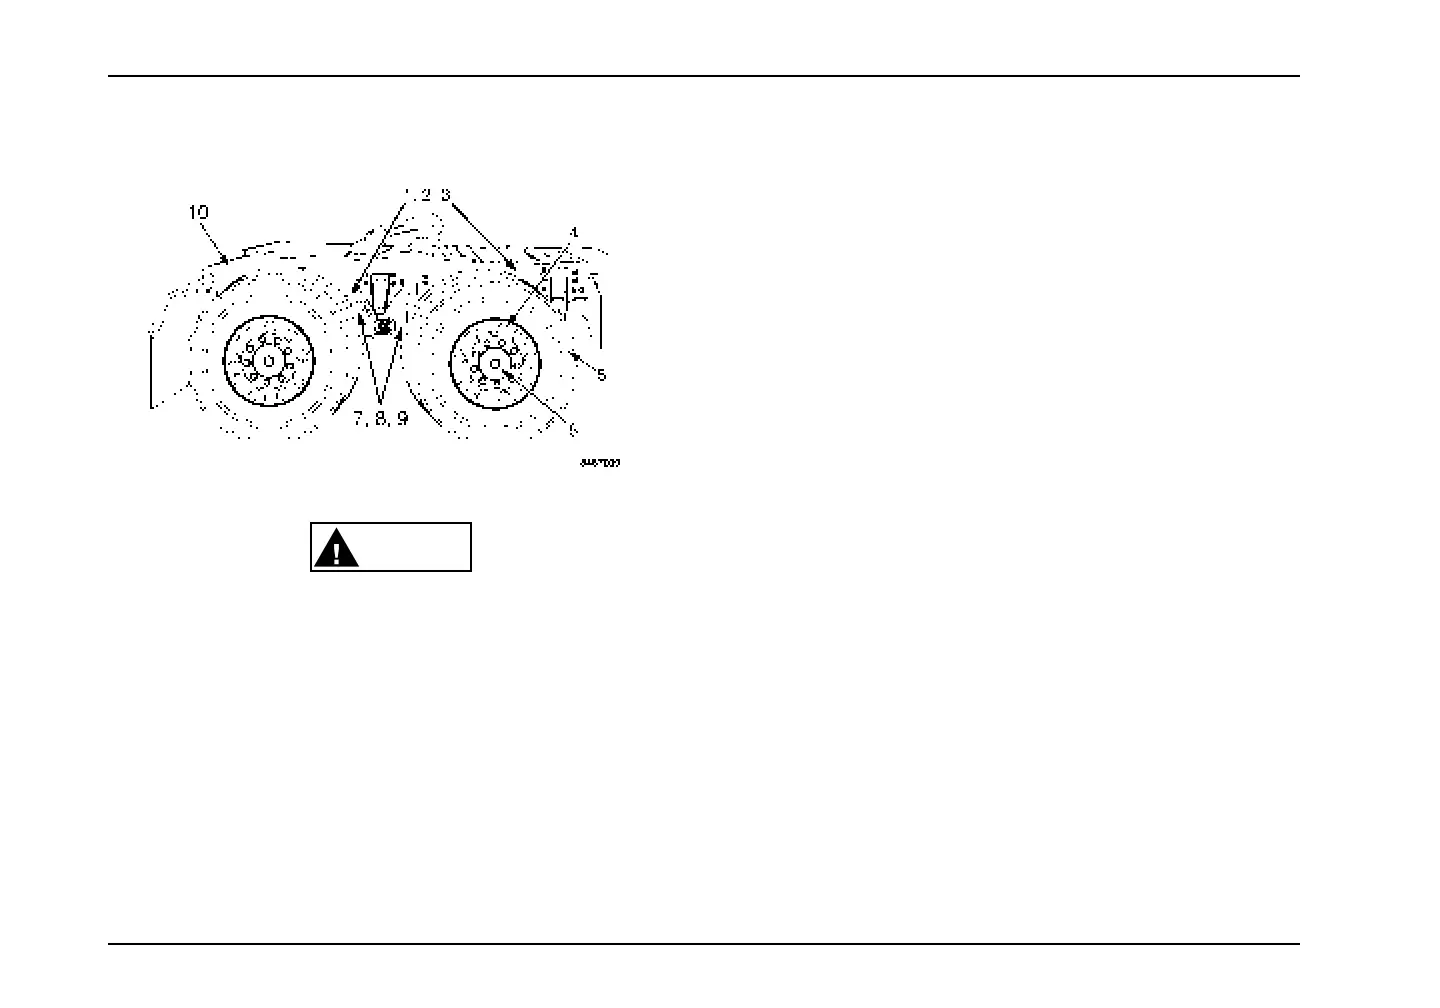
Right Rear of Vehicle
WARNING
If wheels or tires must be changed, obtain expert
tire service help. Mounting and demounting
of tires should only be performed by qualified
personnel using necessary safety procedures
and equipment, otherwise the result could be
property damage, personal injury, or death.
1. Brake Chamber and Hoses: Check for cracked, worn
or, frayed hoses, and for secure couplings. Check to
see that the brake chambers are not cracked or dented
and that they are securely mounted. Check for broken,
loose, or missing parts.
2. Slack Adjuster: Check slack adjuster and chamber
push rod travel. When pulled by hand, push rod
should not move more than approximately one inch.
Angle between push rod and adjuster arm should be
approximately 90 degrees when brakes are applied.
3. Brake Lining and Drum: With brakes released, check
to see that brake linings (where visible) are not
worn excessively thin [less than 1/4 inch (6mm)] or
contaminated by lubricant.
4. Wheel and Wheel Nuts: Check for damaged or bent
wheel. Check to see that all wheel nuts are present and
not loose (look for rust trails around nuts). Ensure that
no cracks or damage are present at wheel mount holes.
28 3879634R1
 Loading...