7197 Owner’s Manual Chapter 2: Setting Up and Using the Printer
11 November 2002
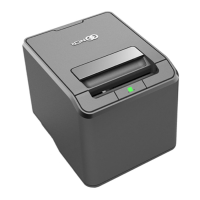
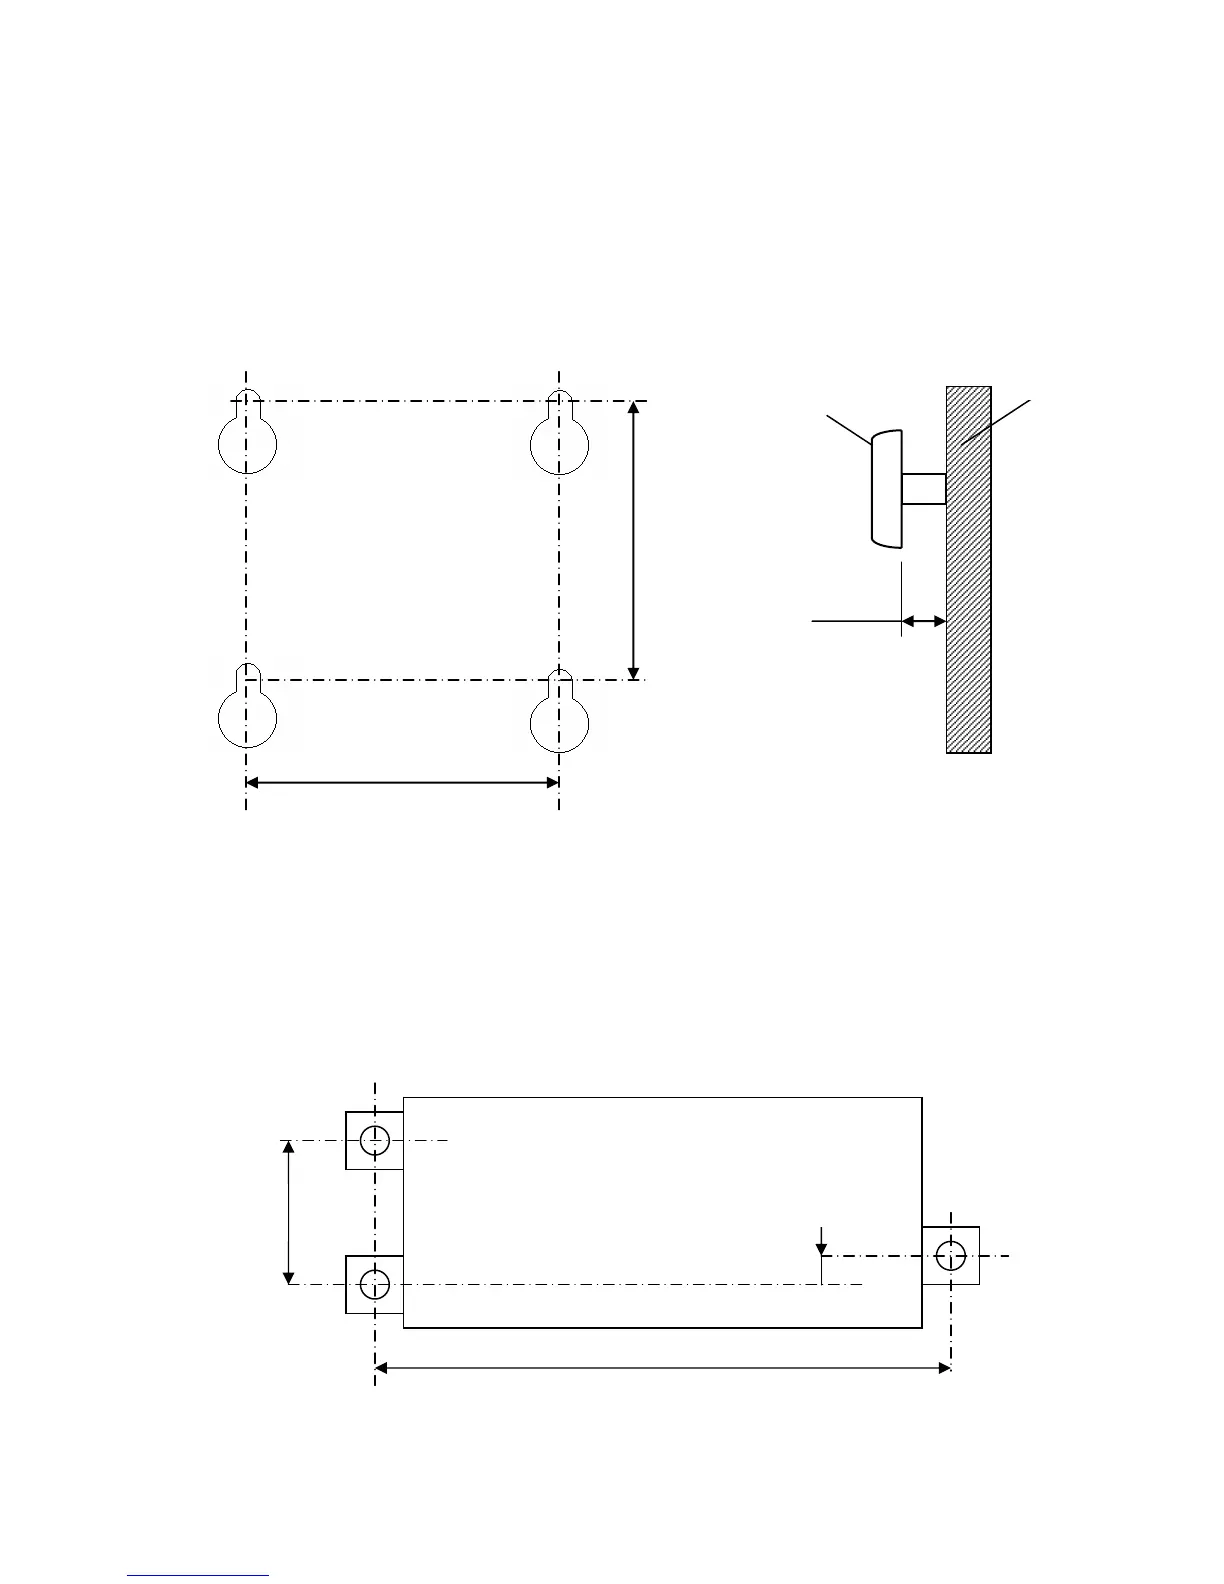
Wall mounted
The 7197 printer may be mounted on a vertical wall by using the keyhole slot at the bottom of the
printer base. Make sure there is enough room to open the receipt cover to change the paper. Mount
the screws on the wall using the following recommended mount dimensions. Use a #8 wood screw
which is to be securely fastened to a wall stud or using a “Molly” fastener (not provided).
Note: Paper low must be disabled when printer is wall mounted
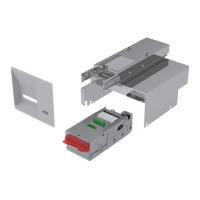
Wall mounted Power Supply (Option)
The 75 watt power supply may be mounted on a vertical wall by using the holes on the cover.
Mount the screws on the wall using the following recommended mount dimensions. Use a #8 wood
screw which is to be securely fastened to a wall stud or using “Molly” fasteners.
3.5 ~ 4 mm
(.138 – .160 in.)
Screw
128 mm (5.04 in..)
121mm (4.75 in.)
Wall
175mm (6.89 in)
75mm
2.95 in
10mm (.39 in)

 Loading...