Chapter 2: Setting Up and Using the Printer 7197 Owner’s Guide
February 2002
36
Using the Printer
Note: See “Setting Switches” earlier in this book for instructions on setting the DIP
switches.
1. Connect the power supply to the printer and turn on the power source.
The printer goes through a self-test routine to ensure everything is working properly
then “beeps.” After the printer has completed its “startup” cycle, it is ready to receive
data.
If the LED blinks, or the host computer indicates that there is a problem, see “Chapter
3: Solving Problems” for more information.
2. To perform a Configuration check (optional), reset the printer while holding the Paper
Feed Button, or open the receipt door and while pressing the paper feed button close
the receipt door, let go of the Paper Feed Button once the printing begins.
Note: The printer receives power when the power supply is on even if the printer is off-
line. To completely remove power, unplug the power supply from the outlet, or turn the
POS terminal off.
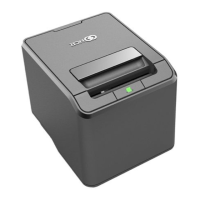
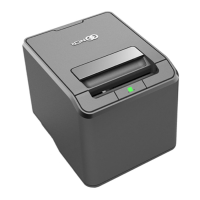
LED
Paper Feed
Button