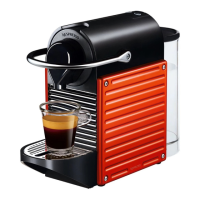
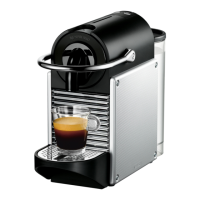
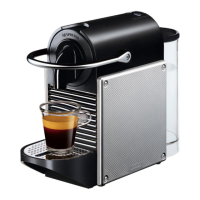
Pixie service manual
69
FUNCTION TESTS
8.4 Pressure and leakage checks
Check the following parts of the coffee machine for leakages:
• Seal between movable part of brewing unit and capsule cage
• Connection between capsule cage and thermoblock (no visual check possible,
water will drop from thermoblock into housing)
• Both connections of sound damper
• Pump
9) Close the valve until the pressure
gauge indicates 12 bar.
Constantly monitor the pressure
gauge and if required readjust the
valve. As the temperature
increases, so does the pressure,
readjust the pressure to 12 bar
when required.
10) Carry out measurement for approx.
30 sec.
11) Control measuring cup: at least 60 -
120 ml of water must be in the measur-
ing cup.
12) Open the valve and let water flow out
of the pressure tester.
Notices:
• Should < 60 ml leak out, then the pump
is defective or there is a leak in the
water system.
• Large deviations in indicated pressure
while measuring (± 4 bar) means that
the pump is defective.
Dangerous mains voltage inside the coffee machine!
Do not touch any parts under voltage while checking for leakages!
Dangerous hot parts under pressure inside the coffee machine!
Do not touch any hot/pressurized parts while checking for leakages!
Always wear protective goggles.
9 / 12
11
30 sec
> 60 ml
10