E2600 Controller-Drive Tray Installation Guide 55
Step 6 - Installing the Drive Trays for the E2600 Controller-Drive Tray
Configurations
Things to Know – General Installation of Drive Trays with the E2600
Controller-Drive Tray
NOTE If you are installing the drive tray in a cabinet with other trays, make sure that the combined power
requirements of the drive tray and the other trays do not exceed the power capacity of your cabinet. For more
information, refer to the SANtricity ES Storage Manager Installation DVD.
Special site preparation is not required for any of these drive trays beyond what is normally found in a
computer lab environment.
The power supplies meet standard voltage requirements for both domestic and worldwide operation.
Take these precautions:
— Install the drive trays in locations within the cabinet that let you evenly distribute the drive trays around
the controller-drive tray.
— Keep as much weight as possible in the bottom half of the cabinet.
NOTE Refer to the Storage System Site Preparation Guide on the SANtricity ES Storage Manager Installation
DVD for important considerations about cabinet installation.
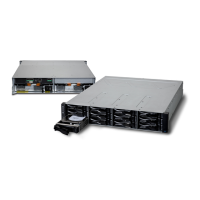
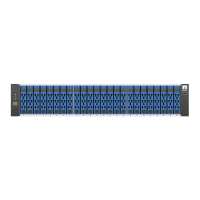
Procedure – Installing the DE1600 Drive Trays and the DE5600 Drive Trays
WARNING (W08) Risk of bodily injury –
Two persons are required to safely lift the component.
WARNING (W05) Risk of bodily injury – If the bottom half of the cabinet is empty, do not install components in
the top half of the cabinet. If the top half of the cabinet is too heavy for the bottom half, the cabinet might fall and
cause bodily injury. Always install a component in the lowest available position in the cabinet.
You can install the drive tray into an industry standard cabinet.
This procedure describes how to install the mounting rails into an industry standard cabinet.
ATTENTION Possible hardware damage – To prevent electrostatic discharge damage to the tray, use proper
antistatic protection when handling tray components.