Option Steps
Using the Element plug-in for vCenter server UI 1. From the NetApp Element Management
extension point of the vSphere Web Client,
select NetApp Element Management >
Cluster.
2. If two or more clusters are added, ensure that
the cluster you intend to use for the task is
selected in the navigation bar.
3. Select All from the drop-down list to view the
complete list of drives.
4. Select the check box for each drive you want to
remove.
5. Select Remove Drives.
6. Confirm the action.
If there is not enough capacity
to remove active drives before
removing a node, an error
message appears when you
confirm the drive removal.
After you resolve the error,
you can now physically
remove the drive from the
chassis.
2. Replace the drive from the chassis:
a.
Unpack the replacement drive, and place it on a flat, static-free surface near the rack.
Save the packing materials for when you return the failed drive to NetApp.
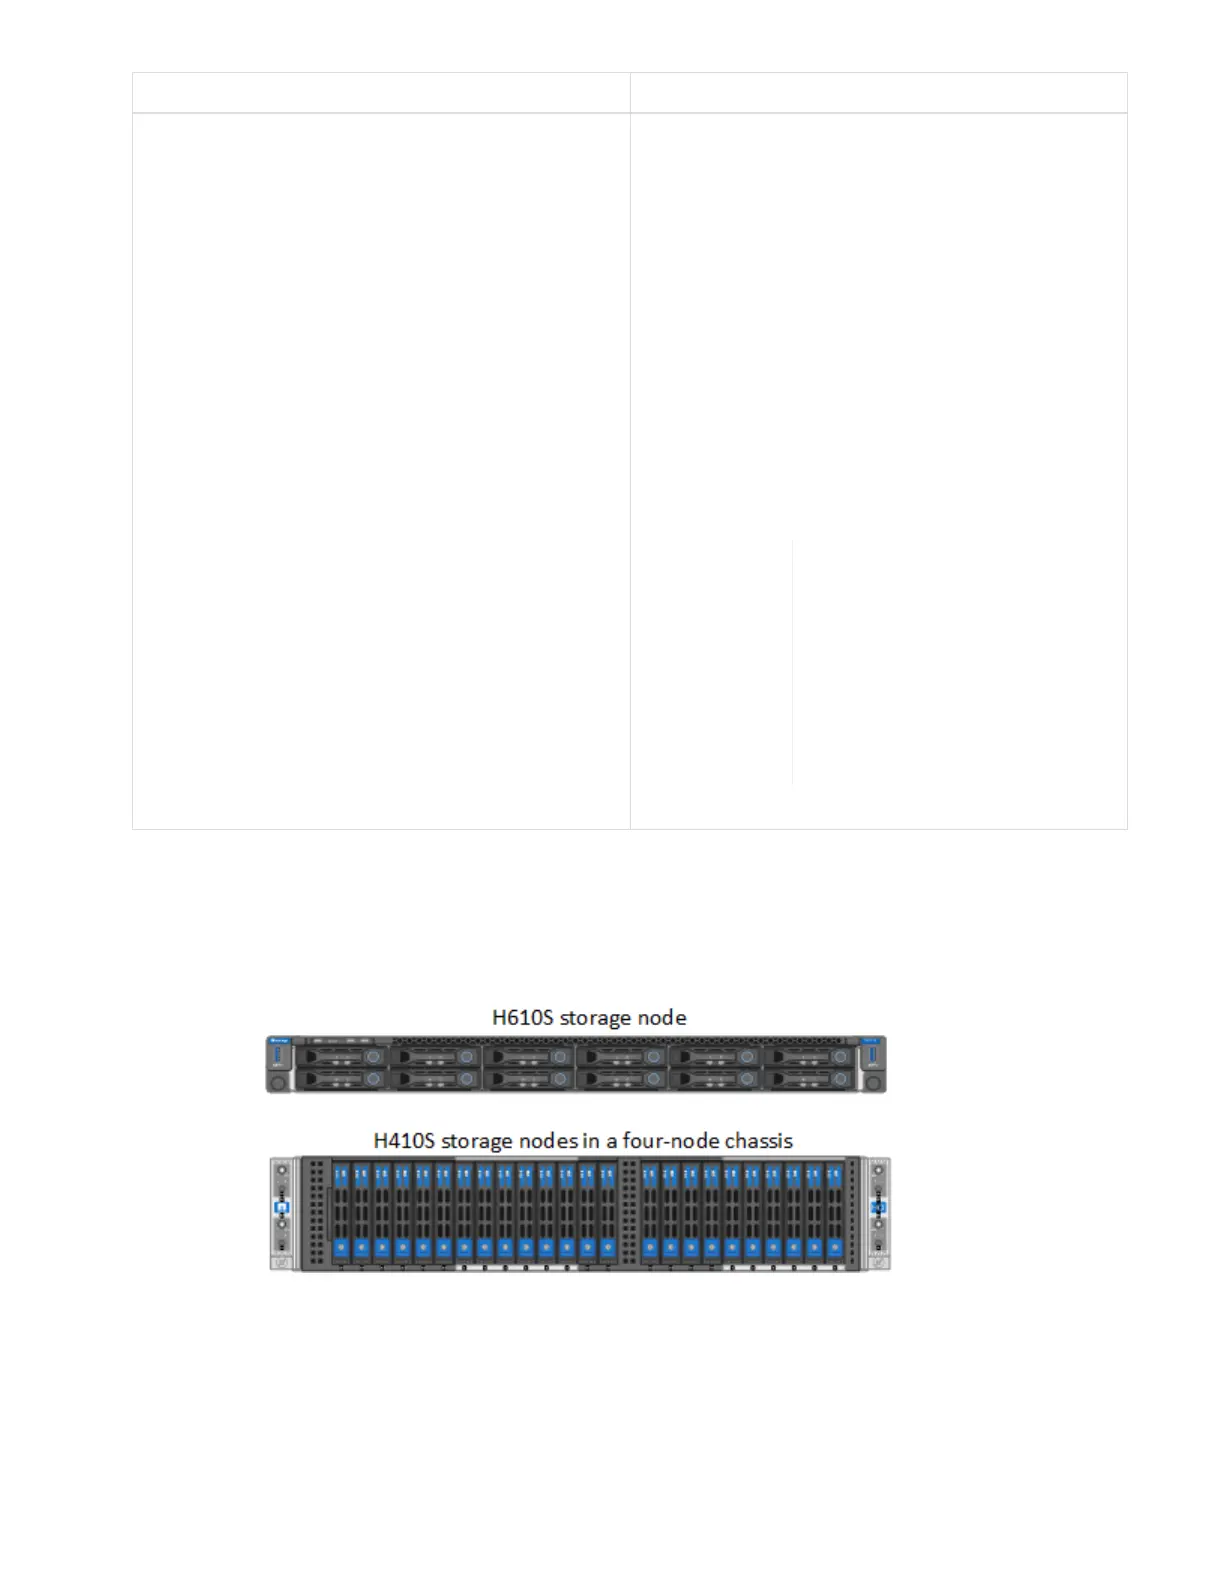
Here is the front view of the H610S and H410S storage nodes with the drives:
b. Perform the steps based on the node model: