Node model Steps
H410S 1. Identify the node by matching the serial
number (service tag) with the number you
noted down from the Element UI.
The serial number is on a sticker at the back
of each node.
After you identify the node, you can use the
slot information to identify the slot that the
failed drive is in. Drives are arranged
alphabetically from A through D and from 0
through 5.
2. Remove the bezel.
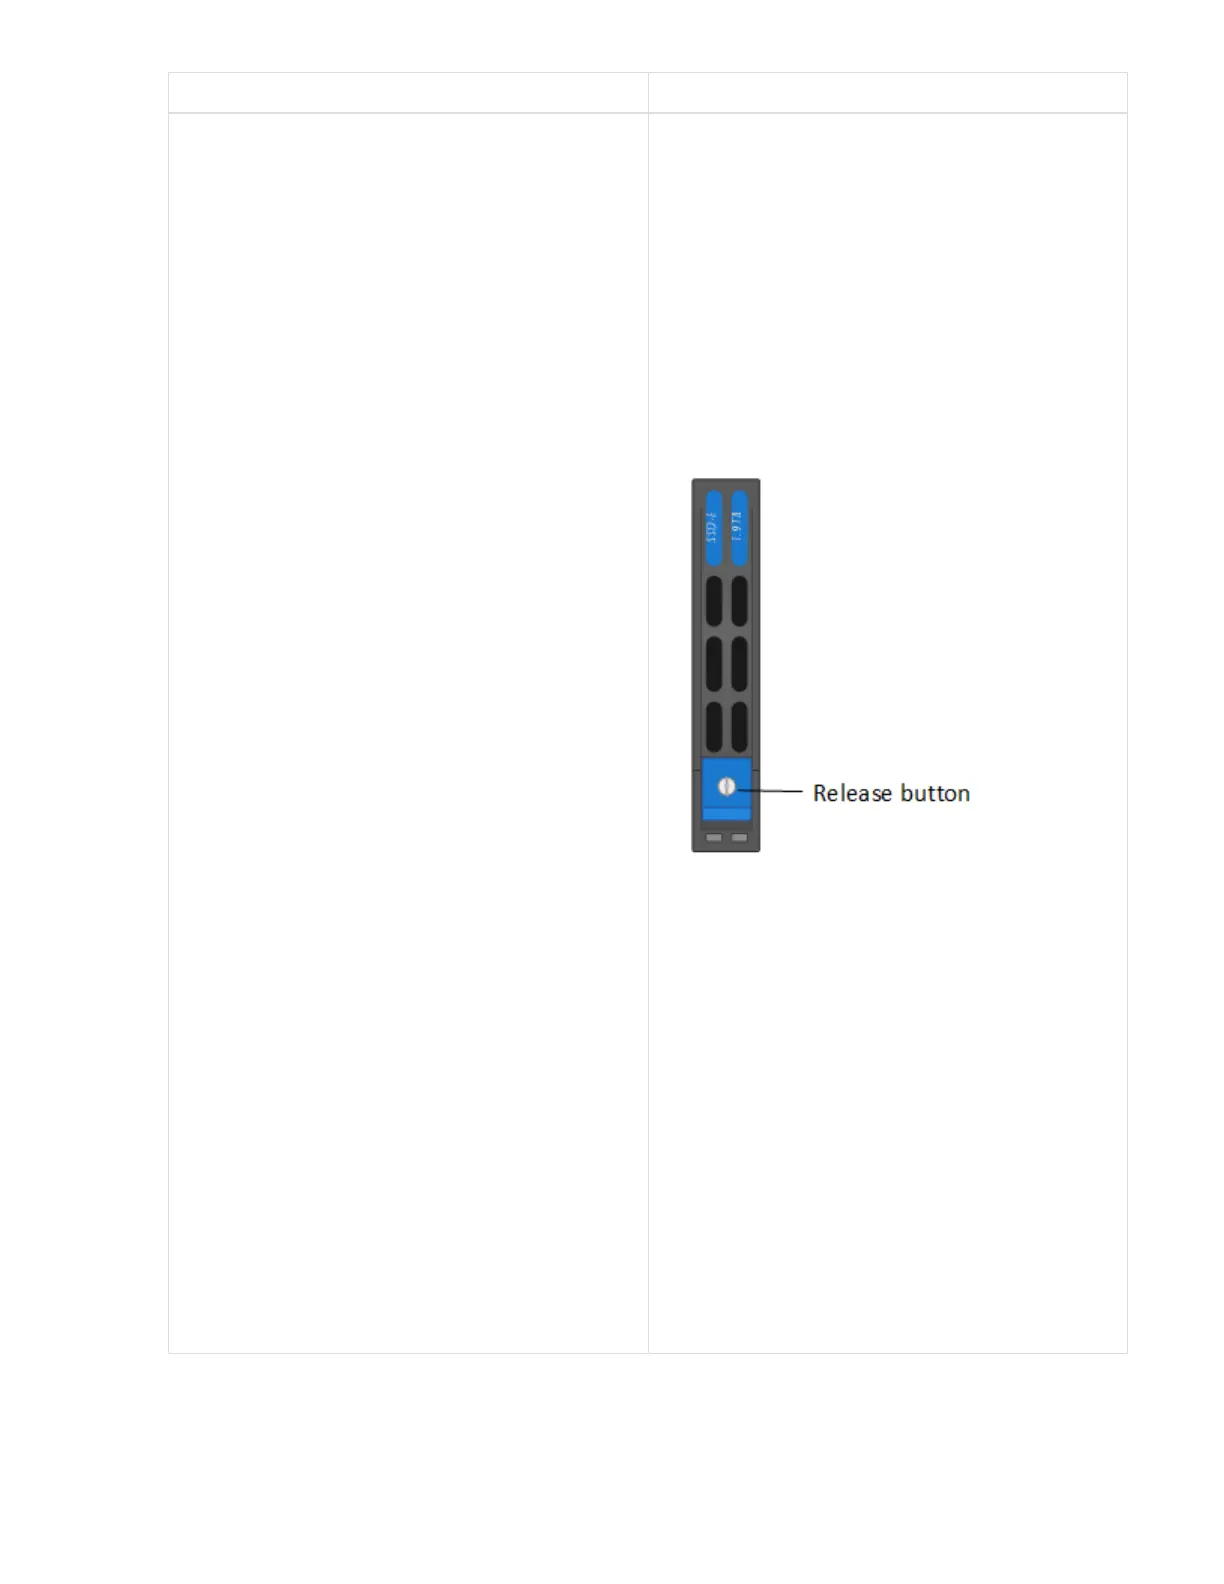
3. Press the release button on the failed drive:
When you press the release button, the cam
handle on the drive springs open partially, and
the drive releases from the midplane.
4. Open the cam handle, and slide the drive out
carefully using both hands.
5. Place the drive on an antistatic, level surface.
6. Insert the replacement drive into the slot all
the way into the chassis using both hands.
7. Press down the cam handle until it clicks.
8. Reinstall the bezel.
9. Notify NetApp Support about the drive
replacement.
NetApp Support will provide instructions for
returning the failed drive.