VPN Configuration
157
N300 Wireless ADSL2+ Modem Router DGN2200v3
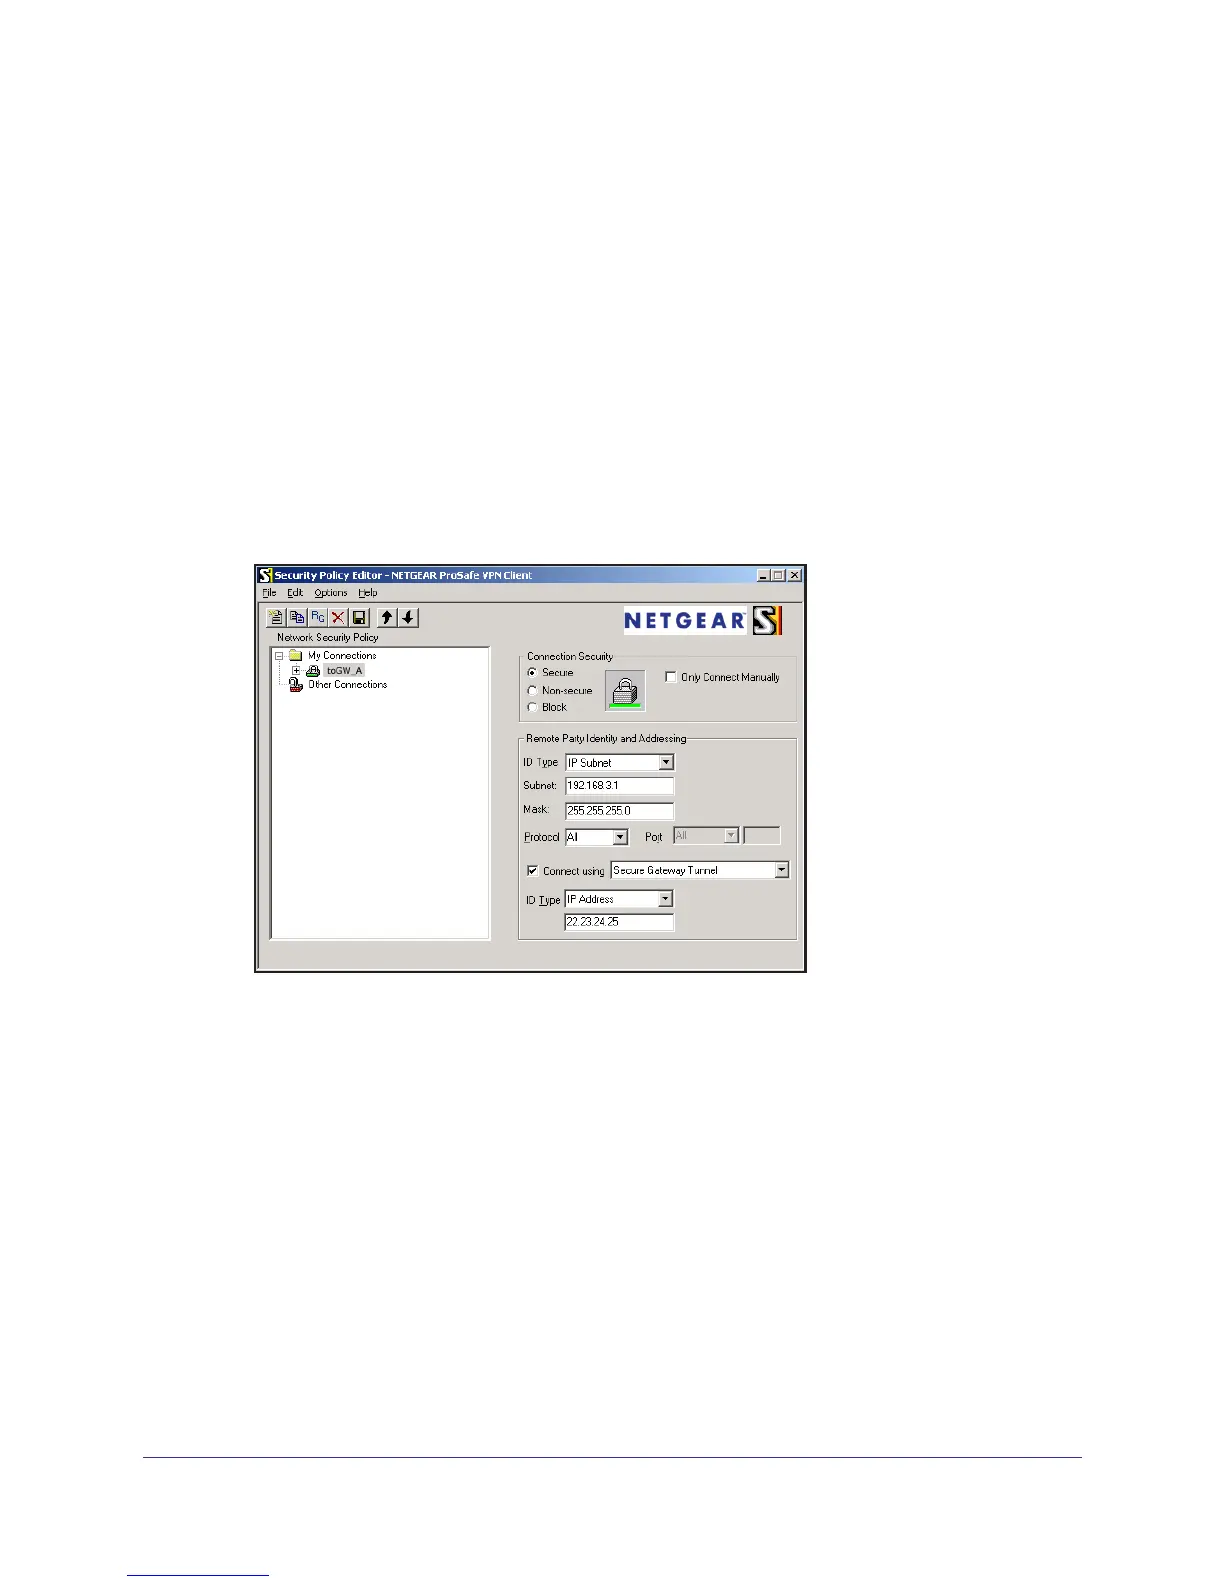
f. In this example, type 192.168.0.1 in the Subnet field as the network address of the
modem router.
g. Enter 255.255.255.0 in the Mask field as the LAN subnet mask of the modem router.
h. Select All in the Protocol drop-down list to allow all traf
fic through the VPN tunnel.
i. Select the Connect using Secure Gateway T
unnel check box.
j. Select Domain Name in the ID T
ype drop-down list, and enter fromGW_A.com (in
this example).
k. Select Gateway Hostname and enter ntgr
.dyndns.org (in this example).
3. Configure the security policy in the modem router software.
a. In the Network Security Policy list, expand the new connection by double-clicking its
name or clicking the + symbol. My Identity and Security Policy appear below the
connection name.
b. Click Security Policy to show the Security Policy screen.
c. Select the Main Mode radio button in the Select Phase 1 Negotiation Mode group.
4. Configure the VPN client identity
.
In this step, you provide information about the remote VPN client PC. You have to provide
the pre-shared key that you configured in the modem router and either a fixed IP address
or a fixed virtual IP address of the VPN client PC.
 Loading...