Initial Setup
18
Outdoor High Power Wireless N Access Point
• 40 MHz. This is the static, high-throughput mode. Legacy clients cannot connect in
this mode.
• 20/40
MHz. This is the dynamic compatibility mode. Legacy clients can connect to 20
MHz and 11n clients can connect to 40 MHz.
15. From
the list, select the guard Interval.
The guard interval protects from interference from other transmissions. The default is
Auto.
16. In
the Output Power list, select the transmit power of the access point.
The options are Fu
ll, Half, Quarter, Eighth, and Minimum. Decrease the transmit power
if two or more access points are close together and use the same channel frequency. The
default is Full. The transmit power might vary depending on the local regulatory
regulations.
17. Click the Appl
y button at the bottom of the screen.
Your settings are saved.
Turn On the Wireless Signal and Test Connectivity
By default, the access point wireless signal is off. After you configure the basic wireless
settings, turn on the wireless signal and verify that wireless clients can connect.
To turn on the wireless signal:
1. Laun
ch a web browser on the computer that is connected to the access point.
2. In
the address field of the browser, enter http://192.168.0.100.
A login prompt displays.
3. Enter th
e user name and password.
The user name is ad
min and the default password is password.
The General screen displays.
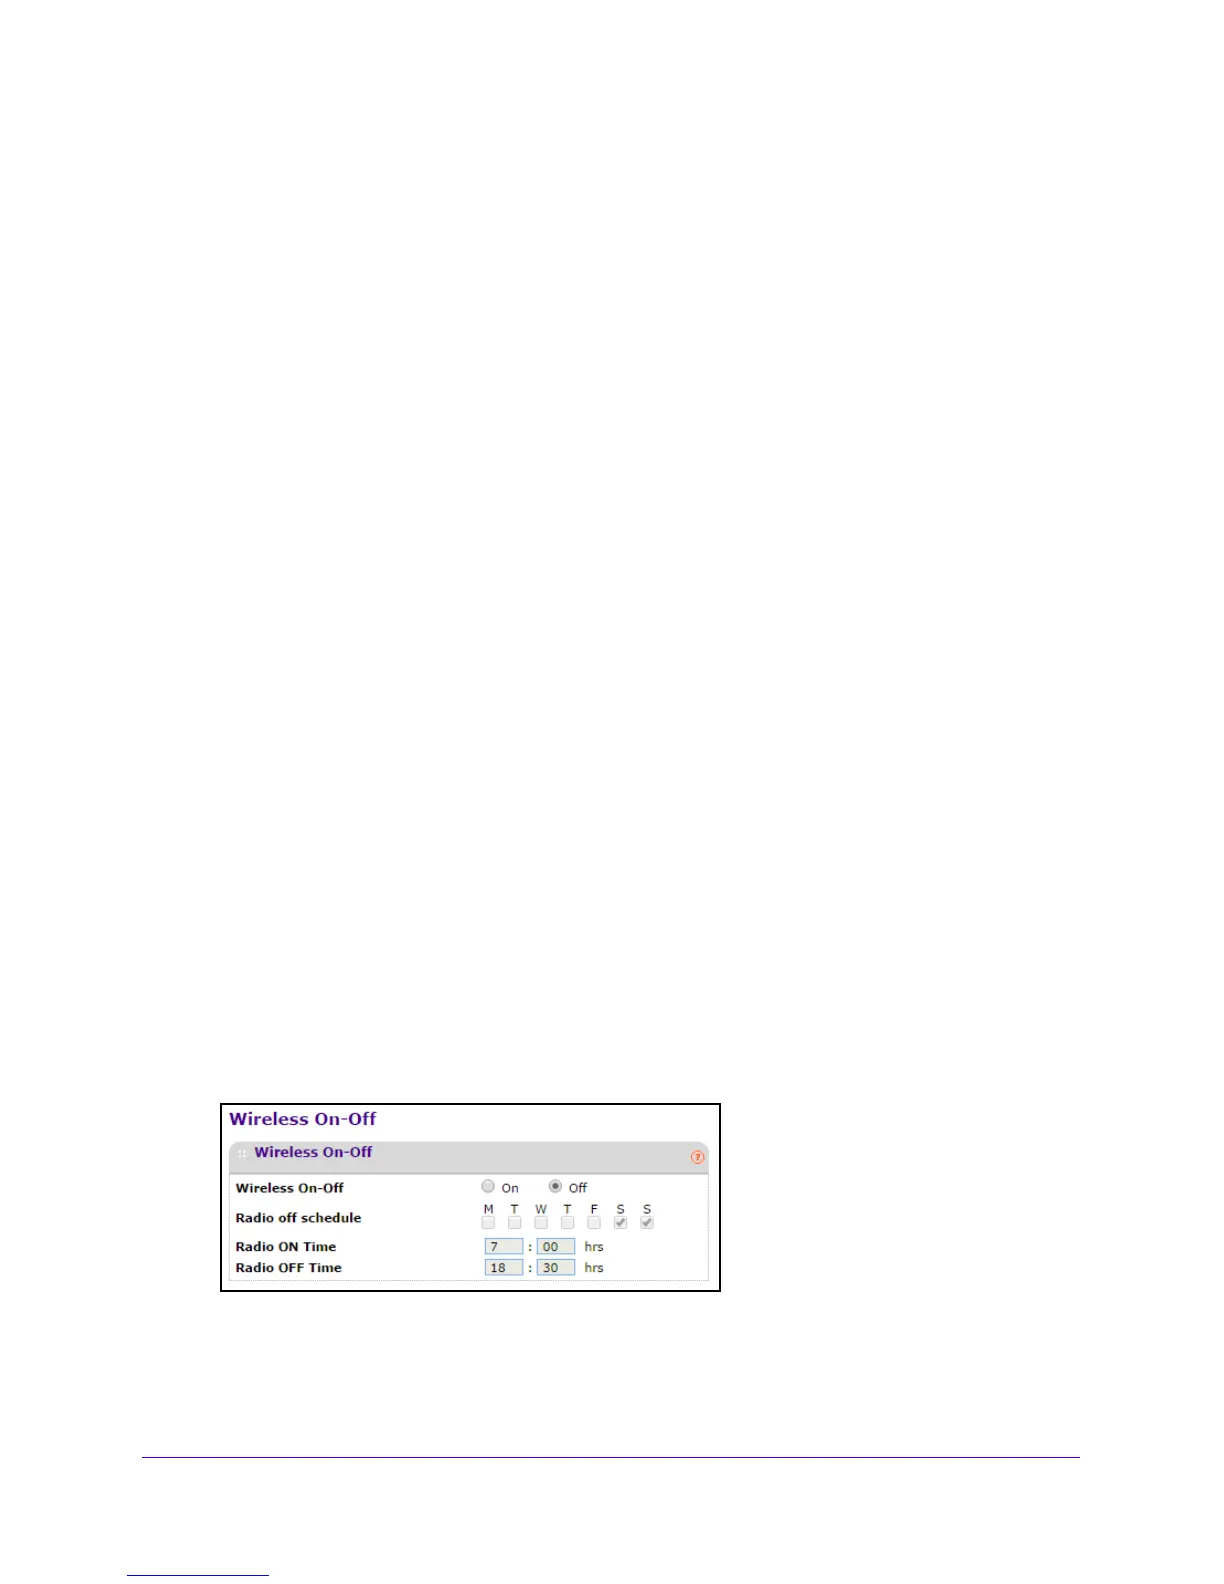
4. Select Co
nfiguration > Wireless > Basic > Wireless On-Off.
5. Select the On radio button.
6. Click the Appl
y button at the bottom of the screen.
The access point broadcasts wireless signals.