Initial Setup
22
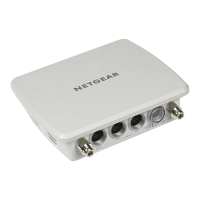
Outdoor High Power Wireless N Access Point
11. Click the Apply button at the bottom of the screen.
Your settings are saved.
12. V
erify that your wireless clients can connect to the access point with the appropriate security
settings.
Deploy the Access Point
Before mounting the access point in a high location, first set up and test the access point to
verify wireless network connectivity.
By default, the DHCP client is enabled in the access point. If your network uses st
atic IP
addresses, you must change this setting. To connect to the access point after the DHCP
server on your network assigns it a new IP address, enter the access point name in your web
browser. The default name is netgearxxxxxx, where xxxxxx represents the last 6 digits of the
MAC address. The default name is printed on the product label.
The best location for your access point is elevat
ed, at the center of your wireless coverage
area, and within line of sight of all mobile devices.
To deploy the access point:
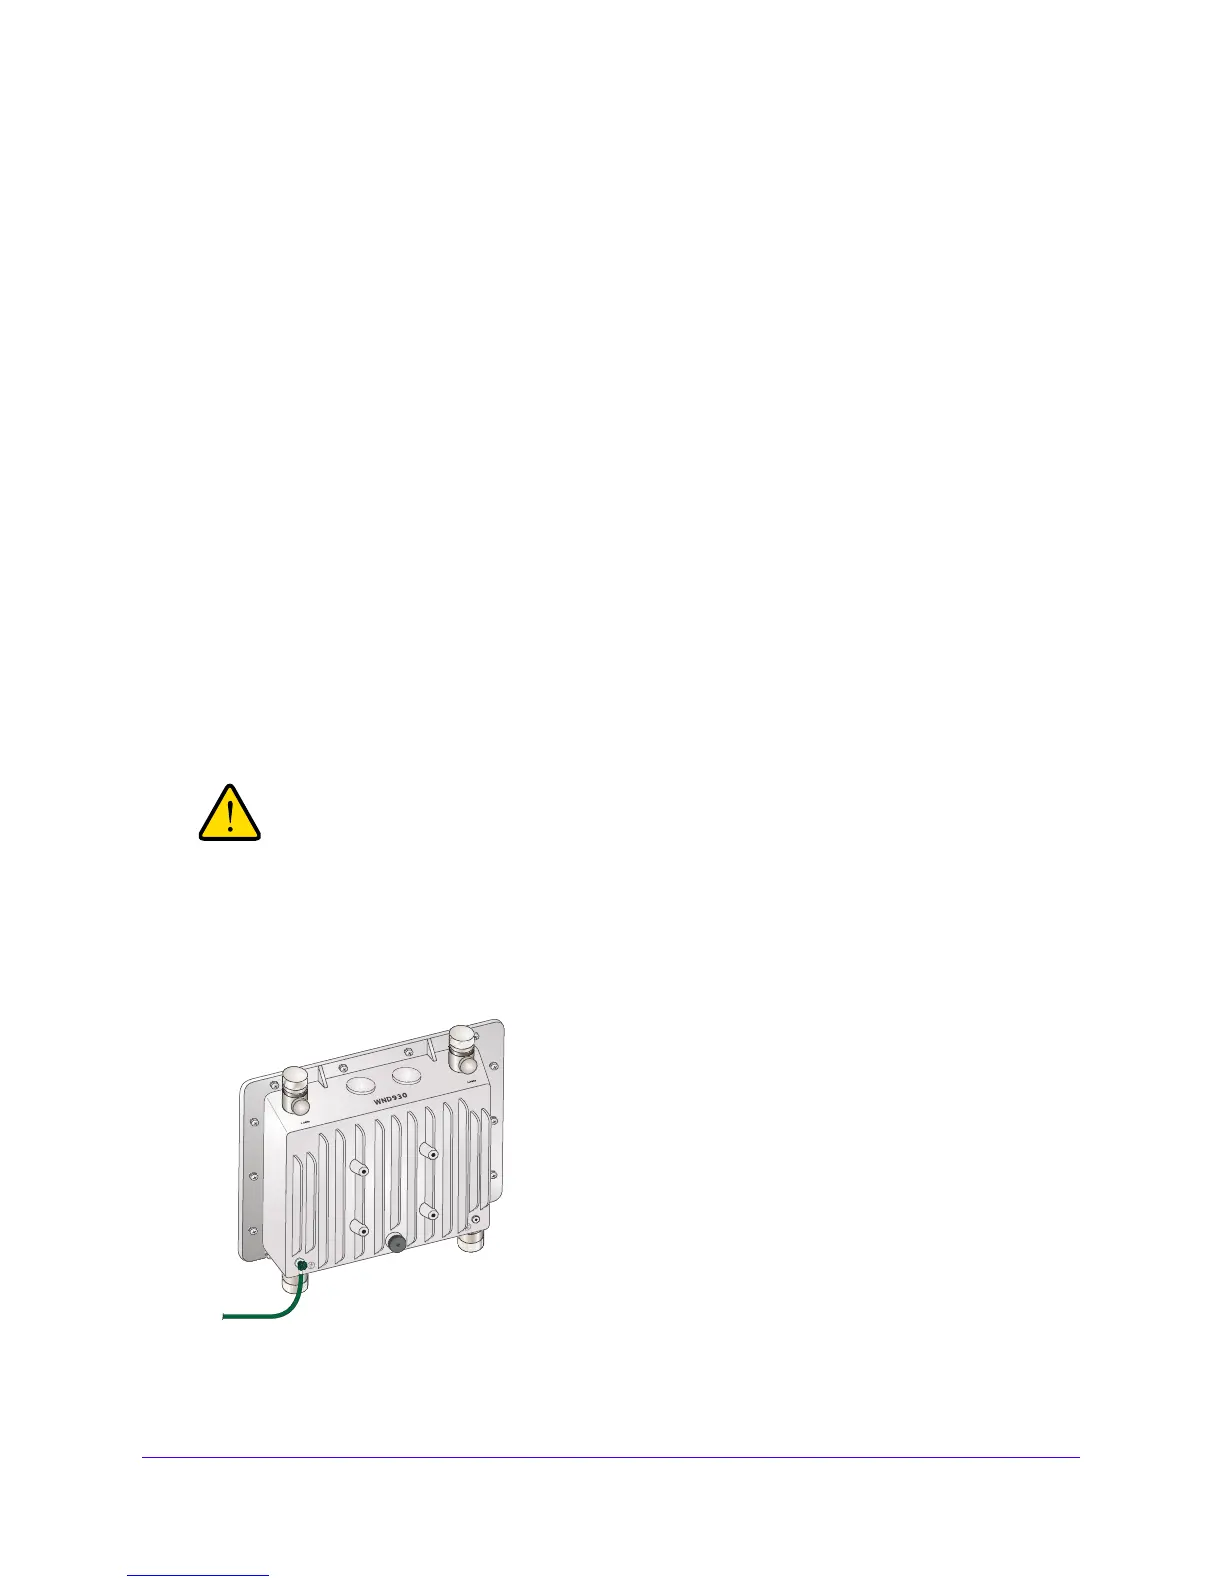
1. Disconne
ct your access point and position it where you will deploy it.
You must externally ground this equipment by using one ground
wire before power is applied. The grounding cable must be better
than 18 AWG (UL1015).
2. Use a grounding screw from the product package to connect a grounding cable to the
access point.
The grounding cable is not included in package, but grounding screws are included.
3. Mount
the access point on a pole: