12
2.3 Location of the instrument
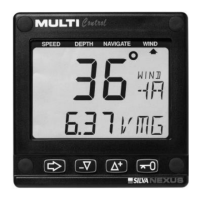
The instrument is designed to be front mounted above or below
deck. It should be mounted on a flat and smooth surface. This
condition must be followed to ensure the gasket seals correctly
against the mounting surface. Mount the instrument so that it:
• can be read by the helmsman / navigator,
• is satisfactorily protected from outer damage,
• is at least 500 mm (20“) from radio receiving equipment,
• has sufficient clearance from behind, for the instrument
housing and cables. The instrument can be mounted right next
to a magnetic compass.
Note: On the reverse side, above the connection pins, the
instrument has a small ventilation hole to avoid moisture gathering
inside the instrument. The hole is protected by a ventilation
membrane that allows air but not water to pass.
The instrument can be mounted on a mast bracket, provided
enough silicon paste is applied to protect the connector.
2.4 Installing the instrument
Place the adhesive drill template on the desired location for the
instrument. Drill the 4 screw holes using a 2,8 mm (0,11") drill.
Use a 50 mm (2") hole saw to machine the clearance hole for the
instrument connection socket. Remove the template.
Note: Never drill through the instruments 4 mounting holes
as the gaskets may be damaged and thus cause leakage. The
warranty is not valid for damage caused by drilling through
the mounting holes.
• Run the Nexus Network cable from the Server to the
instrument.
• Cut the Nexus Network cable to length. Peel off about 35 mm
(1,4") of the cable insulation. Remove about 6 mm (1/4") from
the 3 isolated wires (the 4:th wire is a earth / screen). Attach
the 4 cable protectors to the wires using a pair of flat pliers.
• Connect the 4 cable protectors to the 4-pole jack plug as
shown.
• Apply silicon paste on all locations as shown.
Note: Must be done to avoid corrosion.
INSTALLATION