14
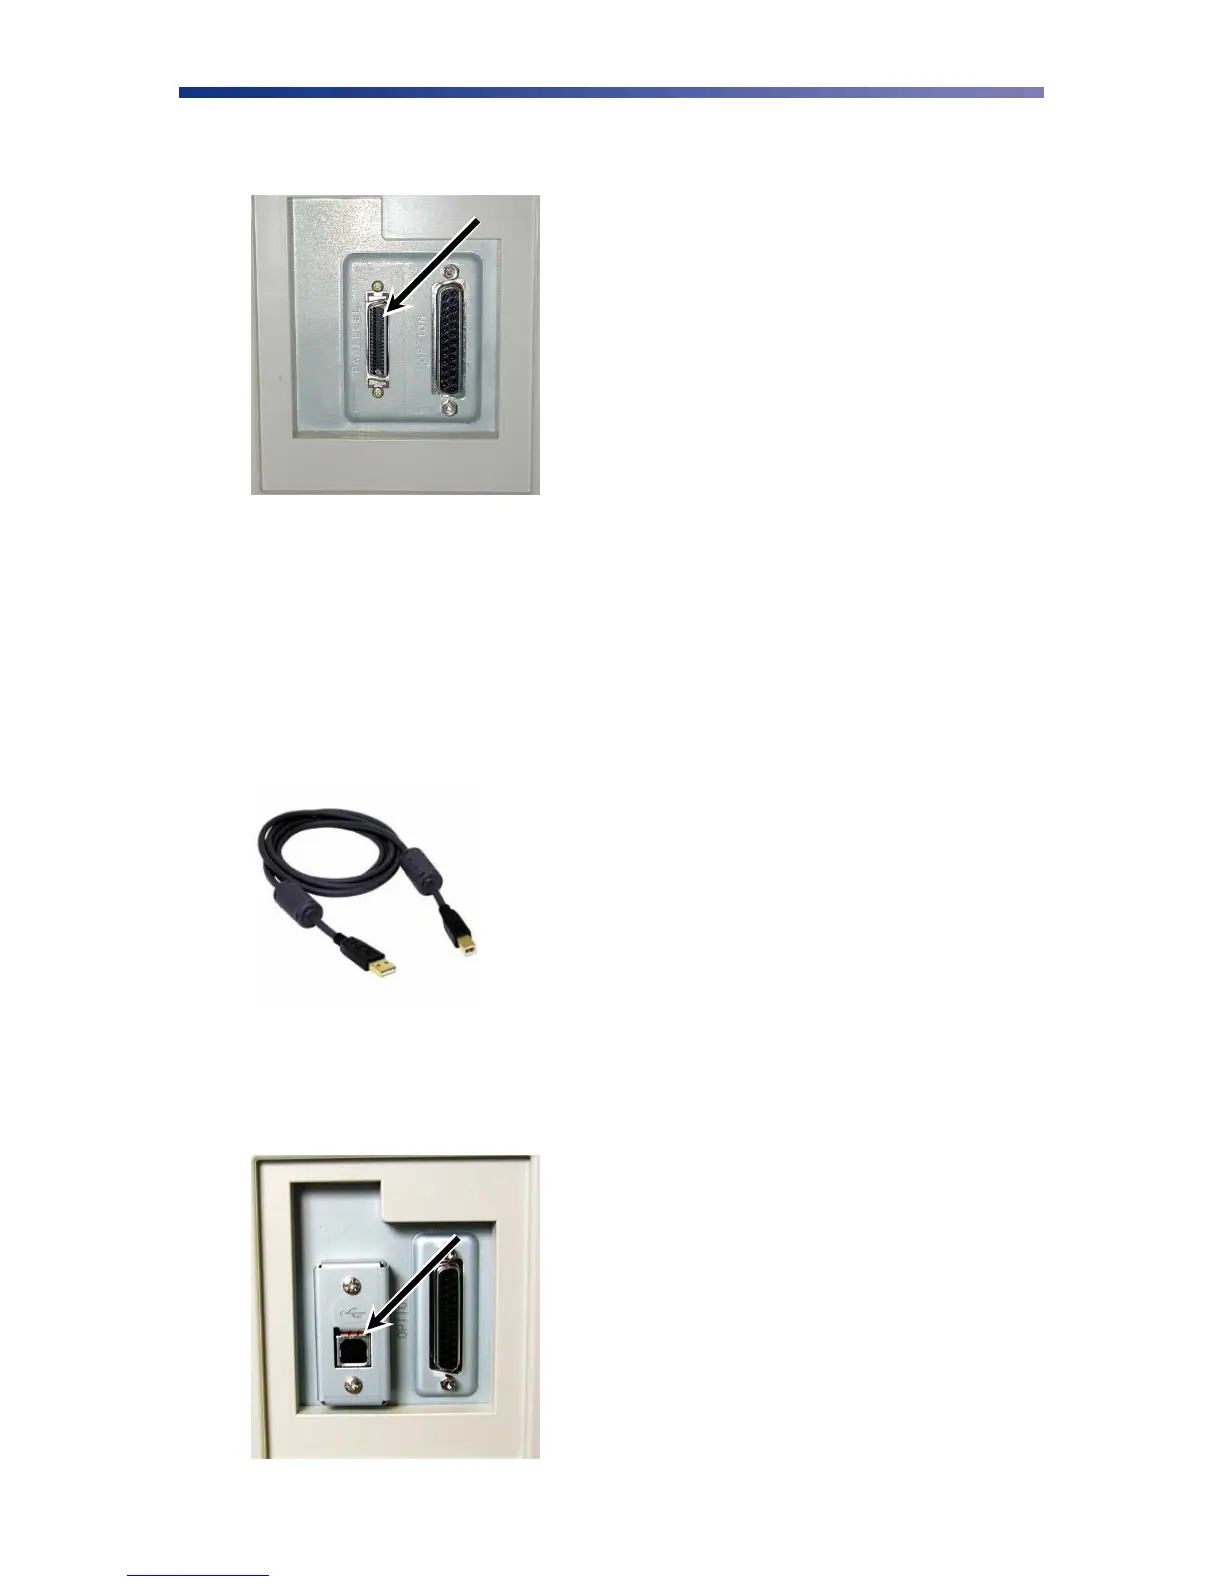
2. Connect the micro centronics connector to the printer’s parallel port, and snap the
fastening clips into place.
3. Connect the other side of the cable to the parallel connector on the back of the computer.
4. Insert the power cord into the power receptacle on the rear of the printer. Plug the other
end into an available wall outlet.
2.4.3 USB Connection
To connect the printer to your computer, obtain the appropriate USB 2.0 cable.
1. Make sure the printer and computer are turned off.
2. Plug the USB 2.0 cable into the printer.
Figure 2-15: Parallel port
Figure 2-16: USB cable
Figure 2-17: USB port