Revision 6
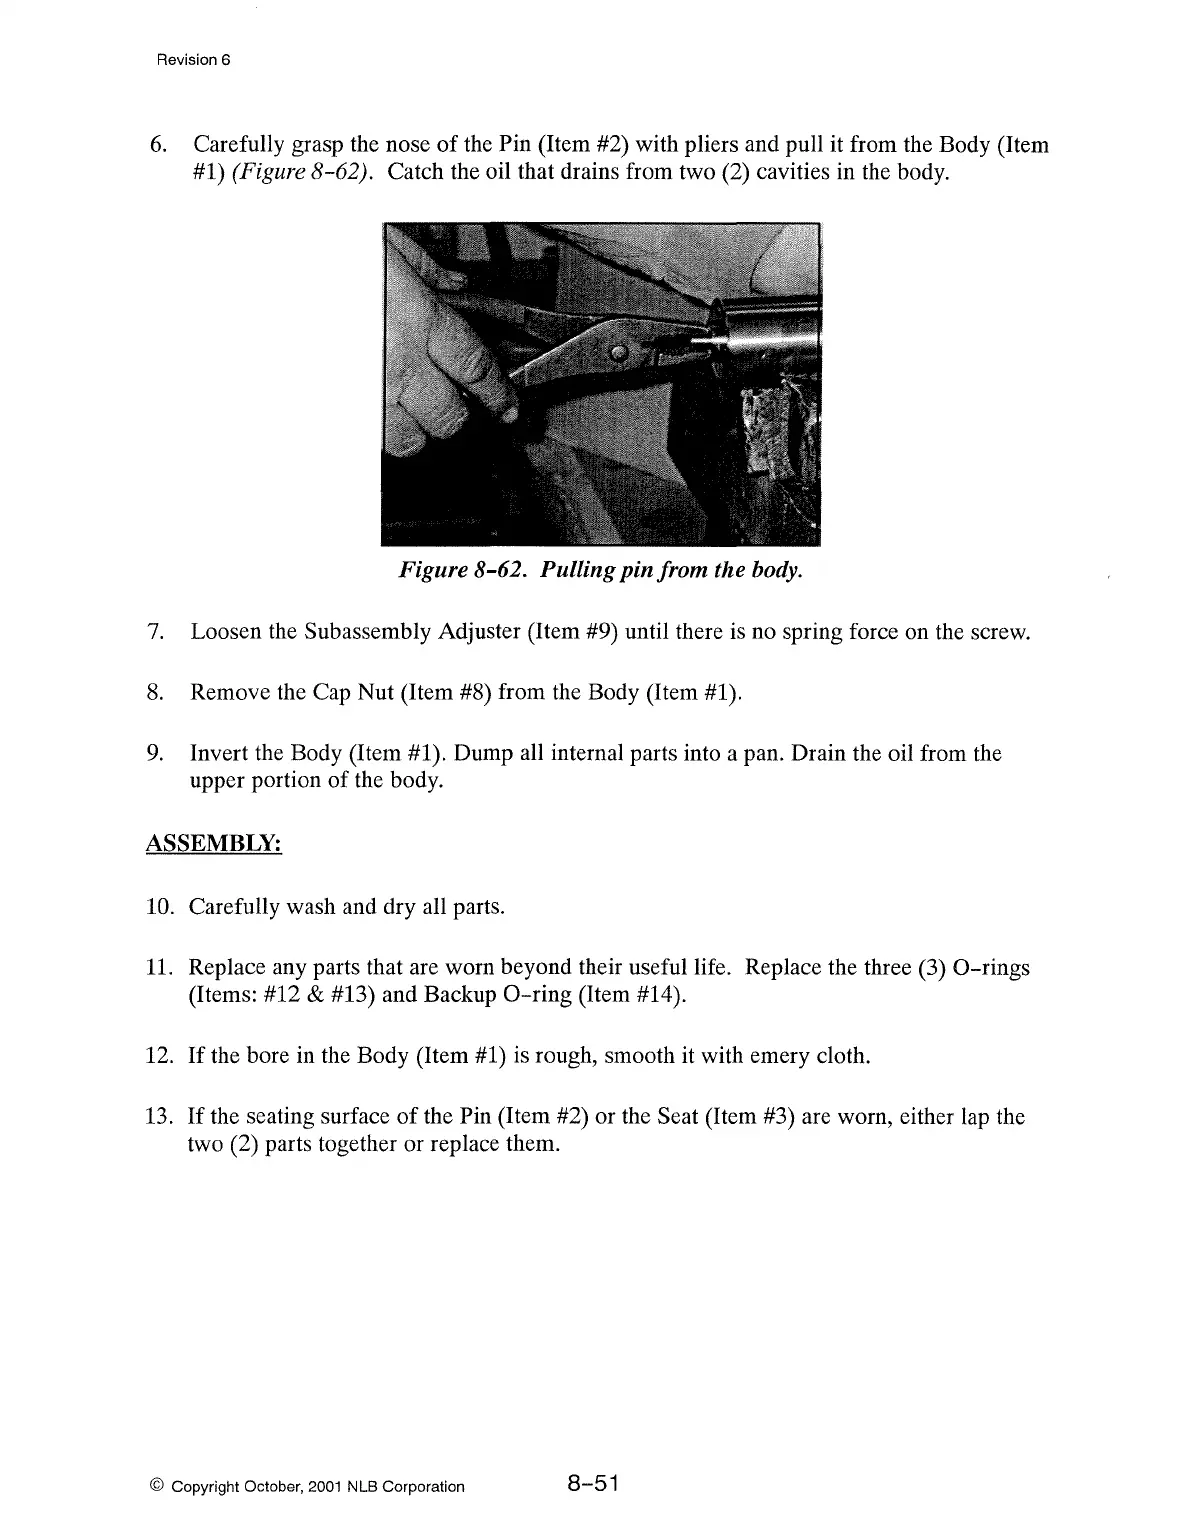
6. Carefully grasp the nose
of
the
Pin
(Item #2)
with
pliers and pull it from the Body (Item
#1)
(Figure 8-62). Catch the oil that drains from two (2) cavities in the body.
Figure 8-62. Pulling pin from the
body.
7. Loosen the Subassembly Adjuster (Item #9) until there is no spring force
on
the screw.
8. Remove the Cap
Nut
(Item #8) from the Body (Item #1).
9.
Invert the Body (Item #1).
Dump
all internal parts into a pan. Drain the oil from the
upper portion
of
the body.
ASSEMBLY:
10. Carefully
wash
and dry all parts.
11. Replace any parts that are worn beyond their useful life. Replace the three (3)
0-rings
(Items:
#12
& #13) and Backup
0-ring
(Item #14).
12.
If
the bore in the Body (Item #1) is rough, smooth it with emery cloth.
13.
If
the seating surface
of
the Pin (Item #2)
or
the Seat (Item #3) are worn, either lap the
two (2) parts together
or
replace them.
© Copyright October,
2001
NLB Corporation
8-51