UDO LP400 User Guide
_____________________________________________________________________________________________________
LP400 User Guide (11/07)
38
3. Click the ‘Multi-band Printing’ button (Fig. 14). In the Multi-band Printing
dialogue box, click on the box beside ‘Enable M
ulti-band Printing’ to select
this option.
4. Change the number of bands to the required quantity. In this example use 3.
5. Change the ‘O
verlapping’ to .079” This field specifies the amount of space
on the label which overlaps with the neighboring label.
6. Make sure the ‘B
andwidth’ is exactly 3.937”.
7. Notice that the label ‘He
ight’ changes under the ‘Label Dimensions’ (e.g. 2
bands – 7.874”; 3 bands - 11.653”; etc.)
8. Under ‘Label Dimensions’ choose the desired ‘W
idth’.
9. Click ‘OK’ in the Multi-band Printing Dialogue Box. Click ‘OK’ in the Label
Setup box.
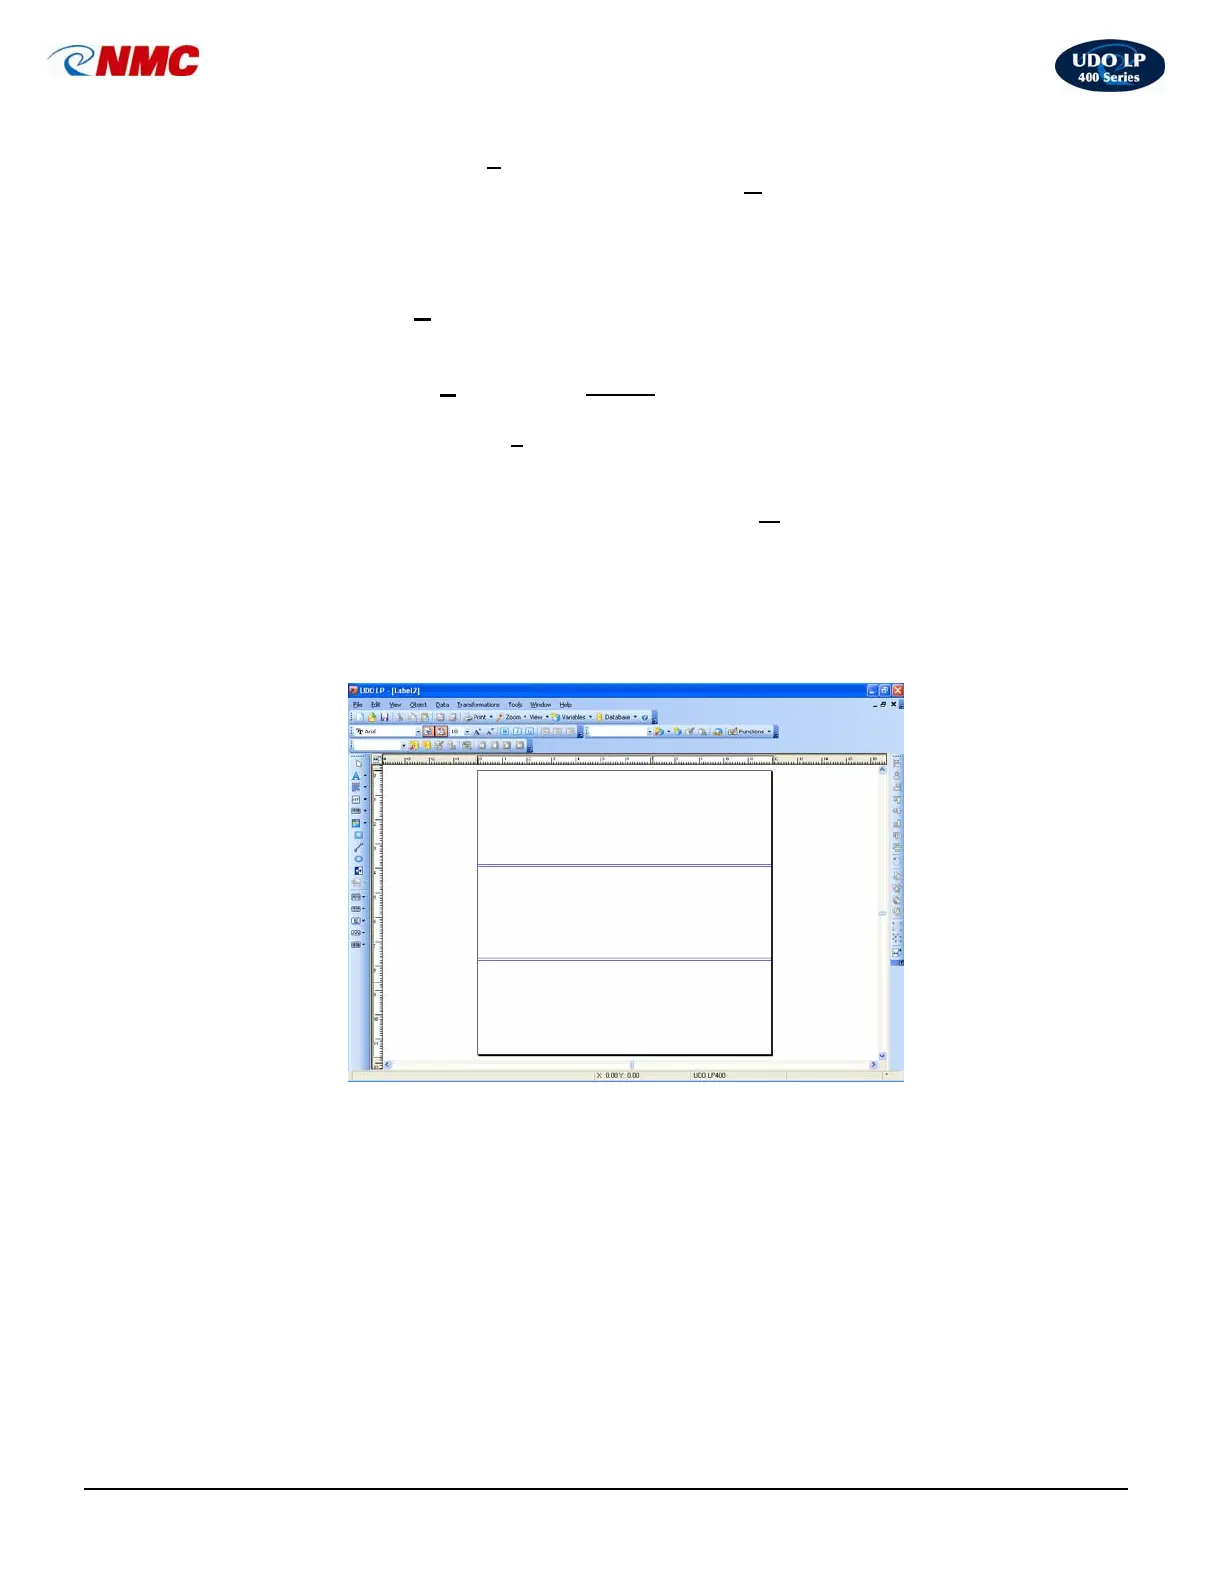
10. The screen will adjust the widths and display the bands on screen (Fig. 15).
11. Create the label using all 3 bands for your label area (Fig. 16).
12. Click the ‘Text’ tool then click in the label area. Type “CAUTION”. Resize
the text by clicking and dragging on one of the handles around the text box.
13. Click the ‘Inverse’ tool. Click in the upper left corner of the text. Adjust size
of inverse box as necessary by clicking and dragging on one of the handles
around the text box.
14. Click the ‘Picture’ tool. Click in the label area. A dialog box will open.
15. Click on ‘Clip Art Gallery’ button in the lower right. Click the ‘+’ button next
to ‘Symbols USA’. Scroll down to the ‘PPE’ category. Select the ‘ear
Fig. 15
 Loading...