UDO LP400 User Guide
_____________________________________________________________________________________________________
LP400 User Guide (11/07)
39
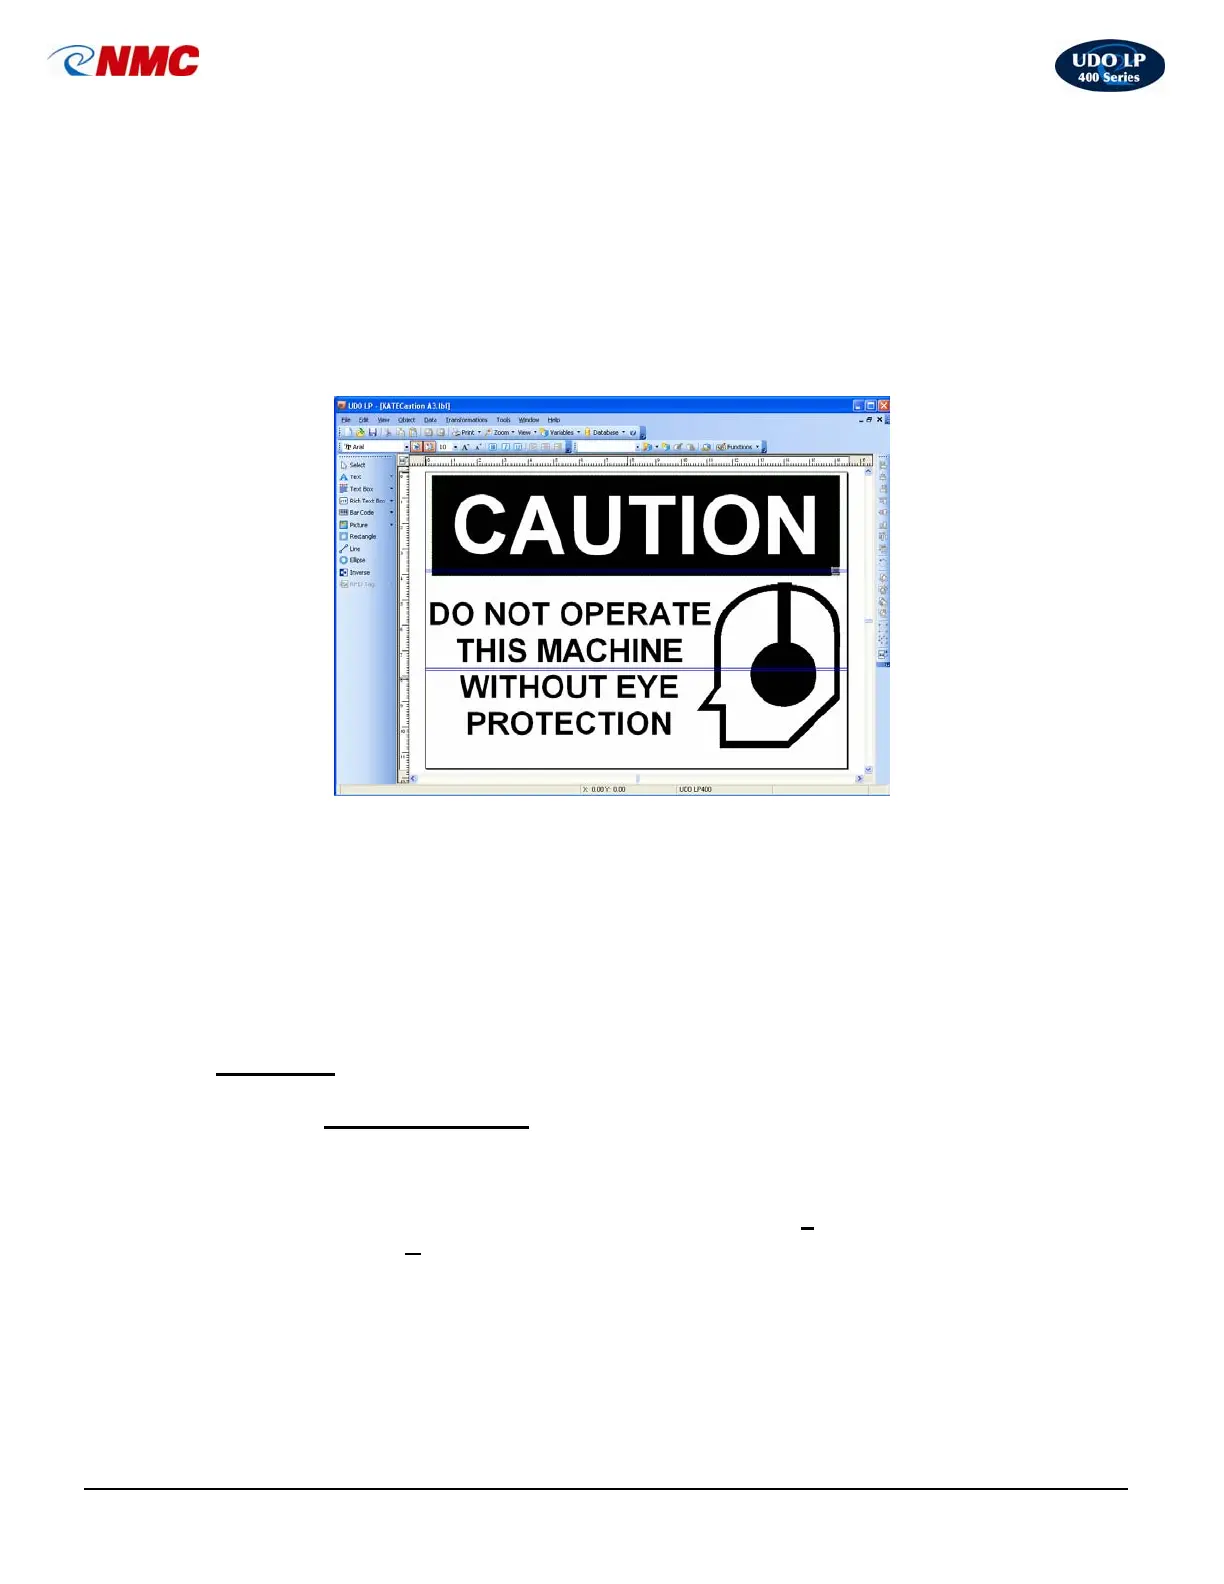
protection symbol’ (top row, 5
th
image from the left). Click ‘OK’. Resize the
image by clicking and dragging on one of the handles around the image.
16. Click the ‘Text’ tool. Click in the label area. Type “DO NOT OPERATE THIS
MACHINE WITHOUT EYE PROTECTION”. Resize as necessary by clicking
and dragging on one of the handles around the image.
17. Select ‘Print’ from the menu bar.
18. The UDO LP400 will print out in multiple strips of your vinyl label. Line up the
sections to produce the Tiled Label.
Tips for Applying Labels
i. Use an application spray of soap and water with a squeegee.
ii. Lay the bottom strip first.
iii. Each strip overlaps per your setting; in this example the
overlapping is 0.079”.
J. Barcoding
2. Inserting a Barcode
To insert a barcode on to a label, proceed as follows:
1. Click on the ‘Create New Label’ icon or choose ‘F
ile’ from the menu bar
then select ‘N
ew’.
2. Select the ‘Barcode’ tool which appears on the left side toolbar and click in
the label area. A Bar Code dialogue box will open (Fig. 17). This box contains
the options available for entering and editing the appearance of your barcode.
3. Click the ‘Bar Code’ tab. Choose the type of barcode you wish to insert from
the drop down list.
Fig. 16
 Loading...