UDO LP400 User Guide
_____________________________________________________________________________________________________
LP400 User Guide (11/07)
40
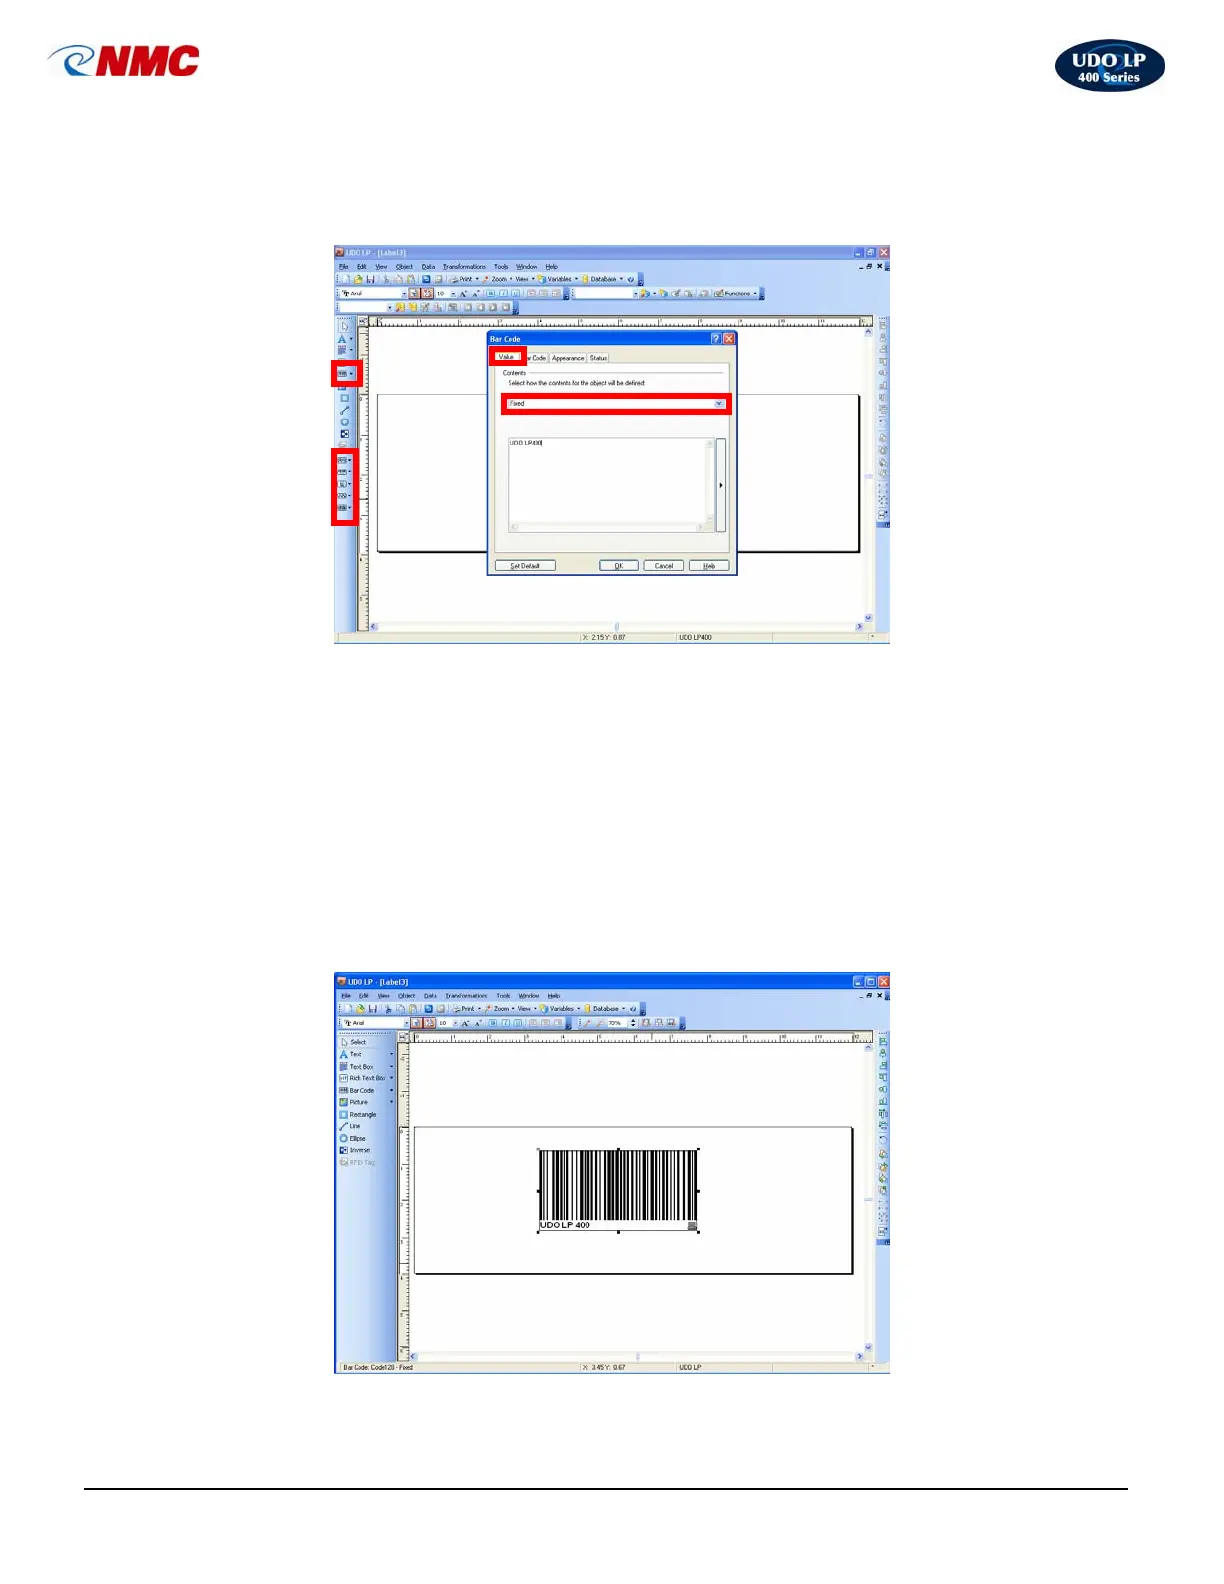
4. ‘Click’ on the Value tab and ‘select’ Fixed as your defined object (Fig. 17).
5. In the box which appears below ‘Fixed’ (Fig. 17), enter the text you wish to
appear on your label. Click ‘OK’; your barcode and text will appear as
shown in Figure 18.
6. Adjust the size and location of your barcode using the handles on the
selected box (Fig. 18).
7. To change settings or see options, double Click on the inside of your
barcode to open the Barcode dialogue box. You can also right click and go
to ‘Barcode Properties’ to open the ‘Barcode’ dialogue box.
Fig. 18
(Use this box to insert the
text you wish to print on
your label.)
Fig. 17
 Loading...