UDO LP400 User Guide
_____________________________________________________________________________________________________
LP400 User Guide (11/07)
42
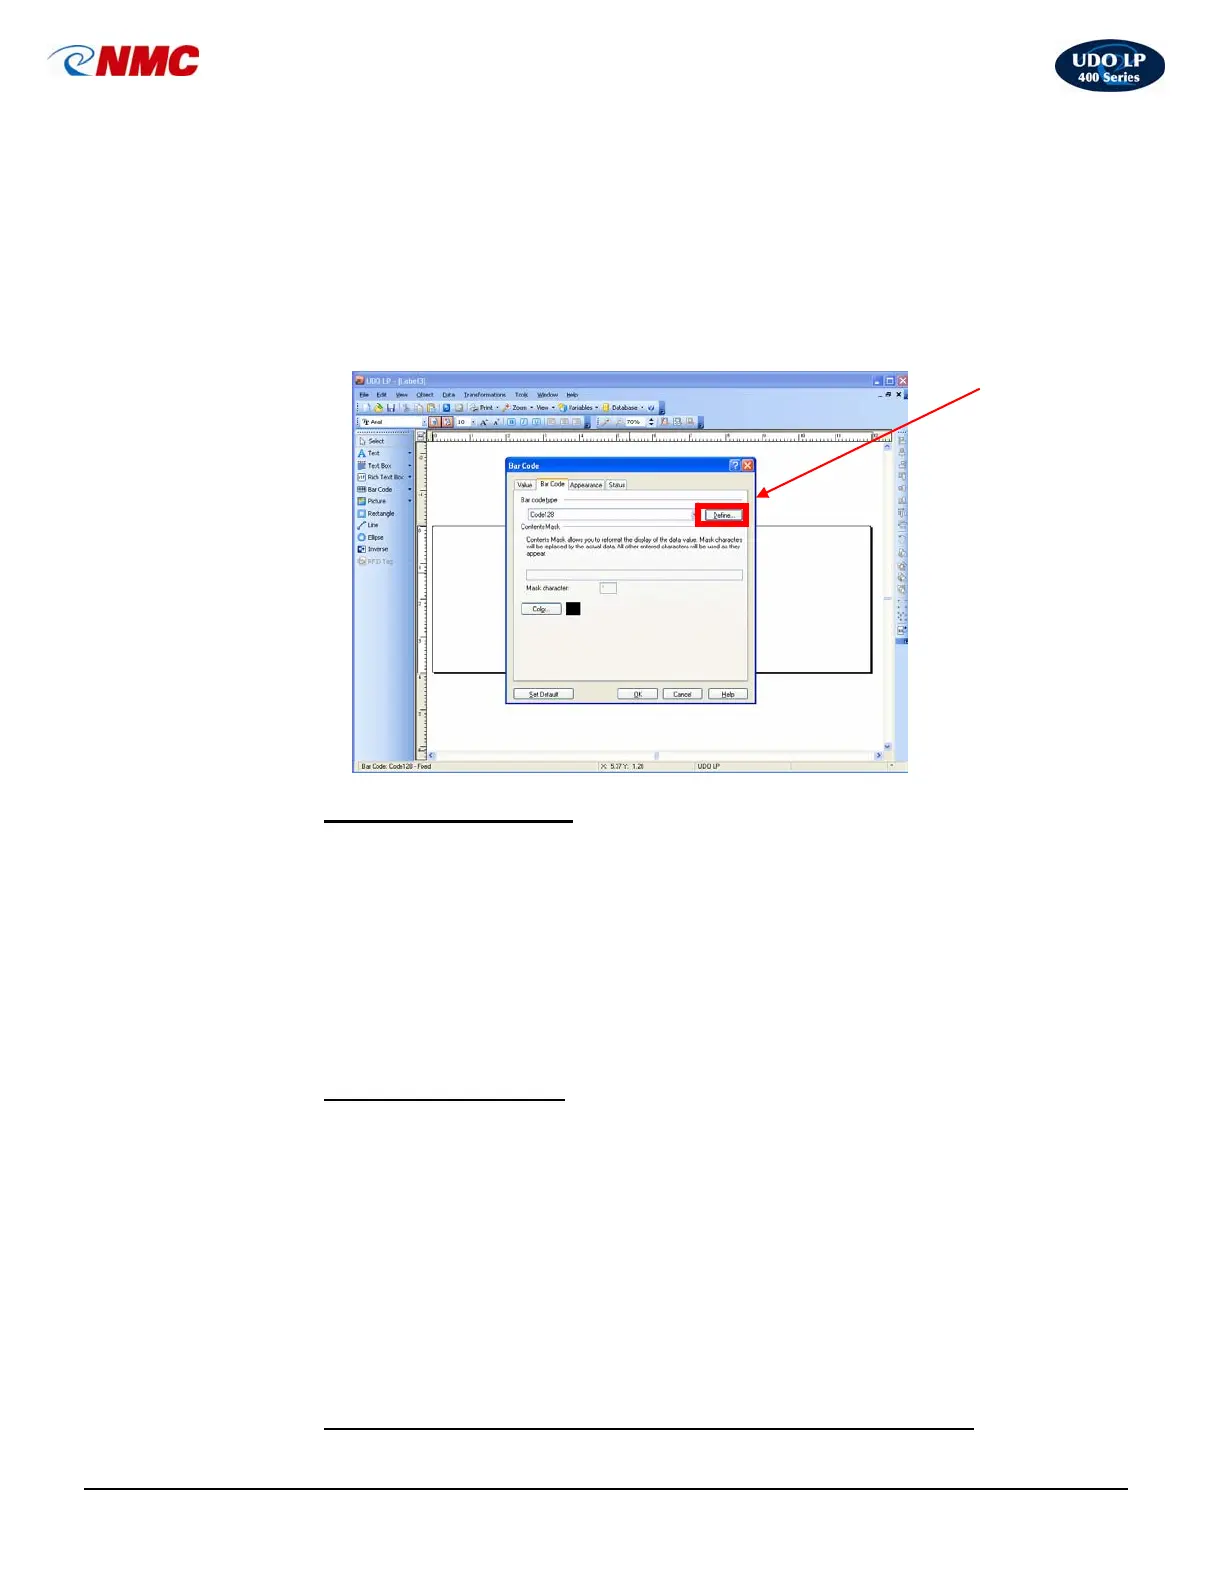
1. Double Click on the inside of the barcode to open the ‘Barcode Dialog Box’
(Fig. 19). You can also right click and select ‘Bar Code Properties’ to open
the ‘Barcode Dialogue Box’.
2. Click on the ‘Bar Code’ tab. Click on the ‘Define’ box. (Fig. 19).
3. Make adjustments as necessary.
6. Changing barcode style
1. Double Click on the inside of the barcode to open the ‘Barcode Dialog Box’
(Fig. 19). You can also right click and select ‘Bar Code Properties’ to open
the ‘Barcode Dialogue Box’.
2. Click on the ‘Bar Code’ tab. Click on the ‘Define’ box. (Fig. 19).
3. Under the ‘General’ tab choose from the available bar codes listed on the
left. Click ‘OK’.
7. Changing barcode font
1. Double Click on the inside of the barcode to open the ‘Barcode Dialog Box’
(Fig. 19). You can also right click and select ‘Bar Code Properties’ to open
the ‘Barcode Dialogue Box’.
2. Click on the ‘Bar Code’ tab. Click on the ‘Define’ box. (Fig. 19).
3. Click on ‘Human Readable’ tab.
4. Click the ‘Font’ button. (Note: If the font option is greyed out, go to the
‘General’ tab and Check the ‘Print Barcode as a Graphic’ option.) Select
appropriate font settings. Click ‘OK’.
8. Changing the text size beneath the barcode (if too small/large)
Fig. 19
 Loading...