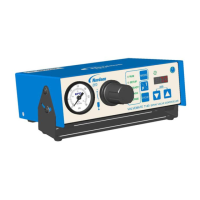
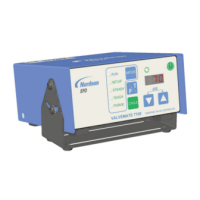
PICO Toµch Controller
29www.nordsonefd.com info@nordsonefd.com 800-556-3484 Sales and service of Nordson EFD dispensing systems are available worldwide.
Install the Valve and the Controller (continued)
CAUTION
Always switch OFF the Toµch controller before connecting or disconnecting the valve. Failure to do so can damage
the controller and the valve.
4. Assemble and mount the Pµlse valve as follows:
a. Open the hinged seat of the piezo actuator by pushing the latch pin back towards the valve.
b. Insert the uid body assembly and close the hinged seat, ensuring it is fully engaged.
c. (Optional) Secure the valve to the mounting bracket. There are multiple mounting holes to allow for
adjustment.
d. Install the valve on the dispensing equipment.
NOTE: Valve mounting kits are available. Refer to the valve operating manual.
e. Connect the valve power and communication cables to the 3-pin and 5-pin connectors on the back of the
Toµch controller. Refer to "Replacement Parts" on page 42 for available extension cables.
f. To divert static charges from the valve, connect it to the machine system ground. Vacant fastening threads
may be used for this.
g. Add the uid supply, but do not pressurize the uid supply at this point.
NOTE: For low viscosity uids used in a syringe barrel application, ll the barrel after installing it on the uid-
inlet tting. High viscosity materials can be loaded into the barrel before installing it on the inlet tting.
5. Connect inputs / outputs (I/O) to I/O 1 and I/O 2 as needed for your operation. Refer to "Input / Output Port Pin
Descriptions" on page 46 for detailed I/O information. A 15-position D-sub and backshell are provided. A
cable for the 25-pin D-sub connection is customer-supplied.
NOTE: Nordson EFD recommends using the analog temperature output (DSUB pin 11) to provide operators
with appropriate identication and protection against contact when the valve temperature exceeds +45° C
(113°F).
4e
5
4b
4a

 Loading...