3.2.2 Installation steps to use Keil and IAR tools
1. Download and install LPCScrypt or the Windows drivers for LPCXpresso boards
(http://www.nxp.com/lpcutilities). This will install required drivers for the board.
2. Ensure JP5 is open to force the Link2 Debug Probe to boot from internal flash.
3. Ensure jumper JP2 is fitted in position 1-2 (local target powered), and JP1 is not
installed (target SWD enabled). These are the default positions set during board
manufacture.
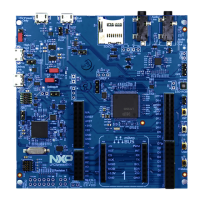
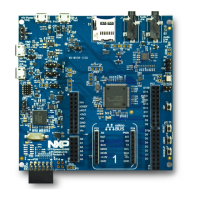
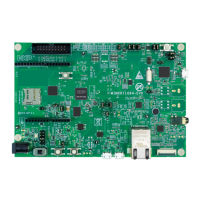
4. Connect the LPCXpresso546x8/540xx/54S0xx board to the USB port of your host
computer, connecting a micro USB cable to connector J8 (“USB Debug-Link”). The
board will boot and run the pre-installed demo.
5. Allow about 10 seconds for the LPCXpresso546x8/540xx/54S0xx devices to
enumerate for the first time. It is not necessary to check the Hardware Manager,
however if this is done there will be five devices; four under Human Interface Devices
(CMSIS-DAP, LPC-SIO, two HID Compliant Devices, and a USB Input Device) and
one under Ports (LPC-LinkII Ucom.)
6. Run either the “Program LPC-Link2 with CMSIS-DAP” or “Program LPC-Link2 with
SEGGER J-link” script provided in your LPCScrypt installation and follow the on-
screen instructions. These scripts can be seen in the Windows Start menu for the
LPCScrypt installation.
7. After the script has run, remove JP5 and power cycle the board (note that resetting
the board does not reset the Link2, so power cycling is required).
8. Your board is now ready to use with your 3rd party tool. Follow the instructions for
those tools for using a CMSIS-DAP probe.
When a board that features a pre-loaded graphics demo program is used for the first
time, it is recommended to force the LPC546x8/LPC540xx target into a known state
by performing an ISP boot before attempting to run your first example code. This can
be achieved by pressing and holding down one of the ISP buttons while applying
power to the board.
3.3 Starting a debug session using an external Debug Probe
Code running on the LPC546x8/540xx/54S0xx target can be debugged using an external
Debug Probe that conforms to the standard ARM debug connector. To use an external
Debug Probe connect the probe to the SWD connector (P1) and connect power via the
micro USB connector J1.
Note: The Debug link connector J8 must be left unconnected so that the Link2 Debug
Probe is left unpowered and does not contend with the SWD interface signals from the
external Debug Probe.
4. Link2 debug features
This section describes the features provided by the on-board Link2 Debug Probe. See
the Getting Started section for more information on how to program the device.
 Loading...