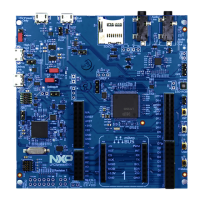
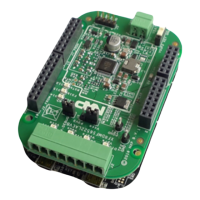
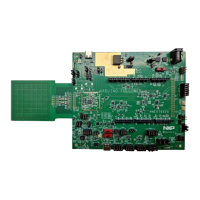
10.3 Installation
To install the Shield board, carefully align the J1 pin 1 of the Shield board with J9 pin 1 of
the LPCXpresso board, and J3 pin 1 of the Shield board with J10 pin 2 of the
LPCXpresso board, ensuring that all leads from the Shield are lined up with the
corresponding sockets of the LPCXpresso board. Apply even pressure to the Shield
board edges until its leads are fully seat in the sockets. It should not require very much
pressure to install the Shield board; if the required force seems high, stop and re-check
the pins are aligned properly.
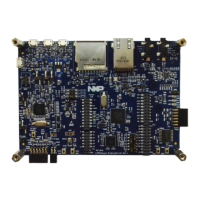
10.4 Out-of-the-box example code
The pre-installed demo code runs a simple loop back test between the two CAN ports,
using CAN protocol. The test requires a female to female, straight through connection
cable, connected between the two connectors on P3. As the test runs, user LEDs 1 and
2 will blink alternately as a series of data blocks are transferred over the CAN ports; once
the test completes successfully, LEDs 1, 2 and 3 will light and stay on. The test can be
repeated easily by pressing the reset button on the LPCXpresso54618 board.
If the test fails (as will happen if no cable is connected), LED1 and LED2 will blink briefly,
then LED3 will light and stay on.
Once drivers have been installed for the board, a virtual UART connection can be used
to see test progress. Refer to Section 3 for more information on driver installation and
virtual com port use.
10.5 Other example code
The MCUXpresso SDK includes drivers (called mcan drivers) and examples using polling
and interrupt methods.
CAN-FD drivers from Embedded Systems Academy, compatible with the MCUXpresso
SDK, are available separately under the Downloads tab of the CAN-FD kit page
and(http://nxp.com/demoboard/om13094) and also from the standalone shield board
page (http://nxp.com/demoboard/om13099)
 Loading...