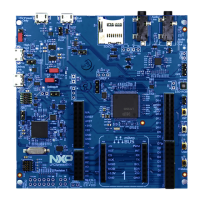
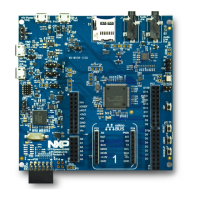
4.4 Configuring the LPCXpresso546x8/540xx/54S0xx to debug an
external target
The LPCXpresso546x8/540xx/54S0xx board’s Link2 Debug Probe may be used to debug
an off-board target MCU. The on-board Link2 Debug Probe is capable of debugging
target MCU’s with a VDDIO range of 1.6V to 3.6V. To keep the on-board target
LPC546x8/540xx/54S0xx MCU from interfering with the SWD interface, JP1 must be
fitted. The Link2 Debug Probe SWD should be connected by a ribbon cable between the
P1 connector to the off-board target MCU SWD interface. Power the
LPCXpresso546x8/540xx/54S0xx board from the Link USB connector J8, and fit jumper
JP2 across pins 2 - 3 (External Target).
5. Troubleshooting debug sessions
In some cases, the ability to make a debug connection can be lost due to the LPC54xxx
target running code that does not allow the host debugger system to gain control of it.
Some reasons for this can be:
• Application code causing a hard fault
• Application code disabling the SWD debug port pins
• On LP54S0xx devices, the boot image has an invalid header
In many cases, the board can be put back in a state where the debugger can gain control
by using the ISP buttons and pressing and releasing the reset button (for example,
holding down ISP0 to force the LPC54xxx device into the serial ISP boot mode). If
problems persist with ISP mode entry being required, try mass erasing the flash (on-
board flash in the case of LPC546xx device, or quad SPI flash in the case of
LPC54S018/LPC54018 devices); this can be done using the MCUXpresso IDE device
programming utility.
LPC540xx/54S0xx devices do not have any pull-ups enabled at reset, and in cases
where an application is using the SDRAM this could cause the EMC_D2 through
EMC_D4 signals to be driven by that device (since the P1_12 port of the
LPC540xx/54S0xx could be floating). Since these signals are shared with the ISP0-2
pins, an undesired ISP boot mode could be inadvertently selected. In these situations, try
removing power for several second, then hold down ISP0 reconnecting power to the
board.
6. Board power connections & measurement
The LPCXpresso546x8/540xx/54S0xx board requires +5V input to power the on-board
voltage regulators which in turn power the Link2 Debug Probe and other +3.3V circuits,
the LPC546x8/540xx/54S0xx target and other +1.8V circuits, and the Arduino +5V and
+3.3V power rails. When the main external power source is from the Link2 side USB
micro B-type connector (J8), both the Link side and LPC546x8/540xx/54S0xx Target
sections of the board are powered. When the main external power is from the power
only USB micro B-type connector (J1), or one of more of the USB device ports (USB0 at
J3 or USB1 at J2), only the LPC546x8/540xx/54S0xx target and supporting devices and
peripherals are powered.
 Loading...