E
22
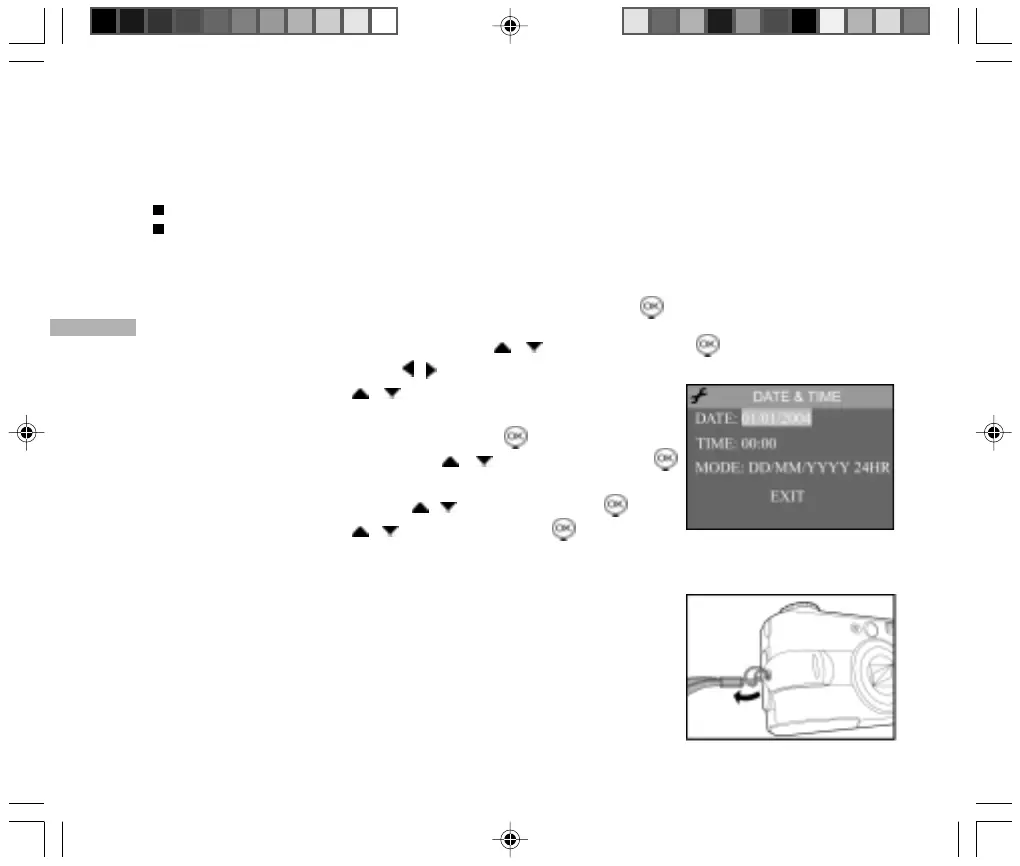
Setting the Date and Time
The Date/Time screen will be presented if/when:
The camera is turned on for the first time.
The camera is turned on after the batteries/AC power adapter have not been used for a long time or after
replacing the batteries.
When the date and time setting screen appears, follow these steps to set the correct date and time. You may
also skip this procedure by selecting the EXIT option and pressing the button.
1. Select the “DATE” or “TIME” option by using the / buttons and press the button.
2. Select the item’s field by using the / buttons and adjust the value for the
date and time by using the / buttons.
The date default setting is set in the order day-month-year.
3. After confirming all settings are correct, press the button.
4. Select the “MODE” option by using the / buttons and press the
button.
5. Select the “MODE” type by using the / buttons and press the button.
6. Select “EXIT” by using the / buttons and press the button.
The setting will be stored and the screen will return to the capture mode.
Attaching the Camera Strap
To prevent accidentally dropping the camera, always use the camera strap.
Attach the camera strap as follows:
1. Thread the small loop of the strap through the strap eyelet on the camera.
2. Pull the large loop through the small loop until the strap is firmly secured.