42049001TH Rev.1 43 /
Oki Data CONFIDENTIAL
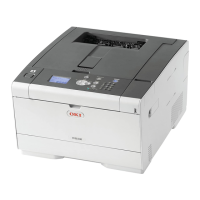
3.1.2.2.1 Entering self-diagnostic mode (level 1)
1. While holding the MENU+ and MENU- keys down at the same time, turn printer power on to
enter System Maintenance mode.
2. Use MENU+ or MENU- key keystrokes until “ENGINE DIAG MODE” appears (a few keystrokes),
and then press the ENTER key to display “DIAGNOSTIC MODE”.
SWITCH SCAN
SWITCH SCAN 00
1=H 2=L 3=H 4=L
DIAGNOSTIC MODE
XX.XX.XX FACTORY/SHIPPING
3. XX.XX.XX in the display indicates a ROM version. A factory working mode setting, which is
usually set to S-MODE of SHIPPING, is at the right of the lower display.
4. Go to each self-diagnosis step by using the MENU+ or MENU- key (pressing the MENU+ or
MENU- key rotates menu items).
3.1.2.2.2 Exiting self-diagnostic mode
1. Turn printer power off and, after ten seconds, on again.
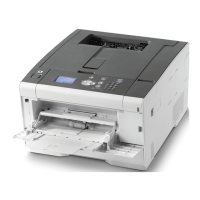
3.1.2.3 Switch scan test
This self-diagnosis is used when input sensor and switch checking is made.
1. Enter the normal diagnostic mode, and press the MENU+ or MENU- key until “SWITCH SCAN”
is shown on the upper display (the MENU+ key increments a test item and the MENU- key
decrements a test item).
2. Table 3-1 lists SWITCH SCAN numbers. Press and the MENU+ or MENU- key until the SWITCH
SCAN number for unit(s) to be tested shows up on the upper display (the MENU+ key increments
an item and the MENU- key decrements an item).
3. In response to the press of the ENTER key, the test on the unit(s), the SWITCH SCAN number
begins blinking and, carrying the current status of the unit(s) being tested, the number(s) (1 to
4) corresponding to the unit(s) are displayed.
Operate the unit(s) (figure 3-1). Indications for each unit are provided in their portion of the
LCD display (Indicated meanings vary with units (sensors etc). See table 3-1 for details).
4. When the CANCEL key is pressed, the SWITCH SCAN number goes back to an indication
view (stops blinking).
5. Repeat steps 2 through 4 as necessary.
6. To end the test, press the BACK key (the display is restored to the view of step 1).
 Loading...