25
Configuring The Meter
4
4.3.1 Scaling with Known Loads (On-Line Calibration) (Continued)
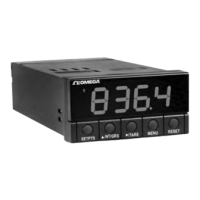
11. Apply a known load equal to approximately 100% of the transducer range.
12. Press the ∂TARE button again. The meter shows the last stored value for Input 2.
13. Press the ∂TARE button once more. The meter shows the actual signal being
received.
14. Press the MENU button to store Input 2 value. The meter shows RD!2 (Read 2).
RD!2 (Read 2) is the desired display reading at input 2.
15. Press the ∂TARE button. The meter shows the last stored value for Read 2.
16. Press the ßNT/GRS button to change the value of your digits.
17. Press the ∂TARE button to scroll horizontally to the next digit.
18. Press the MENU button to store value as RD!2 (Read 2). The meter momentarily
shows STRD , followed by RD.CF . Meter scaling is now complete.

 Loading...