Precautions for Correct Use
NX102 CPU Unit, NX1P2 CPU Unit, and NJ-series CPU Unit
•
To specify an I/O memory address for a tag, create a variable with an AT specification of the
I/O memory address on the Sysmac Studio, and then specify the variable with the AT specifi-
cation for the tag.
For NX102 and NX1P2 CPU Units, you need to set CJ memory to use the I/O memory ad-
dress. For details on CJ memory setting, refer to the NJ/NX-series CPU Unit Software User's
Manual (Cat. No. W501).
• If you enter the following I/O memory addresses for tag names on the Network Configurator,
the tags are directly assigned to the I/O memory addresses in the CPU Unit, and not to the
variables. Always specify variable names for tags.
a) Variable names that contain only single-byte numerals from 0000 to 6143
b) Variable names with the following single-byte letters (uppercase or lowercase) followed
by single-byte numerals
• H (H000 to H511)
• W (W000 to W511)
• D (D00000 to D32767)
• E0_ to E18_ (E0_00000 to E0_32767, to E18_00000 to E18_32767)
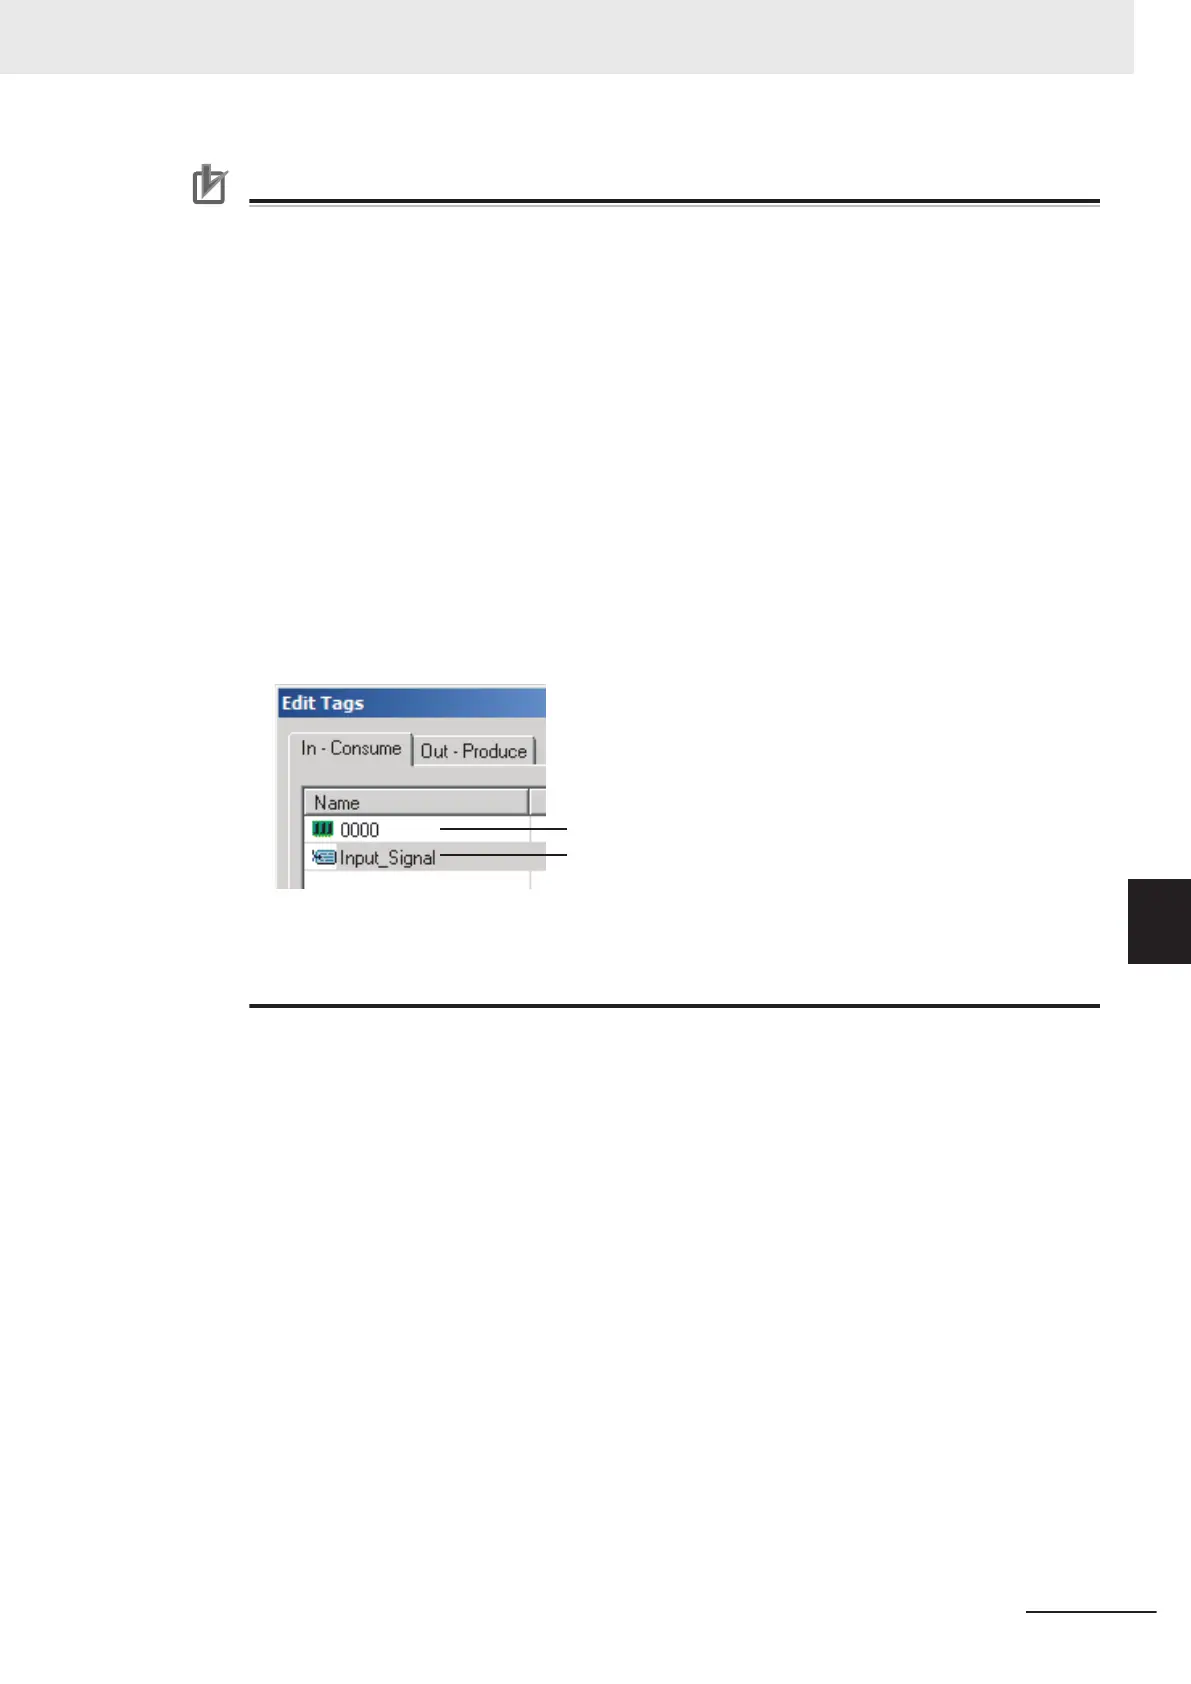
You can check the memory address or variable to which a tag is assigned, with icons in the
Edit Tags Dialog Box.
Tag that
is directly assigned to an I/O memory address
Tag that is assigned to a variable with a Network Publish attribute
NX701 CPU Unit
•
If you apply the notation that specifies the above I/O memory address for a tag name, a Tag
Name Resolution Error occurs. A tag data link will not be started.
4 Input the size of the tag in bytes in the Size Field.
Specify the tag size to be the same as the data type size of the variable.
T
o use a BOOL variable, select the Use Bit Data Check Box, and enter 1 in the Size Field.
5 Click the Regist Button to register the tag.
If an I/O memory address is specified as the tag name, another Edit T
ag Dialog Box will be
displayed with the next address as the tag name so that you can register the next tag consecu-
tively.
After you register the tags, click the Close Button.
6 Click the Out - Produce T
ab, and then click the New Button.
The Edit Tag Dialog Box is displayed. Input output tags in the same way.
In case a major fault occurs in the CPU Unit, use the Fault Action setting of the output (pro-
duce) tag to select whether to clear output data or continue to send data.
The Fault Action setting is not required for input (consume) tag sets.
• Retain output after major fault: Hold (default)
Output data maintains its previous status even after a major fault occurs.
• Clear output at major fault: Clear
7 Tag Data Link Functions
7-27
NJ/NX-series CPU Unit Built-in EtherNet/IP Port User’s Manual (W506)
7-2 Setting Tag Data Links
7
7-2-4 Creating Tags and Tag Sets
 Loading...