5-18
CHAPTER 5 Periodic Inspection
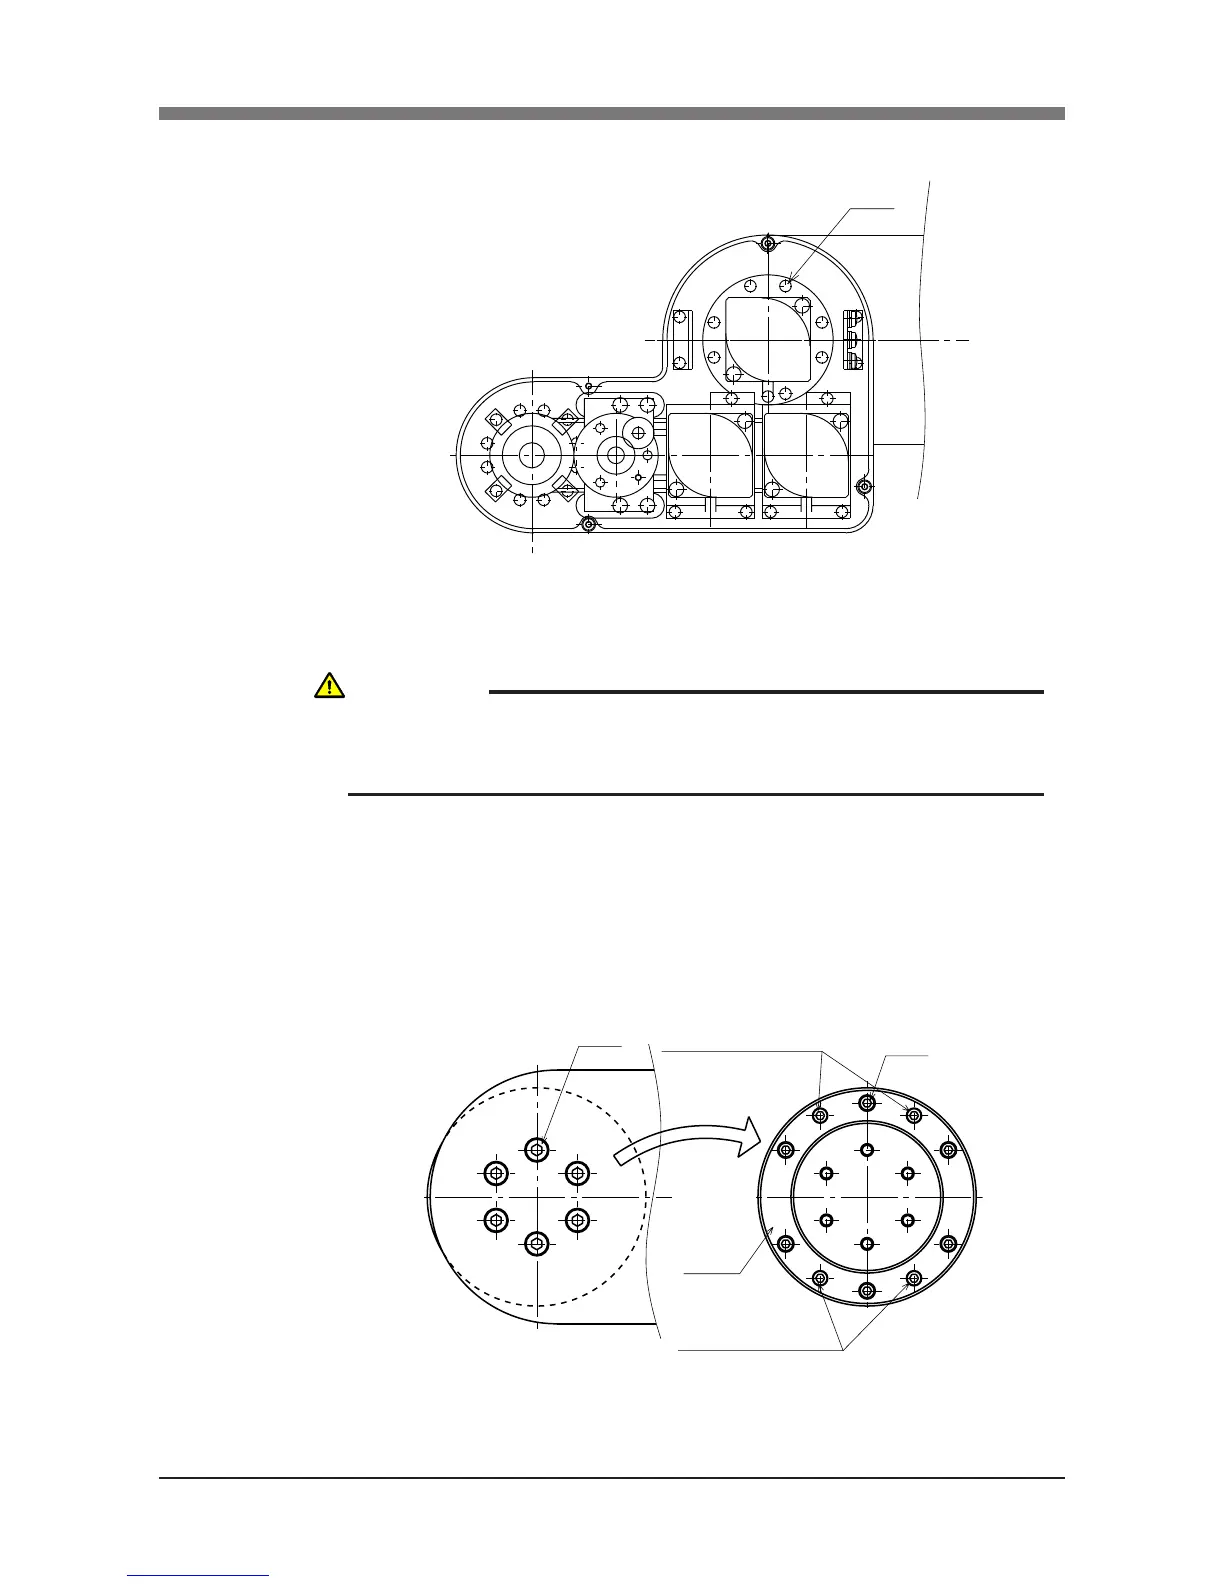
6)
Remove the Y-axis arm installation bolts (M3
×
20L, 8 pieces). (See Fig. 5-7.)
Fig. 5-7
7) Remove the Y-axis arm and place it where it will not obstruct the work.
8) Remove the wave generator from the motor shaft. The wave generator is
secured with an M3 set screws (2 pieces). (See Fig. 5-10.)
9) Remove the flange installation bolts (M5×20, 6 pcs) and then detach
the flange from the X-axis arm. Next, remove the bolts (M3×20, 6 pcs)
securing the Y-axis harmonic drive. (See Fig. 5-8.)
Fig. 5-8
10) Remove the Y-axis harmonic drive from the ange.
CAUTION
AN O-RING IS FITTED TO THE UPPER SURFACE OF THE HARMONIC
DRIVE, SO BE CAREFUL NOT TO LET IT DROP INTO THE PERIPHERAL
UNIT.
 Loading...


