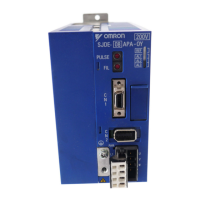
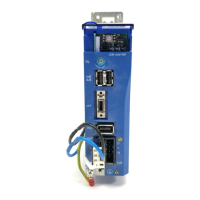
3.4 Main Circuit Wiring
39
3.4.5 Wiring the I/O Signal Connector (CN1)
Note: Do not pull or apply excessive force on the cable. Damage to the cable or con-
nectors may cause the product to stop operating or malfunction.
• Separate the I/O cable at least 300 mm from power lines (i.e., high-voltage lines, such as
the power supply line and servomotor main circuit cable).
• Be sure that the maximum wiring length of the I/O cable is 3 m.
Connection Diagram for Standard I/O Cable (Supplied by Yaskawa Electric )
The connection diagram connection diagram for the standard cable (JZSP-CHI003- cable with
connector) is shown below. If the I/O signal cable is prepared by the customer, refer to the diagram
below and wire the cable correctly.
Pin
No.
I/O Code Signal Name Lead
Color
Dot Mark
Number Color
1 Input /EXT1 External_Latch Orange 1 Black
2 Input /DEC Homing Decelaration Red
3 Input N-OT Reverse run prohibit Light gray Black
4 Input P-OT1 Forward run prohibit Red
5 Input +24VIN External input power supply White Black
6 Input E-STP Emergency stop Red
7 Output SG-COM Output signal ground Yellow Black
8 Red
9 Pink Black
10 Red
11 Orange 2 Black
12 Output ALM Servo alarm Red
13 Output /BK Brake Light gray Black
14 Red
Shell −− FG −−
Controller
Power supply
Separate by
300 mm or more
IMPORTANT
(φ5.6)
Plug (14P): 10114-6000EL
Shell Kit: 10314-52A0-008
3M
Host controller endSERVOPACK end
Applicable Wires:
AWG24 (0.2 mm
2
)
AWG26 (0.12 mm
2
)
AWG28 (0.08 mm
2
)
8 9 1011 13 1412
5432761
SERVOPACK Connector (Plug)
(Viewed from soldered side)
TOEP_C710806_03A_1_0.book Seite 39 Montag, 2. Juli 2007 3:55 15
 Loading...