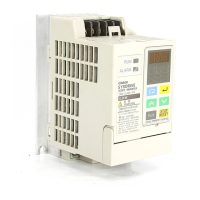
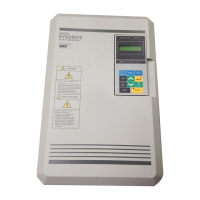
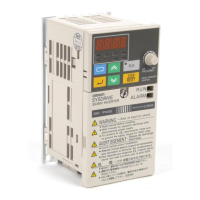
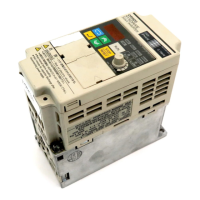
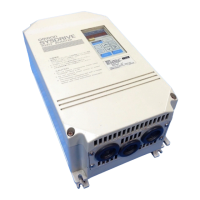
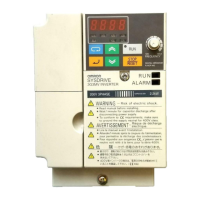
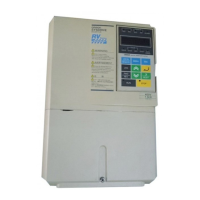
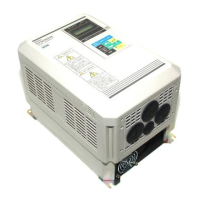
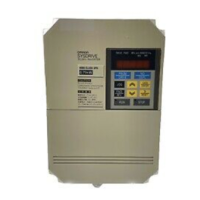
)
4-4 Test Run
After wiring is complete, perform a test run of the Inverter as follows. First,
start the motor through the Digital Operator without connecting the motor
to the mechanical system. Next, connect the motor to the mechanical sys-
tem and perform a testrun. Finally, operate the controller to make sure that
the sequence of operations is correct.
4-4-1 Checking Wiring
•Check that terminals R, S, and T receive power supply.
Three-phase input: 200 to 230 VAC, 50/60 Hz
Single-phase input: 200 to 240 VAC, 50/60 Hz (terminal R and S)
(Single-phase input is only applicable to 3G3EV-ABR.)
•Check that terminals U, V, and W are correctly connected to the motor power cables.
•Set an end unit as necessary.
•Do not connect the mechanical system to the motor. (The motor must be in no-load
status.)
4-4-2 Turning Power On and Checking Indicator Display
•Check that the ALARM indicator is not lit.
•Check that the RUN indicator is flashing.
4-4-3 Initializing Constants
•Set “8” in constant no. 01 to initialize constants.
•Set “0” in constant no. 02 to operate the Inverter with the Digital Operator.
4-4-4 Setting a V/f Pattern
•Set the maximum frequency (“FMAX” or constant no. 24), maximum voltage (“VMAX”
or constant no. 25), and maximum voltage frequency (“FBAS” or constant no. 26) ac-
cording to the operating conditions.
4-4-5 Setting Rated Motor Amperage
•Settherated motoramperage in constant no. 31 (electronic thermal referencecurrent)
or with the “THR” indicator lit.
4-4-6 Setting the Reference Frequency
•Set the frequency corresponding to the motor speed in constant no. 11 (frequency ref-
erence 1) or with the “FREF” indicator lit.
Chapter 4
 Loading...
