16
3.4 Electrical Grounding
This device employs a powerful laser. As discussed in the Safety Information above, it is extremely high voltage and
potentially dangerous, so users must securely ground it to avoid the buildup of static electricity. Using a standard
3-prong outlet will provide sucient grounding. If you do not have access to a 3-prong outlet, you MUST ensure
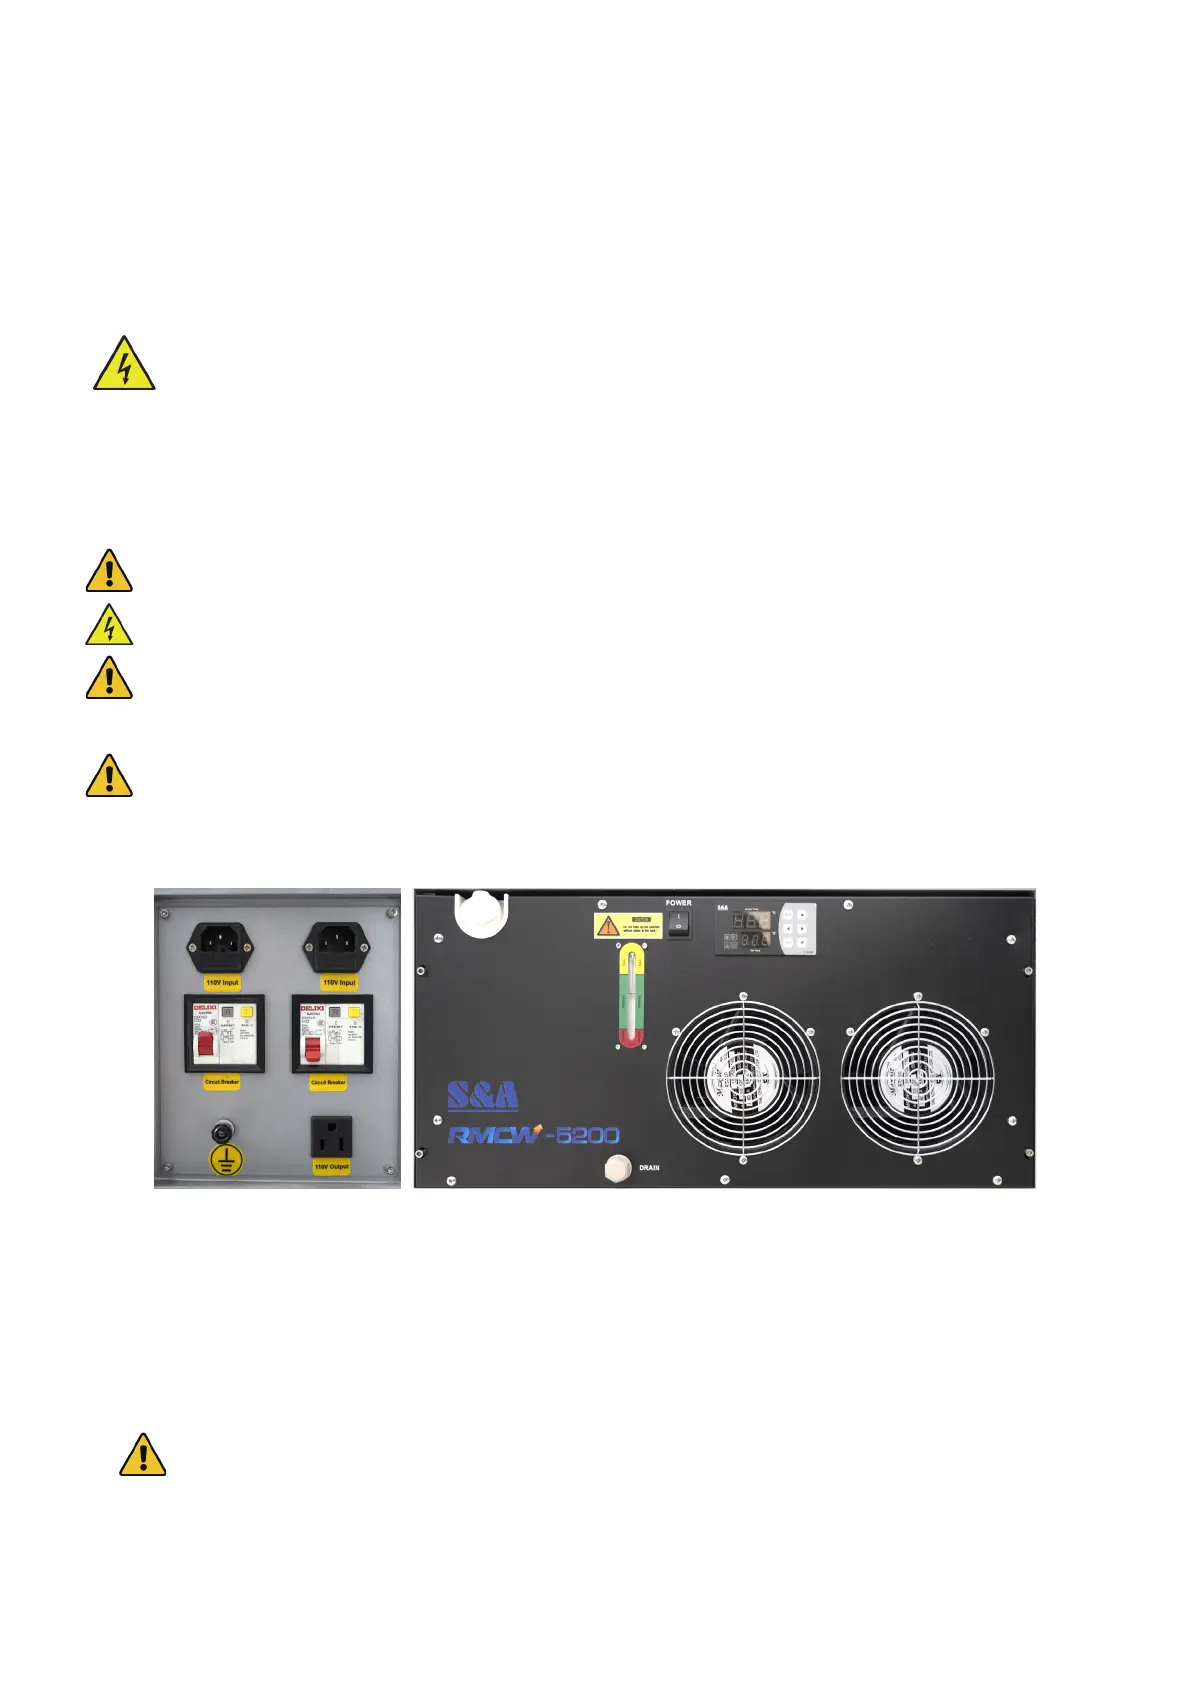
the proper connection of a grounding cable. The near end should be fastened to the ground port at the rear of the
machine. The far end of the cable should be securely connected to a metal rod driven at least 8 feet (3 m) deep into
soil located at least 5 feet (1.5 m) from the machine. The resistance along the line should be no greater than 5Ω.
Warning! Poor grounding WILL cause equipment failure and create a serious electrical shock hazard. The
manufacturer and/or seller bear(s) no responsibility and assume(s) no liability for any damage, accidents, or
injuries caused by bad grounding connections.
3.5 Water Cooling Setup
The provided water chiller is essential to your engraver’s performance and longevity. When this laser works
without a properly maintained cooling system, its glass tube WILL crack from excess heat.
NEVER adjust the water level within the chiller while it and the laser are connected to power.
Caution! The water chiller is not prelled with coolant. A LWAYS check whether the chiller has enough
coolant before turning the power on.
Always ll the chiller with distilled water or a custom-purpose laser-safe antifreeze. Using deionized or tap
water will gradually degrade the quality of your engraver and may even cause dangerous mineral buildup
within the cooling system. Never use generic antifreeze for the same reason. Fill the tank to the green
“NORMAL” level. (“FULL” is actually overlled.)
1. Remove the chiller port cap and ll the tank to a level near the top of the green “NORMAL” range on the gauge
with laser-safe antifreeze or with pure distilled water, depending on the specic weather conditions.
2. Wait for a couple of minutes and check the cooling liquid level in the chiller. If it is below “NORMAL”, use the
access keys to open the rear access door to carefully check the laser bay and bottom left access door for any
leakage. Once all tubes are checked, ll the tank to a level near the top of the green “NORMAL” range on the
gauge with more laser-safe antifreeze or with pure distilled water.
DO NOT proceed with the following steps if any leakage has been detected. IMMEDIATELY Contact
the customer service.
3. Connect one of the provided power cords to the top right power outlet at the rear of the engraver. You can connect
the engraver’s main power cord to the other outlet at the same time, but see §3.7 rst for important considerations.
4. Flip its circuit breaker on and ip the power switch on the chiller itself.