36
Step 11. It is recommended that you start each session by pressing . This lets you check that the laser will begin
where you want and that your material is correctly placed.
Activate the standard autofocus by tapping . The autofocus will be done automatically. The workbed
will be moving upward and then keep moving upward even though the laserable material has contacted
the laser head. This is normal. Feel at ease. After pressing against the laser head for a while, the workbed
will start moving downward and then stop at a perfect focal height.
Step 12. Tap to engrave your design. Do not stare continuously at the active laser even while wearing laser
glasses but watch during use for possible issues like sparks and be prepared to quickly extinguish a re
if necessary. Tap on the control panel to completely stop work, return to the beginning of the design,
and reset the laser head back to its origin.
If there is ever an emergency situation such as a re, DO NOT use the control panel to pause or stop
the engraving. Hit the emergency stop button IMMEDIATELY.
Step 13. Once the laser has stopped, examine the quality of your rst run and adjust the laser parameters on the
control panel or in your engraving software as necessary to create the desired eect.
By default, your chiller will attempt to keep its cooling liquid between 77° and 88°F (25–31°C) to ensure
optimal functioning. If this range restricts your work too much, for a somewhat shorter service life, you
can adjust the chiller’s settings. (See §5.12 below.) The laser tube should still be able to run indenitely so
long as the cooling liquid remains below 100°F (38°C). Once this temperature is reached, however, stop
work and allow time for your system to cool before resuming use.
Step 14. Once you have nished engraving, close your software and then turn o your machine in the following
order: turn and remove your laser key, turn the ammeter down, and press the emergency stop. Allow time
for the ventilation and cooling systems to continue running, cooling the laser and removing any remaining
fumes or dust. Turn o the external fan, then the water chiller, and then the circuit breaker at the rear of
the engraver.
Step 15. Fully clean the workbed and check if the lens or any mirrors require cleaning. Use the bottom left access
panel to remove, empty, clean, and replace the debris tray. Store everything neatly away.
4.3 Rotary Operation Instructions
The base model of the PRO 2440 does not come with a rotary axis but is compatible with
standard four-pin models.
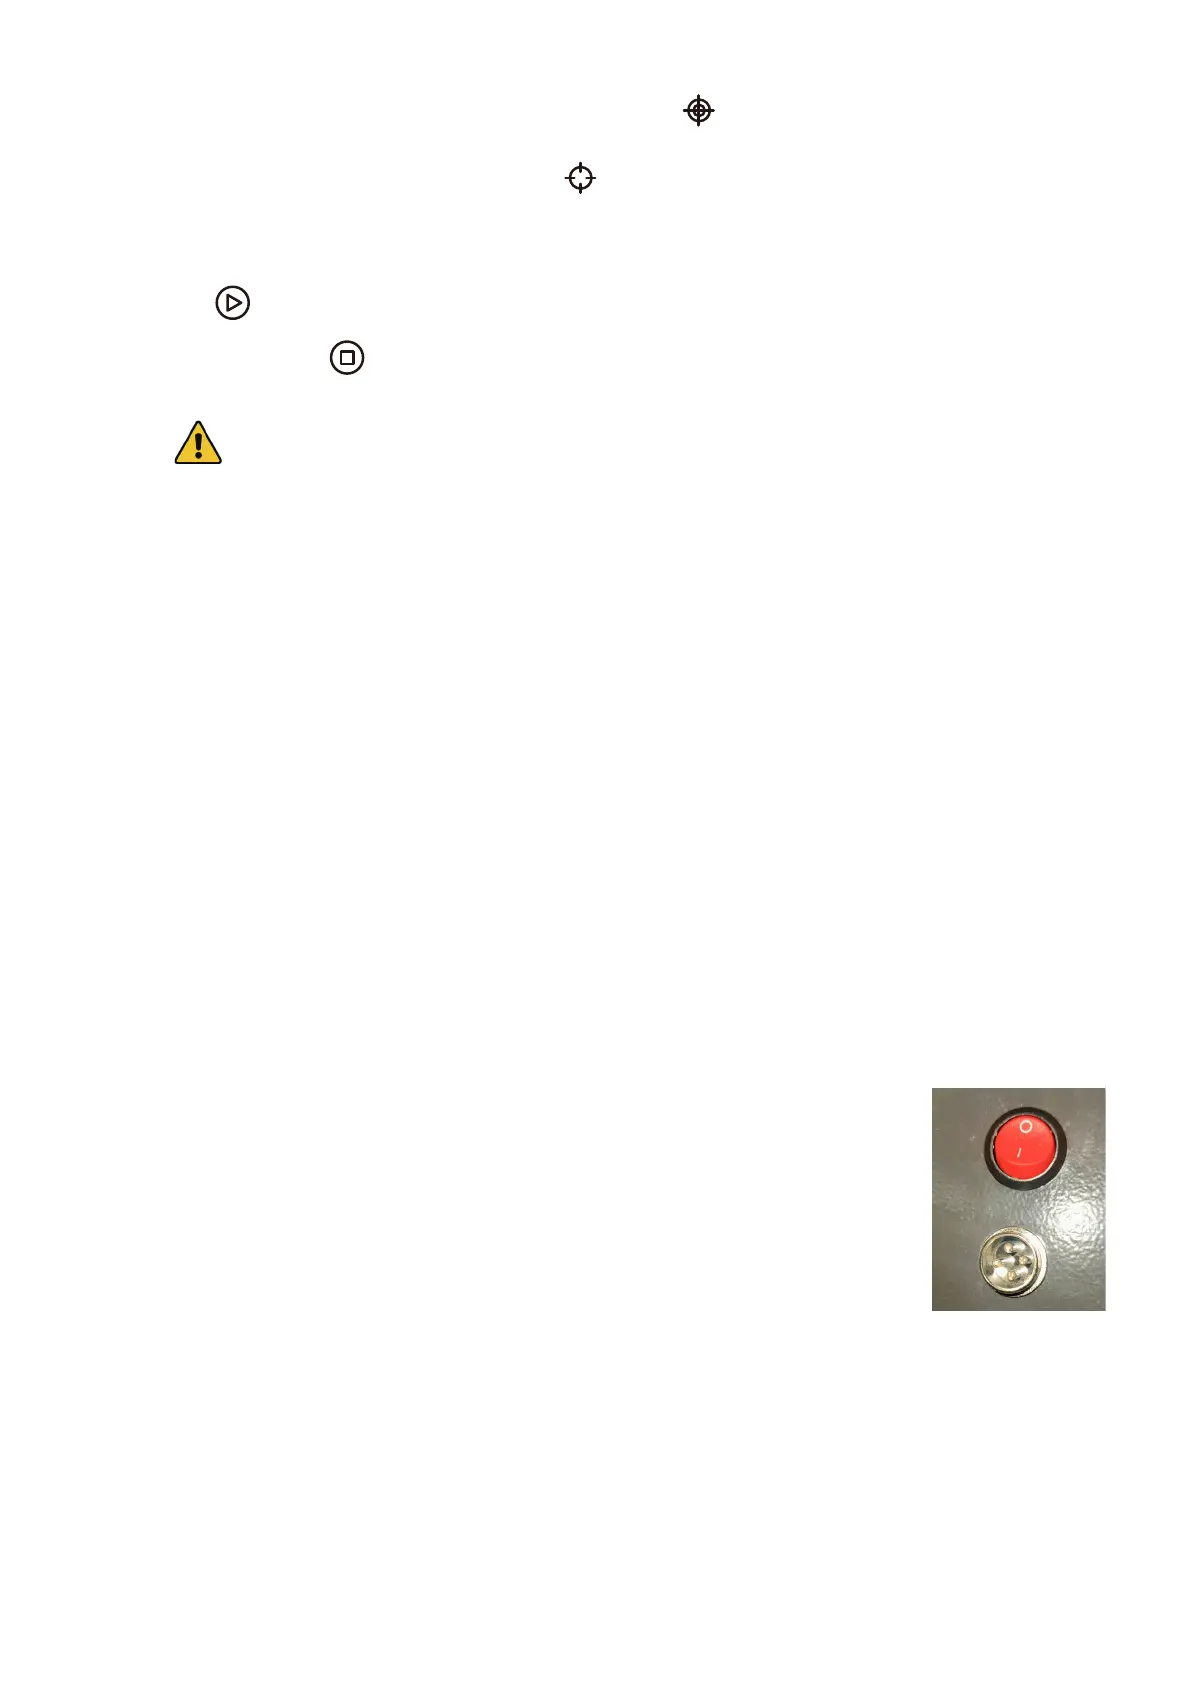
To use a compatible rotary axis, remove the steel saw bed, place your rotary axis in an open
area, and connect its cord to the rotary port at the back of the main bay. Flip the rocker
switch to I and, if necessary, lower the aluminum knife bed to provide room for the laser
head to pass over your axis and material.
4.4 Instructions for Specic Materials
The following instructions are suggestions to help speed safe work with a range of materials. The user should research
the specic safety and engraving requirements of their specic material to avoid the risk of re, hazardous dust,
corrosive and poisonous fumes, and other potential problems. Once the product is known to be safe or appropriate
protective equipment has been set up, it can be helpful to engrave a test matrix of small boxes produced at various
speed and power settings to discover the ideal settings for your design. Alternatively, start with low power and fast
speed settings and rerun your design as many times as needed, using progressively greater laser intensity.