U
U
s
s
e
e
r
r
m
m
a
a
n
n
u
u
a
a
l
l
10
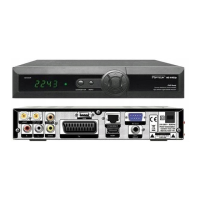
TV: This is used to connect your TV through SCART cable.
HDMI: Audio and Video output socket for TV set with HDMI Input Jack only.
12V 50mA: Used to connect 12V to an external device. (Optionally 0V/12V switch driver.)
USB: USB 2.0 Host, connect to USB hard disk, or flash disk
RS 232C: This is used to connect your receiver to a computer through a serial cable.
Ethernet: Network port, you can get a new software updates from this port. (Optional)
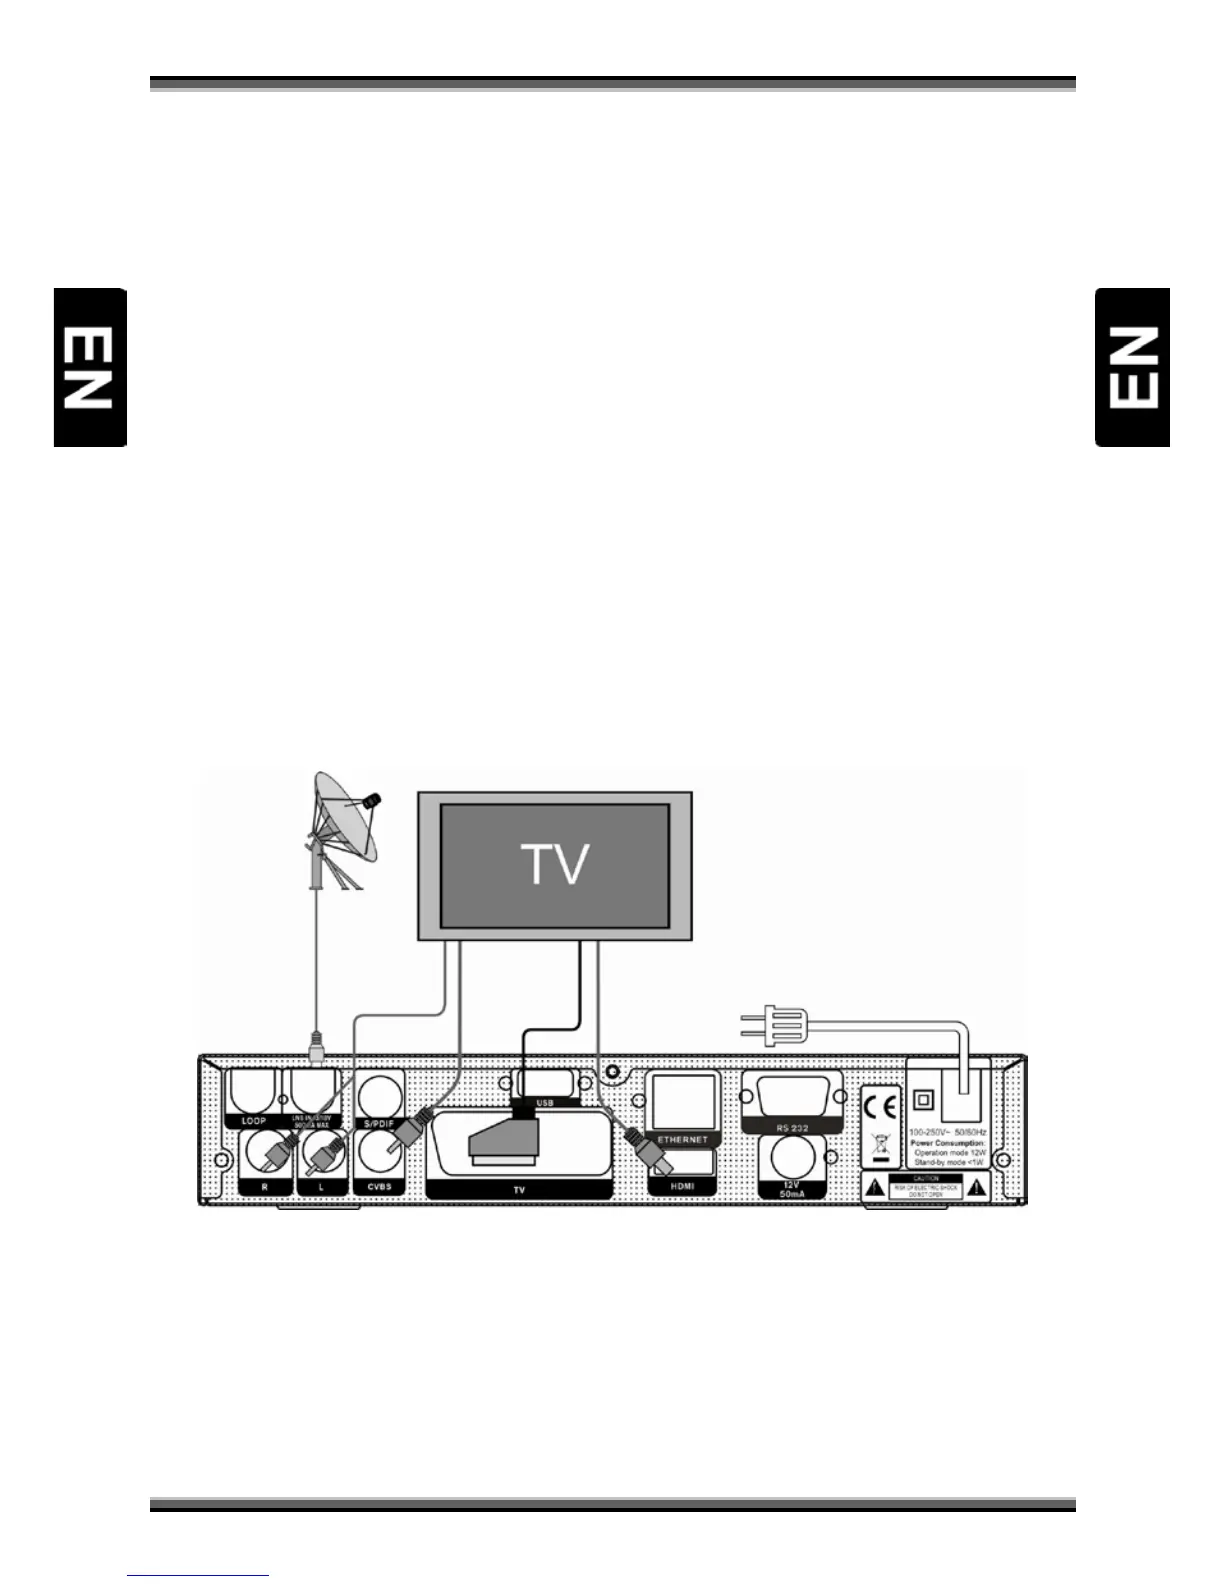
8. Connecting Your system
There are three ways to connect the receiver to your existing TV system. We recommend using one of the
following cases for the best result:
1. If you have a high definition television set, you should use a HDMI cable for best result, Plug one end of
the cable into the HDMI socket on the receiver, and the other end into the matching socket on your
television. In this case, you do not have to make audio connections because the HDMI connector can
output stereo audio or Dolby digital audio.
2. Connect one end of SCART cable to the TV (SCART) jack on the back of the receiver and the other end to
a SCART jack on your TV.
3. Connect one end of RCA cable to the RCA jack on the back of the receiver and the other end to a RCA
jack on your TV.
Finally connect the coaxial cable from LNB to the LNB IN jack on the receiver.
With External Audio / Hi-Fi System
To connect any external Audio Hi-Fi system, the receiver has been provided with two RCA connectors at
the back of the receiver marked with Audio L and R.
Connect an RCA stereo cable from the AUDIO L, R jacks on the back of the receiver to the LINE, AUX,
SPARE OR EXTRA input jacks on your Hi-Fi System.