U
U
s
s
e
e
r
r
m
m
a
a
n
n
u
u
a
a
l
l
24
information, it will be showed up while this
function is “On”. If this function is “Off”, there
won’t show up subtitle information even if the
current channel has subtitle information.
2.Auto Power Down: Enables to set time of
automatic power down of receiver when user not
use any front panel and remote controller buttons.
3.Panel Power In Standby: Enables to decide about
front panel in standby mode. “On” will display
clock with actual time. “Off” will display only red
Power LED.
4.Loop Control: Enables to activate/deactivate
loop function of tuner in standby mode.
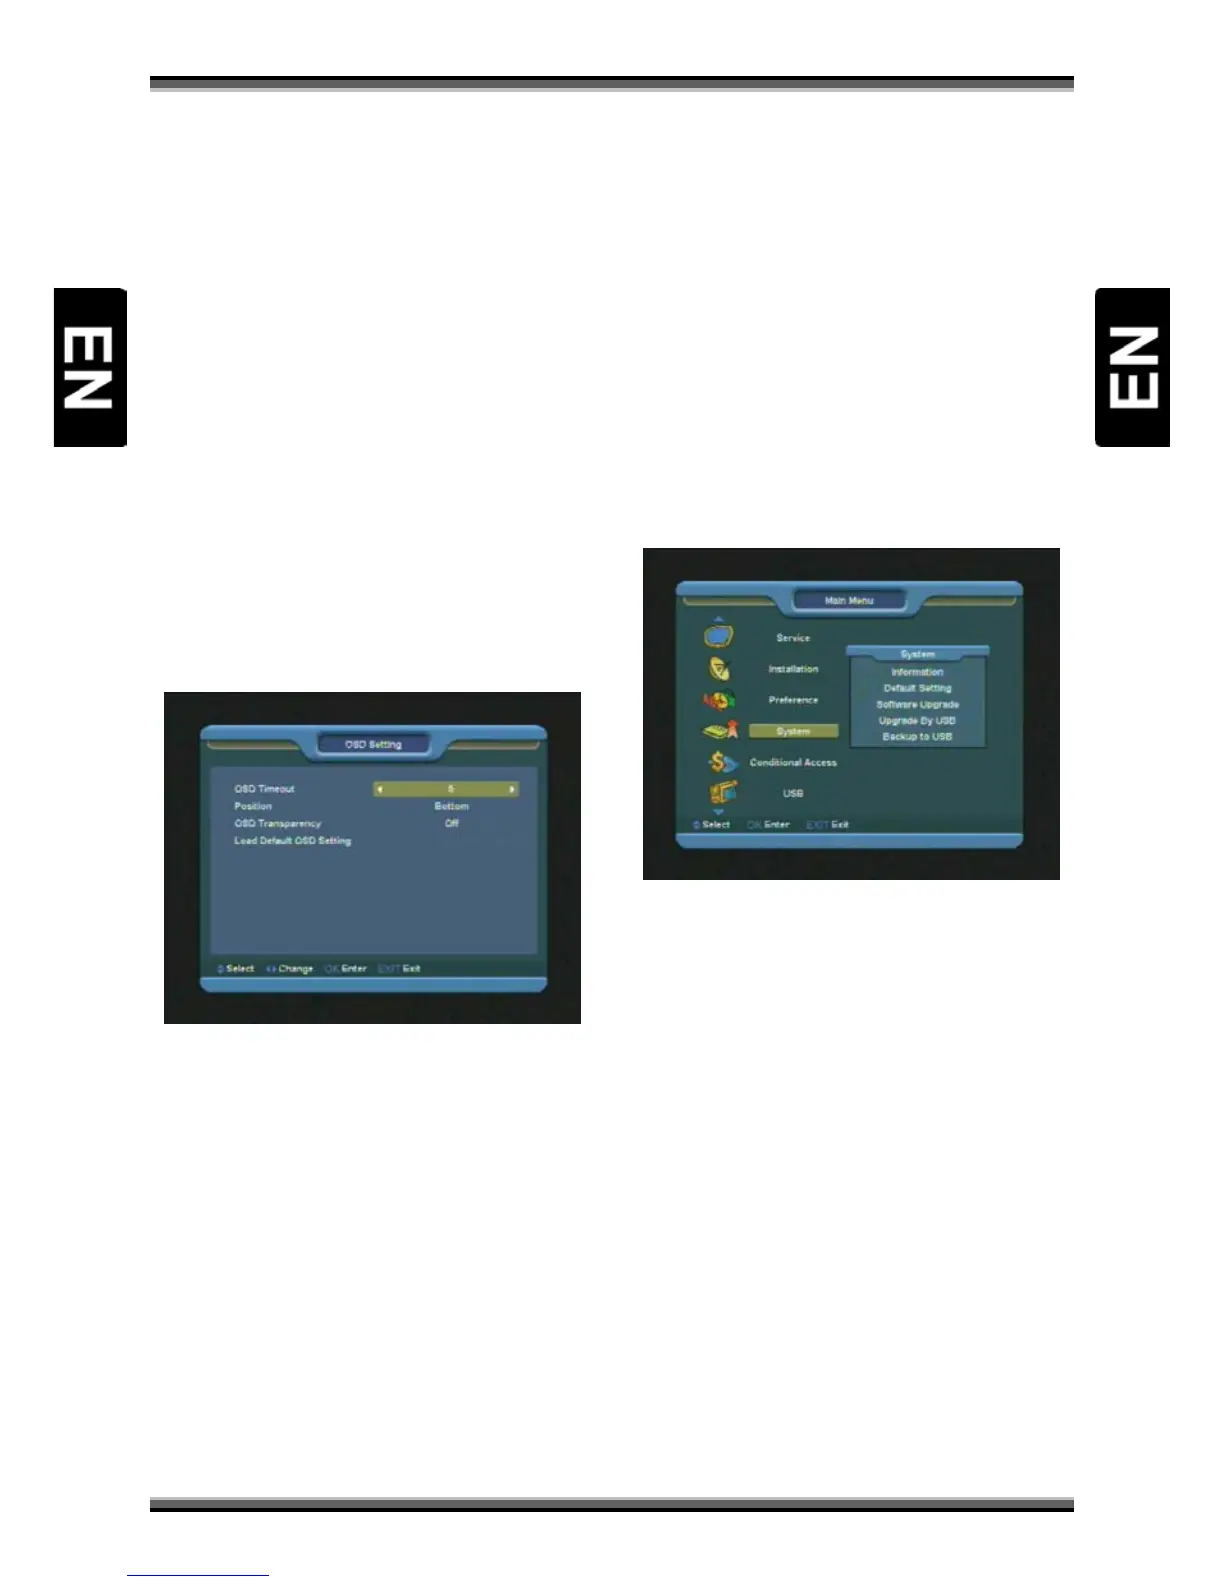
12.7. OSD setting
When you input to “OSD Setting” menu, you will
see a screen like below:
1.OSD Timeout: When you switch channels in full
screen, there will show up some information
about current channel on the lower of the screen.
And regarding to the duration of these
information show up on the screen, you can press
[←/→] key to set the time. The range of the
duration is 1 – 10 seconds.
2.Position: control display position of the info bar
in full screen mode. You can choose “bottom” or
“top”.
3.OSD Transparency: You can set the transparency
of OSD. You can press [←/→] key to select the
values. There are 5 levels of transparency, 10%,
20%, 30%, and 40% and “off” (means no
transparency function).
4.Load OSD Setting Default: If you are not satisfy
with your setting, you can move highlight to this
item and press [OK] key to reset parameters as
default value.
Press [EXIT] key to draw back from the “OSD
Setting” menu.
13. Menu “System”
When you enter to “System” menu, you will see a
screen like below:
In “Tools” menu:
1.Press [↑/↓] key to select menu items among
Information, Default Setting, Software Upgrade,
Upgrade by USB, Backup to USB.
2.Press [OK] key to enter the selected item.
13.1. Information
1.When you enter to “Information” menu, you will
see a screen like above. The screen displays
software, loader and hardware information.
2.Press [EXIT] key to draw back to “Tools” menu.