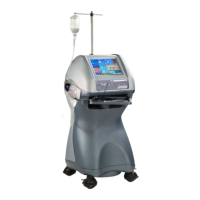
PULSAR
2
ESP
Installation and Operating Manual
OPTIKON 2000
Cod. 111007EN Rev.E
6-1
6 INSTALLATION
6.1 INTRODUCTION
This section details a recommended installation procedure for the PULSAR
2
surgery
system. The operational checks, however, which are performed after the system
installation to verify equipment operation, must be performed exactly as indicated
and should not be regarded as recommended practice or encouragement for
surgical operating room procedures.
To bring your PULSAR
2
surgery system in operation, a series of cable and tubing
connections for control console, footswitch, handpieces and I/A system must be
made.
Follow the installation and operating instructions carefully in a step by step
manner and, within a short time, you will have gained all the knowledge needed
for successful operation of your PULSAR
2
surgery system.
6.2 UNPACKING AND INSPECTION
This unit has been packaged to minimize the risk of damage in shipment. Unwrap
the package and examine the components. Handle all components with care during
unpacking. Use caution cutting the wrapping to ensure that the cut does not
penetrate the packing and damage the components. If external or internal shipping
damage is discovered, notify the carrier (mail, railways or forwarding agents) and
OPTIKON 2000 as soon as possible. Check the contents against the packing list and
notify OPTIKON 2000 immediately of any discrepancies.
6.3 INSTALLATION PROCEDURE
The following procedure should be observed to install the system:
1. Unpack the equipment and its accessories.
2.
Place the PULSAR
2
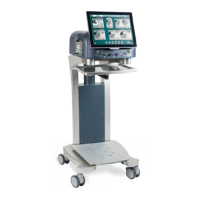
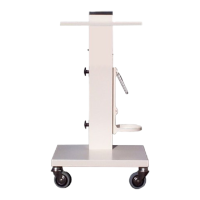
unit on the 181004/181001 Cart or on a secure surface.
3. Unwrap the handpieces and microsurgical instruments, place them in a
secure location to prevent accidental dropping.