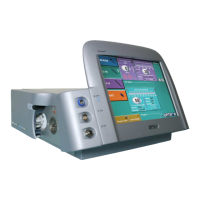
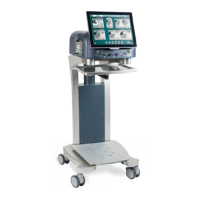
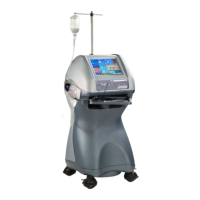
PULSAR
2
ESP
Installation and Operating Manual
OPTIKON 2000
Cod. 111007EN Rev.E
7-8
7) REMOTE CONTROL
This is the remote control connector.
8) POWER
This is the A.C. voltage input of the module. The mains fuses are located in this
device. The mains voltage selector, on the fuse holder cover, must be set to the
voltage available at your location.
9) FOOTSWITCH CONNECTOR
This is the system footswitch connector socket. Footswitch depression activates
the PULSAR
2
functions.
10) AIR INPUT
Through this input compressed air is supplied to the unit. FILTER OUTLET (Fig.3
No.5) must be connected to it.
11) EXHAUST PIN VALVE
This is the discharge valve for the humidity condensed in the gas filter. Gently
depress the valve to evacuate water from the filter glass container.
12) I.V. POLE CONNECTOR
This connector provides a direct interface to the OPTIKON 2000 S.P.A.
AUTOMATIC I.V. POLE.
13) POWER (ON/OFF MAINS SWITCH ASSEMBLY)
The power switch is used to switch on/off the unit. The Mains fuses and the
power cord socket are located close to this switch.
14) EXPANSION UNIT CONNECTOR
This connector controls an auxiliary OPTIKON 2000 S.P.A. equipment that
complements the PULSAR
2
by extending its range of use to the surgery of the
posterior segment of the eye.
15) AIR OUTPUT
This connector delivers air at a regulated pressure to the silicone injection
system of the VIT MODULE.