Chapter 13 - Where to find features
Method Description
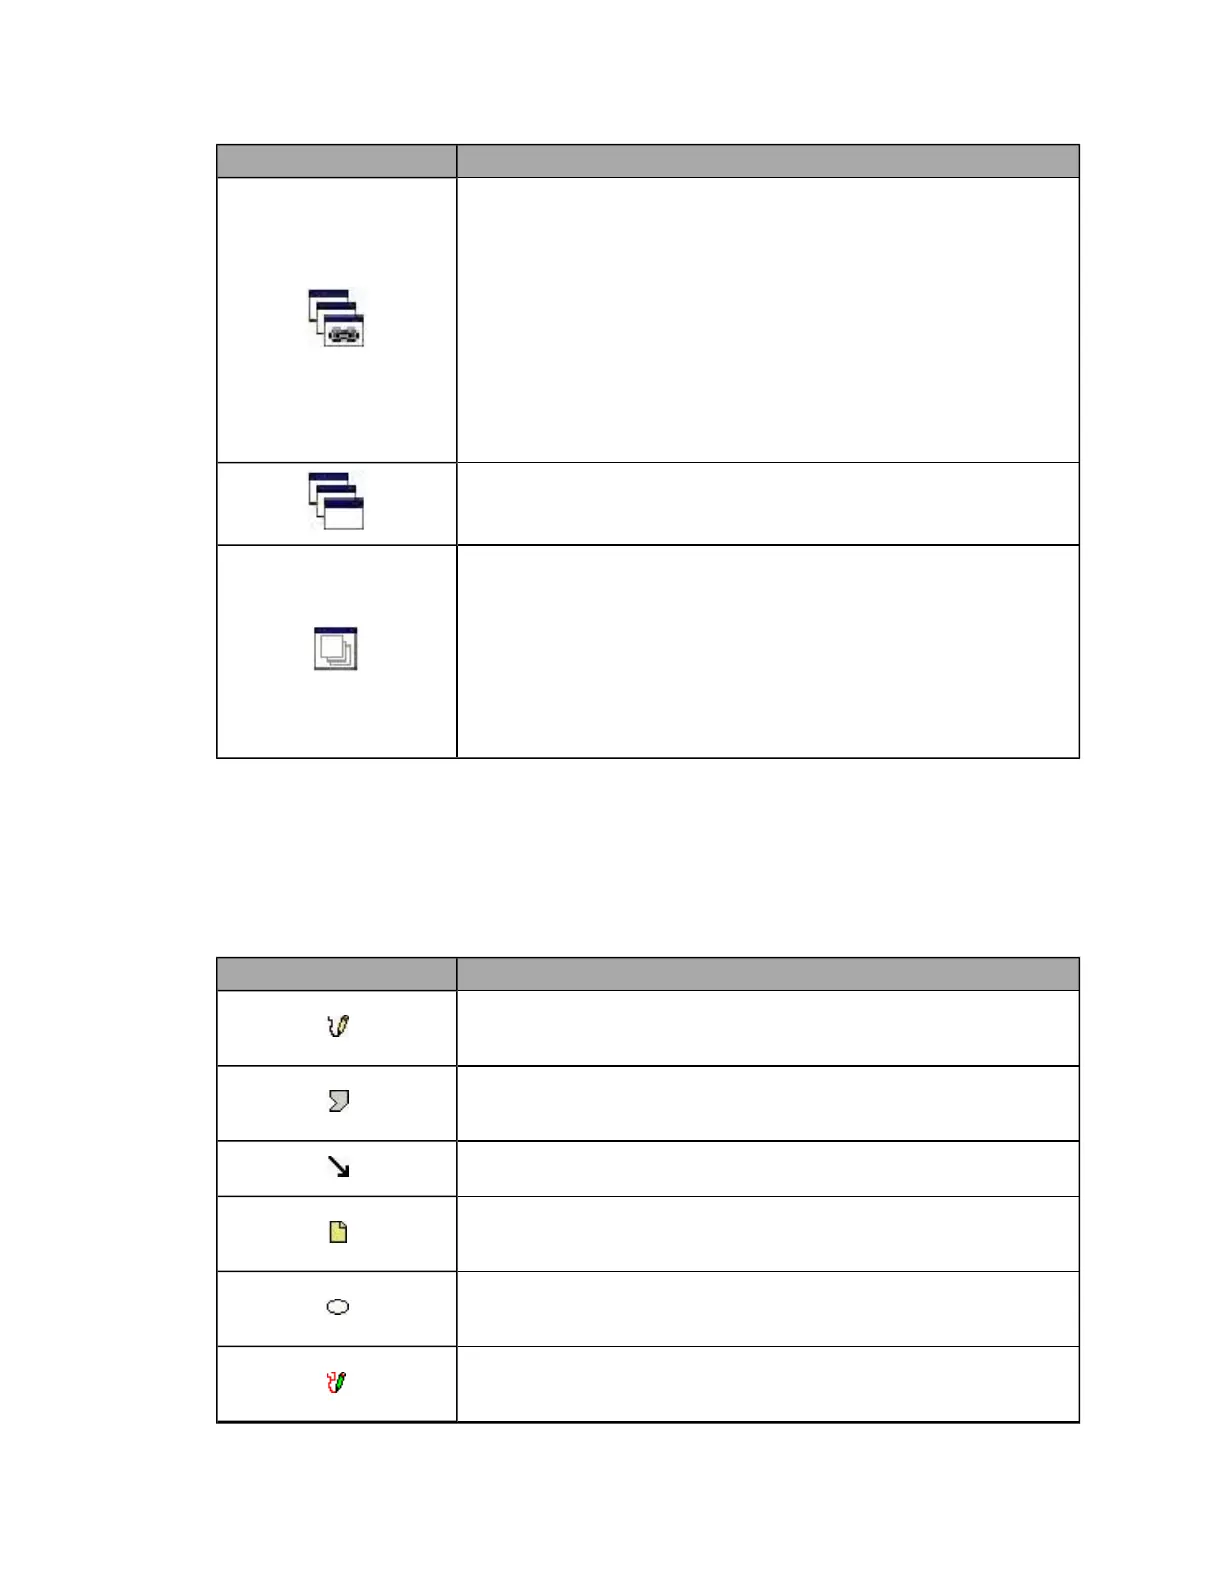
Linked Images
To review and compare several images while keeping the same area of
each image in view, open the images using the Open in Linked Windows button
in the Patient History window, see About the Patient History view on page 35.
Linked windows zoom, pan and move together. In addition, color
separations applied to one window are also reflected in other linked
windows. However, image adjustments such as Restore, Optimize, Gamma
adjustment etc, are only applied to the selected window.
When you navigate to a retinal feature in one image the other linked
images will display the same relative position. This method is particularly
useful when comparing multiple images of the same eye. Left and right eye
pairs will horizontally scroll in opposite directions.
Separate Multiple Images
To review several images separately, but open the images at the same
time use the Open in Unlinked Windows button from the Patient History window.
Stacked Images
To review and compare several images in a large view window, open the
images using the Open in Image Stack Window button from the Patient History
window. This view stacks the images on top of each other and you select
by paging through the stack.
When an optomap® fa series is selected, this option will open the Image
Series view. This view displays all the images in the series and lets you
select the images you want to open. The Image Series view lets you open the
selected images in Linked, Unlinked and Stacked views.
Annotations, retinal drawings and measurements
Annotations are graphical mark-ups drawn onto to the image. Retinal drawings and measurements are
special annotations. Retinal drawings are used to indicate specific information, for example arteries,
detached retinas and exudates. Measurements calculate distance and area parameters on the image. The
calculated results are added to the image as annotations.
Some special annotations are restricted depending on the type of image being reviewed, see About
annotations, retinal drawings and measurements on page 52.
Button/Section Description
Freehand annotation tool
Hold down the left mouse button and draw around the area. Double-click
the mouse button to complete the shape.
Polygon annotation tool
Click points to draw lines around the area. Double-click the mouse button
to complete the shape.
Arrow annotation tool
Click to mark the arrow head, then click again to mark the tail.
Note annotation tool
Hold down the left mouse button at the top left corner of the note and drag
to the bottom right corner. Type information into the note.
Ellipse annotation tool
Hold down the left mouse button at the top left corner of the ellipse and
drag to the bottom right side.
Retinal Drawing tool
Click to display the retinal drawing palette. Select the pathology type you
want to annotate and mark-up the image.
89 of 100