Operation
31
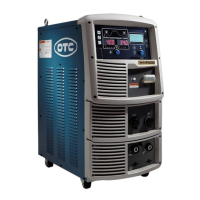
DTX-2200-3000 AC/DC
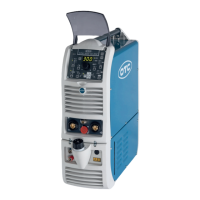
The value for the welding parameters can be regulated using the ENCODER knob (E).
5) To exit these functions hold the WELDING PARAMETERS SELECTION key (T10) down for about 1
second, after which the DISPLAY INDICATION LED switches on and the welding machine is once
again ready to weld at the current indicated on the DISPLAY (D).
6) Once the all the selections/regulations indicated above have been made, welding can begin.
7) During the welding process the DISPLAY (D) shows the real Amps (A) at which the operator is actually
welding.
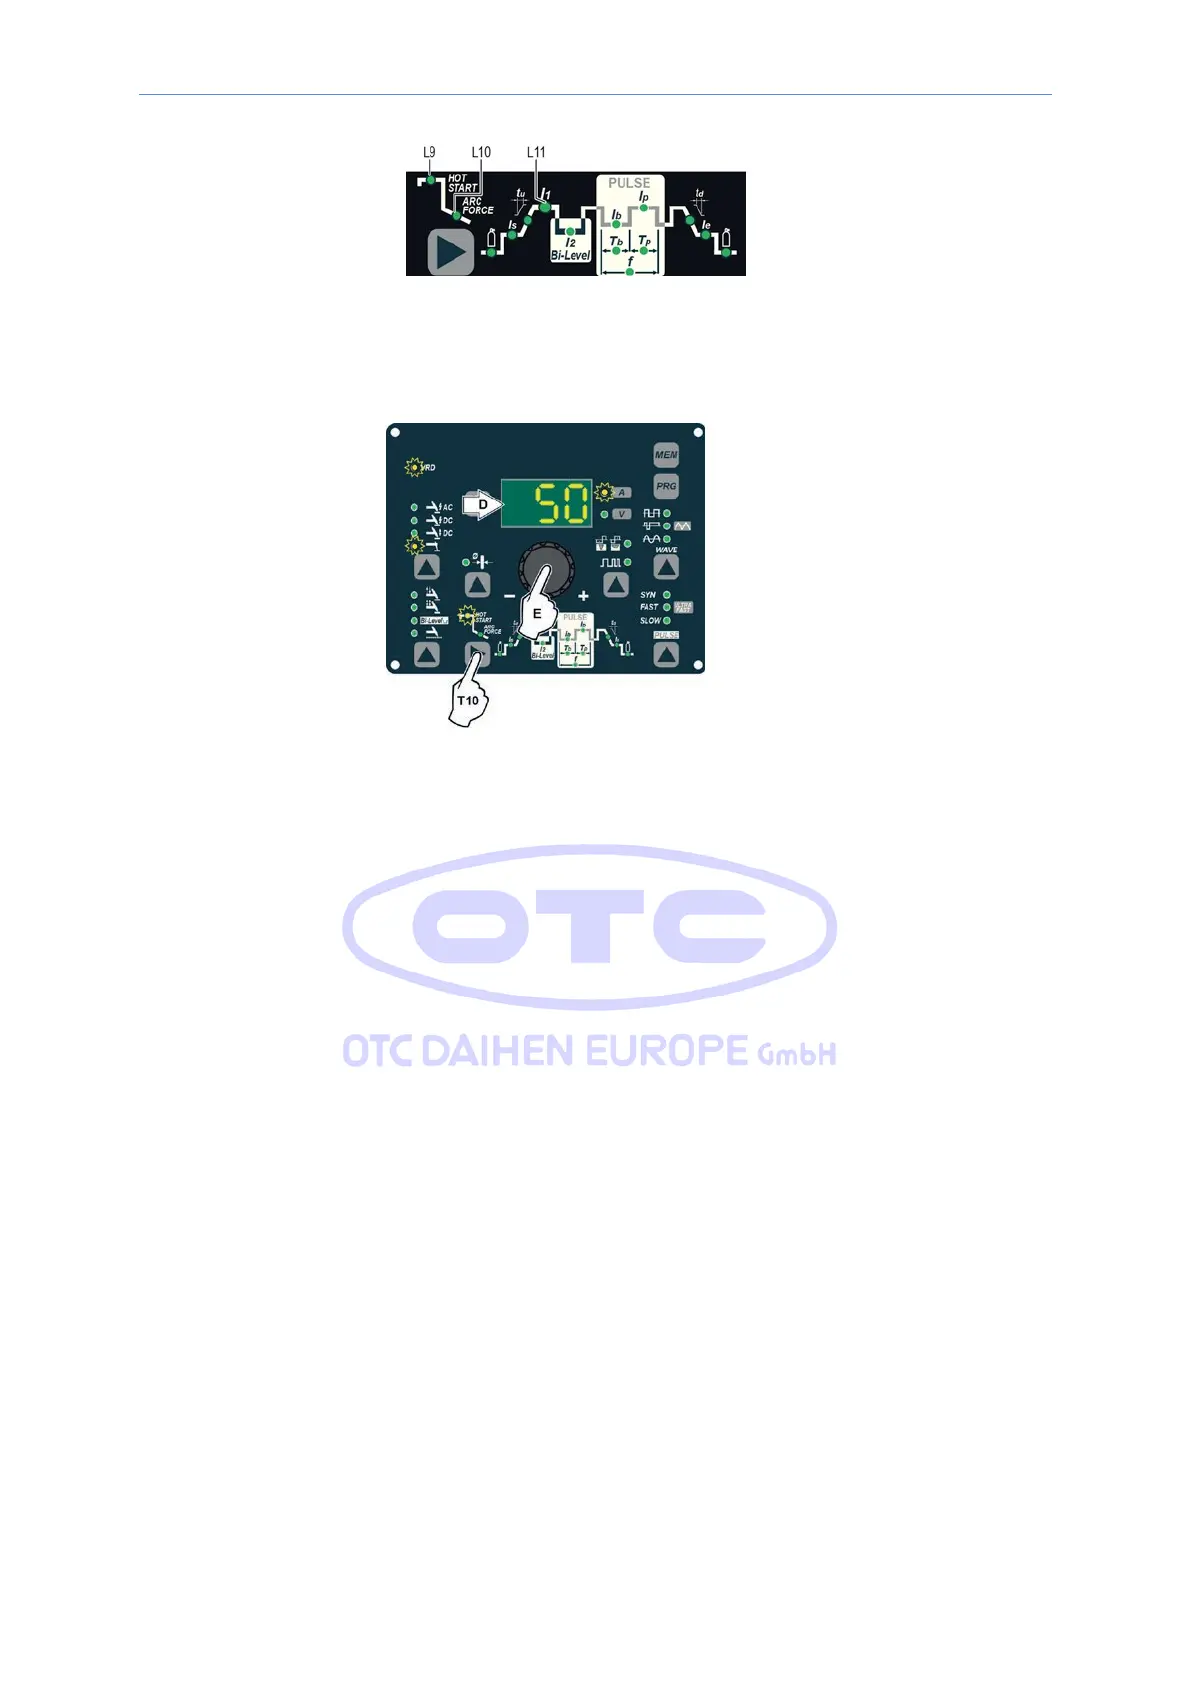
14.3.4 TIG “AC” welding
1) Start the welding machine by turning the power supply switch to position I.
2) Push the WELDING PROCESS SELECTION key (T7) to select the TIG “HF AC” welding processes for TIG
welding in alternating current with high frequency (HF) ignition.
3) ELECTRODE DIAMETER
SELECTION
Select
the
diameter
of the
electrode
to
achieve
the best control of ignition in a synergic manner. Selection is done
by pushing the
ELECTRODE
DIAMETER Key (T8)
(ELECTRODE
DIAM- ETER LED flashing) and using the
ENCODER Knob (E)
to
regulate the value indicated on the DISPLAY (D).