Operation
40
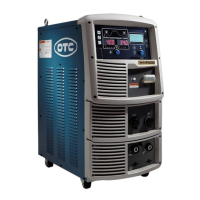
DTX-2200-3000 AC/DC
1) Start the welding machine by turning the power supply switch to position I.
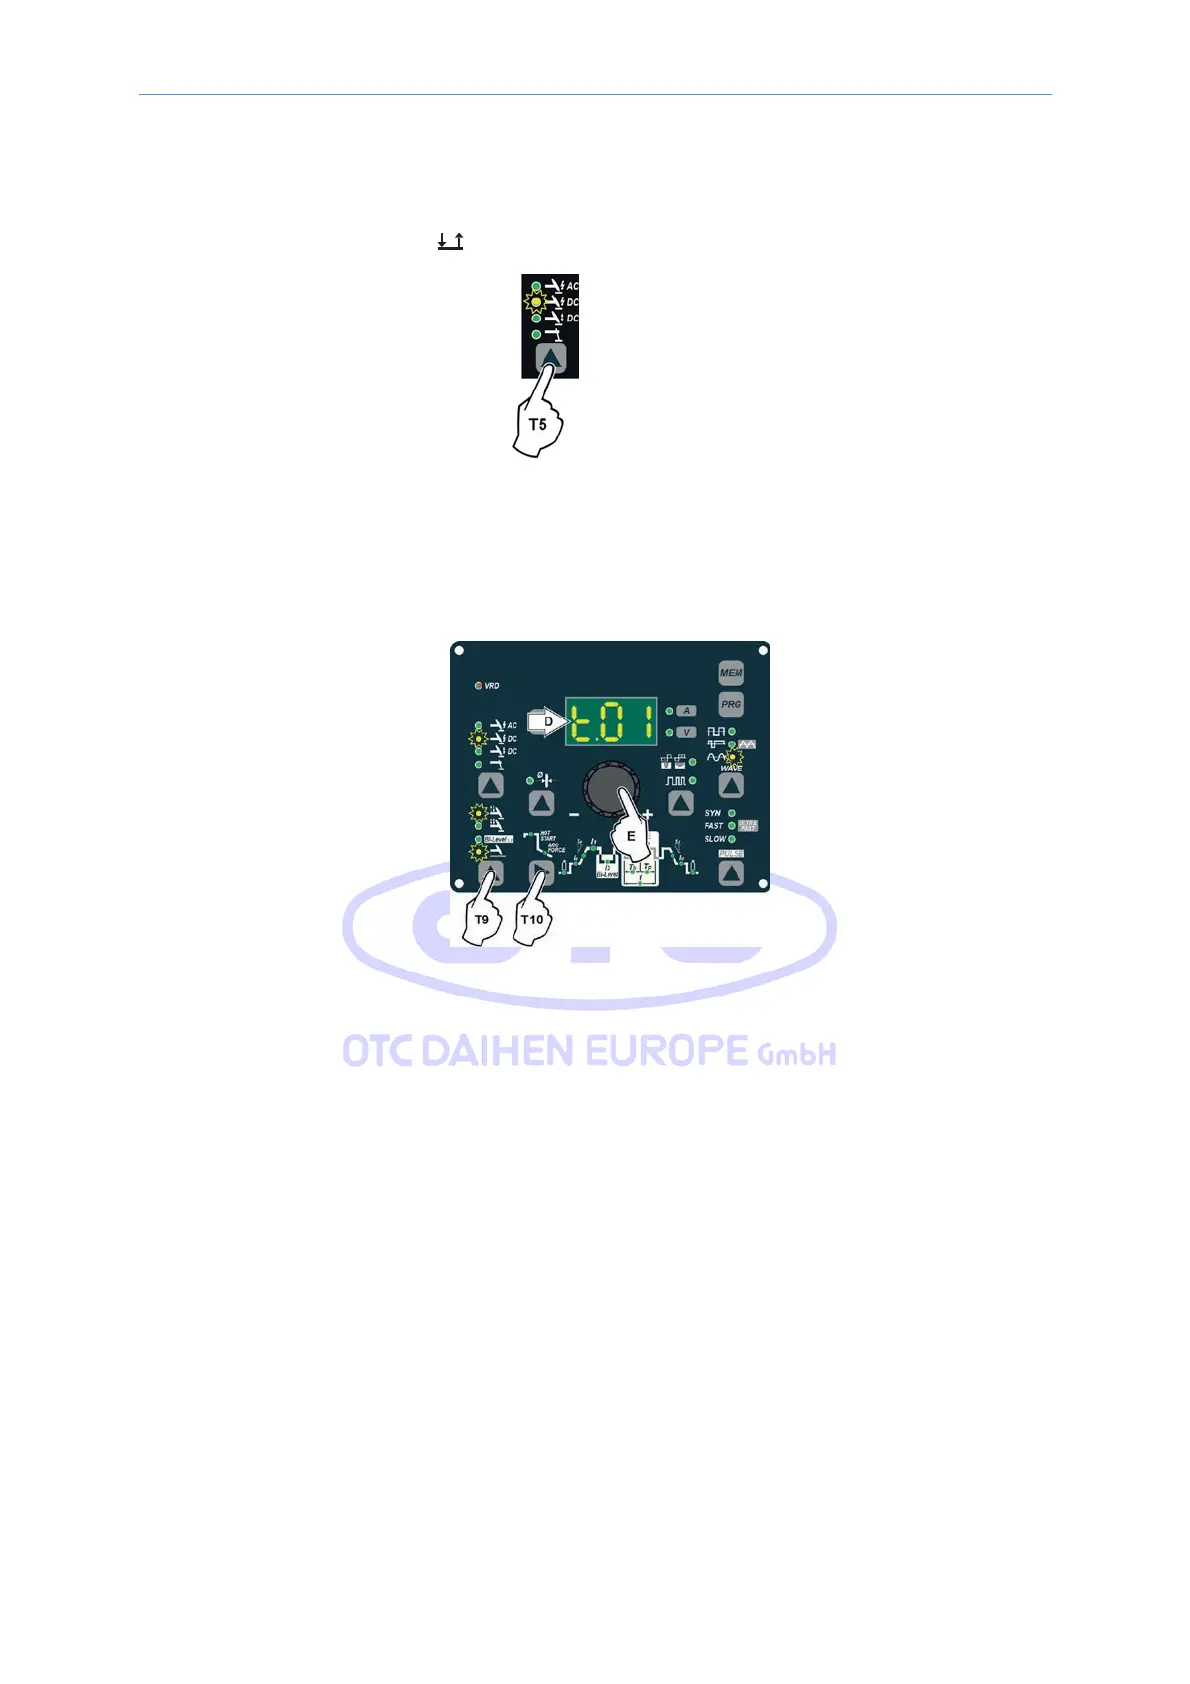
2) Push the SELECT WELDING PROCESS (T5) key and select the TIG DC process, with HF ignition.
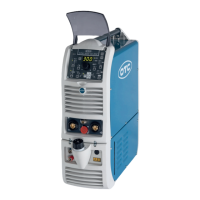
3) Press the WELDING MODE SELECTION Key (T9) and go to one of the SPOT WELDING ColdTack
function. The TACK WELD and LEDs are lit continuously.
4) Press and release the WELDING PARAMETERS SELECTION Key (T10) until the SPOT WELD LED starts
flashing.
5) Rotate the ENCODER knob (E) to set the SPOT WELDING time required (0,01-10,0 sec).
6) By pushing the WELDING PARAMETERS SELECTION (T10) key a number of times it is possible to set the
various TIG WELDING PARAMETERS (see the “TIG Welding” paragraph - WELDING PARAMETERS).
7) Hold the SELECT WELDING PARAMETERS (T10) key down to save the parameters chosen.
8) Once the all the selections/regulations indicated above have been made, welding can begin. Ignite the arc
using “distance” ignition or by touching the work piece to be welded with the tungsten tip. In the latter case,
the “Perfect-Point” mode is activated.
9) During the welding process the DISPLAY shows the real Amps (A) at which the operator is actually welding.
14.3.8
TIG HF DC welding with TACK function active and multi
ColdTack point
The Multi-ColdTack function can be used for cold tacking in quick succession, to further extend the benefits of an
individual ColdTack point. Thanks to the “Perfect-Point” mode, ColdTack guarantees perfect centring of the
welding point. The “Perfect-Point” mode is activated by touching the work piece to be welded with the tungsten
tip, at the exact point at which you wish to do the tack weld. Proceed as follows: