3.14.1 4-20mA range
Selecting the 4-20mA Range option opens a window similar
to Figure 28 below.
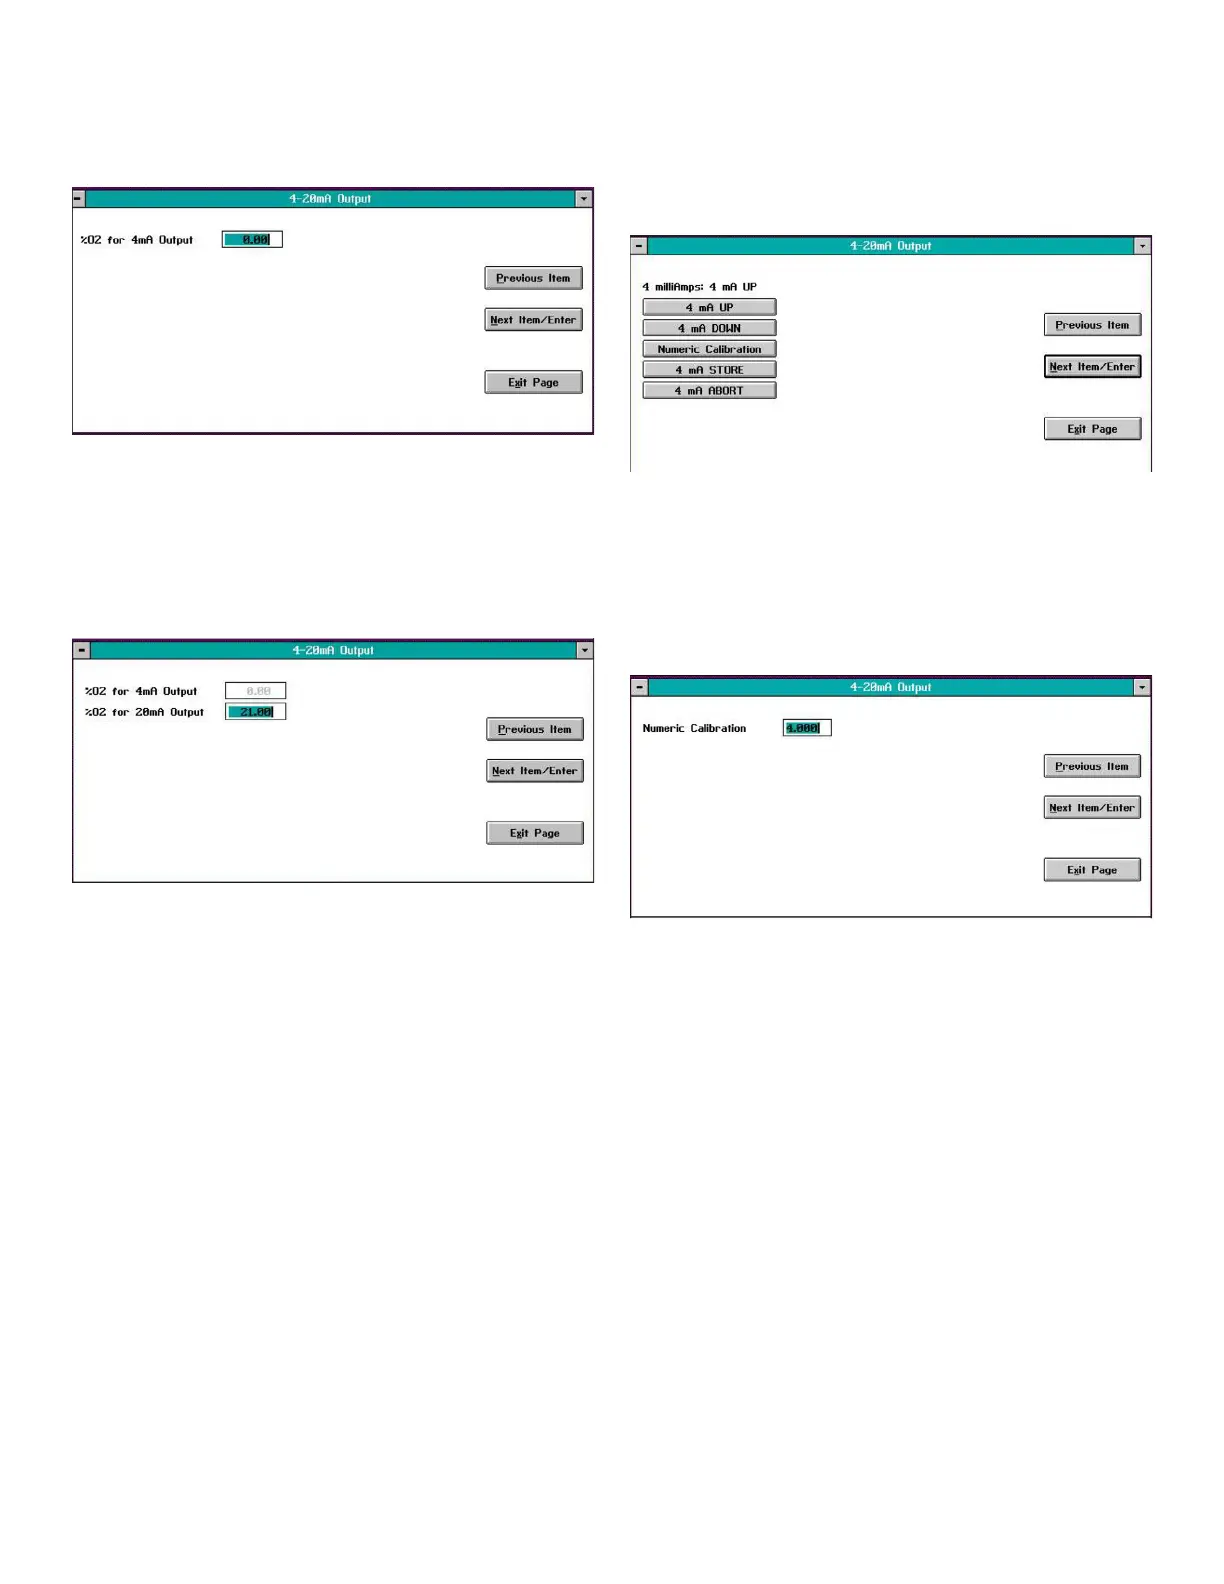
Figure 28: 4 mA output %O2 window
In the text box, enter the oxygen percentage in the sample
gas that should generate an analog output of 4 mA. Then,
click on the Next Item/Enter button to confirm the entry (click
the Previous Item or Exit Page button to exit the window
without changing the existing value) and open a window
similar to Figure 29 below.
Figure 29: 20 mA output %O2 window
In the text box, enter the oxygen percentage in the sample
gas that should generate an analog output of 20 mA. Then,
click on the Next Item/Enter button to confirm the entry (click
the Previous Item or Exit Page button to exit the window
without changing the existing value).
The next window requires you to either Clamp 4-20mA
Output or not. Select either No or Yes from the list box and
click on the Next Item/Enter button to confirm the entry (click
the Previous Item or Exit Page button to exit the window
without changing the existing value).
Note: A clamped output cannot display measurements
outside the programmed 4-20 mA analog output
range, while a reading that is not clamped can display
measurements outside the programmed range.
3.14.2 4mA Cal
Click on the 4mA Cal button to open a window similar to
Figure 30 below and force the analog output to exactly 4.00
mA. This allows you to calibrate the 4 mA point of the analog
output signal.
Figure 30: 4mA cal window
Use an ammeter connected to the analog output terminals
on the rear panel to monitor the 4-20 mA output signal.
Calibrate the 4 mA point by clicking on the UP and/or
DOWN buttons until the ammeter reads exactly 4.00 mA.
Alternatively, you can click on the Numeric Calibration
button to open a window like Figure 31 below.
Figure 31: Numeric calibration window
Enter the desired current reading (4.00) in the text box and
click on the Next Item/Enter button (click on the Previous
Item or Exit Page button to close the window without
changing the value).
After you have calibrated the 4 mA signal, click on the
4mA STORE button to save the calibration. However, if the
calibration is not satisfactory, click on the 4mA ABORT button
to cancel the calibration.
3.14.3 20 mA Cal
Repeat the instructions in the section above to calibrate the
20 mA point of the analog output signal.
24