To enter your background gas labels click on the Yes button
above. A window similar to Figure 40 below opens.
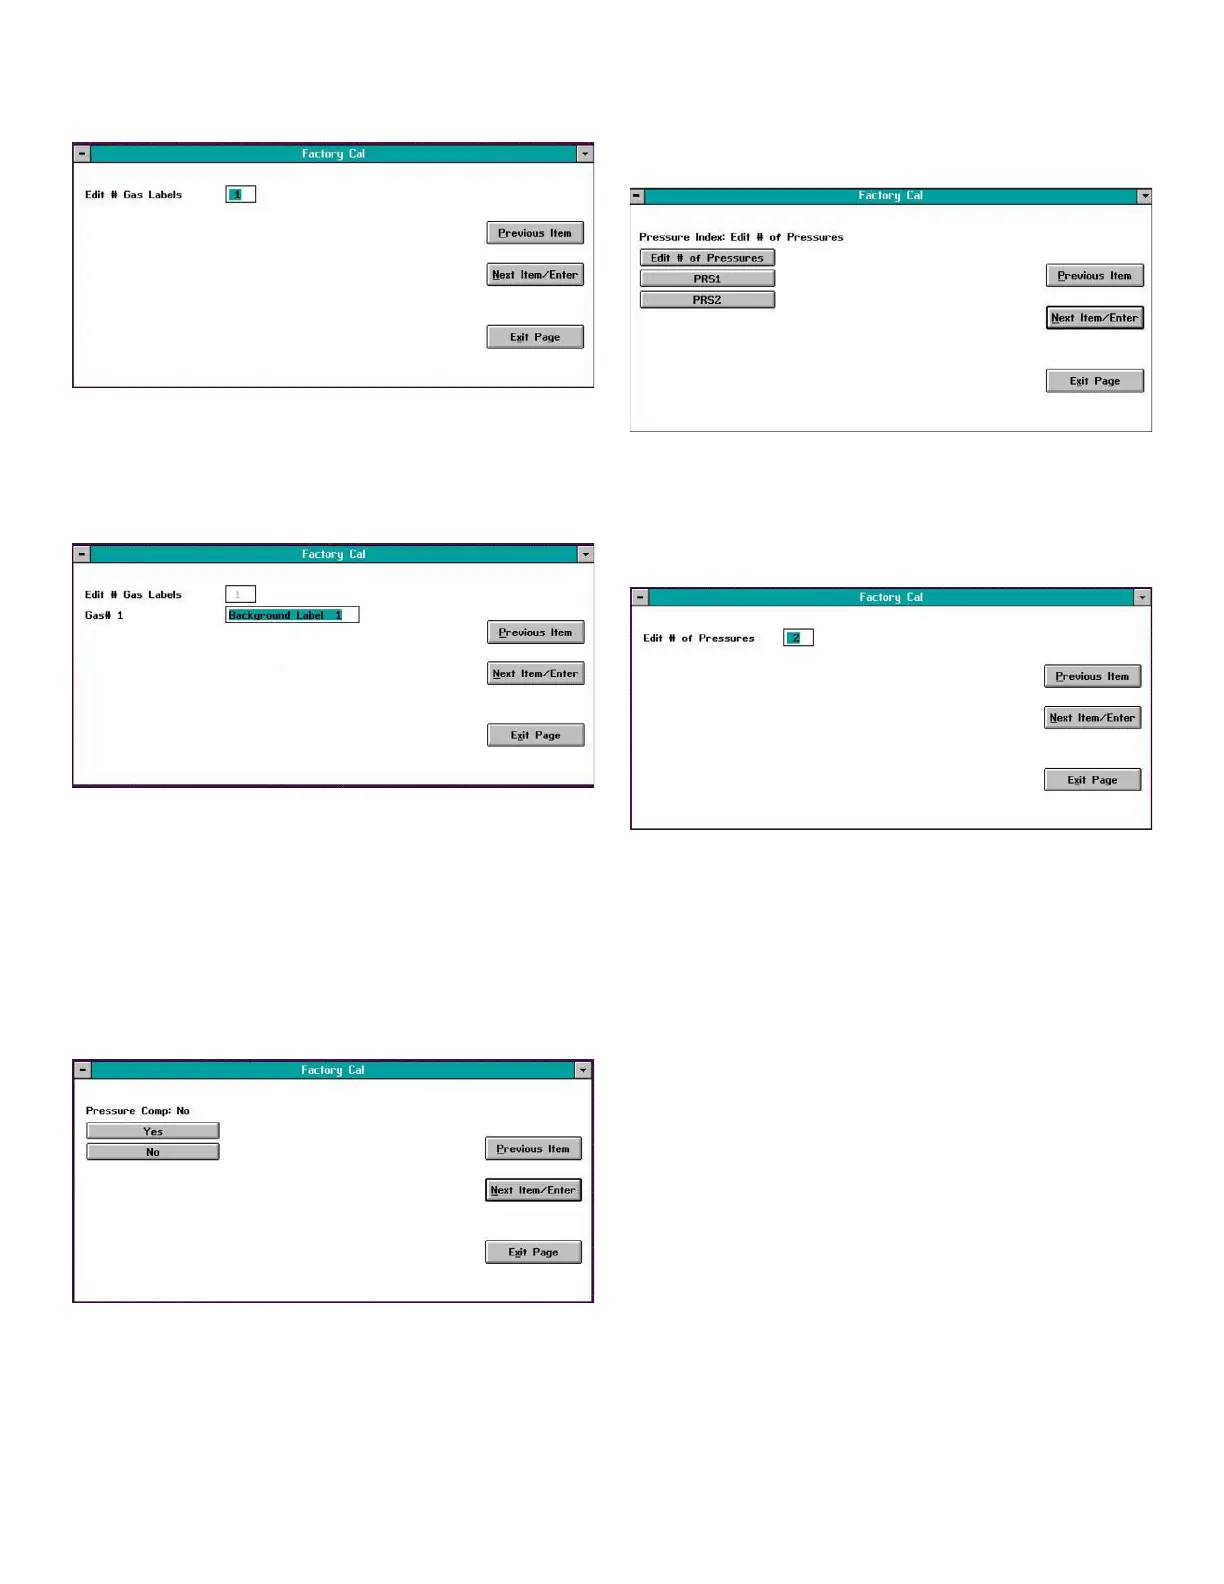
Figure 40: Edit # gases window
In Figure 40 on page 29, enter the number of background
gases for which you have compensation data. Then, press
the Next Item/Enter button to open a window similar to
Figure 41 below.
Figure 41: Point editing window
In the above window, enter an identifying label for
background gas #1, and click on the Next Item/Enter button.
The above sequence will repeat until you have entered
identifying labels for each of your background gases.
4.3.2 Pressure compensation
If you did not enter any background gas labels or upon
entering your final background gas label, a window similar
to Figure 42 below opens.
Figure 42: Pressure comp window
Note: If pressure compensation is not required for your XMO2,
click on the No button in the above window and proceed
directly to the Entering Data Points section on page 51.
4.3.2a Number of pressures
When you click on the Yes button in Figure 42 on page 29, a
window similar to Figure 43 below opens.
Figure 43: Edit # pressures window
To enter your pressure compensation data (be sure to
reference your Calibration Data Sheet) click on the Edit # of
Pressures button above to open a window similar to Figure
44 below.
Figure 44: Edit # Pressures window
In Figure 44 above, enter the number of pressures for which
you have compensation data. Then, press the Next Item/
Enter button to return to the window in Figure 43 above.
29