STEP 2 Channel reception settings and TV aspect settings
STATUS
MANUAL SKIP
CREATE
CHAPTER
F
U
N
C
T
I
O
N
M
E
N
U
D
I
R
E
C
T
N
A
V
I
G
A
T
O
R
G
U
I
D
E
RETURN
ShowView
CH
SELECT
INPUT
0
9
8
7
6
54
3
2
1
CH
AV
TV
DRIVE
SELECT
VOL
DELETE
PROG/CHECK
EXIT
OK
OPTION
+
−
PLAY
PAU SE
STOP
SLOW/SEARCH
SKIP/INDEX
RESET
REW FF
DVD/VHS
TRACKING/V-LOCK/PAGE
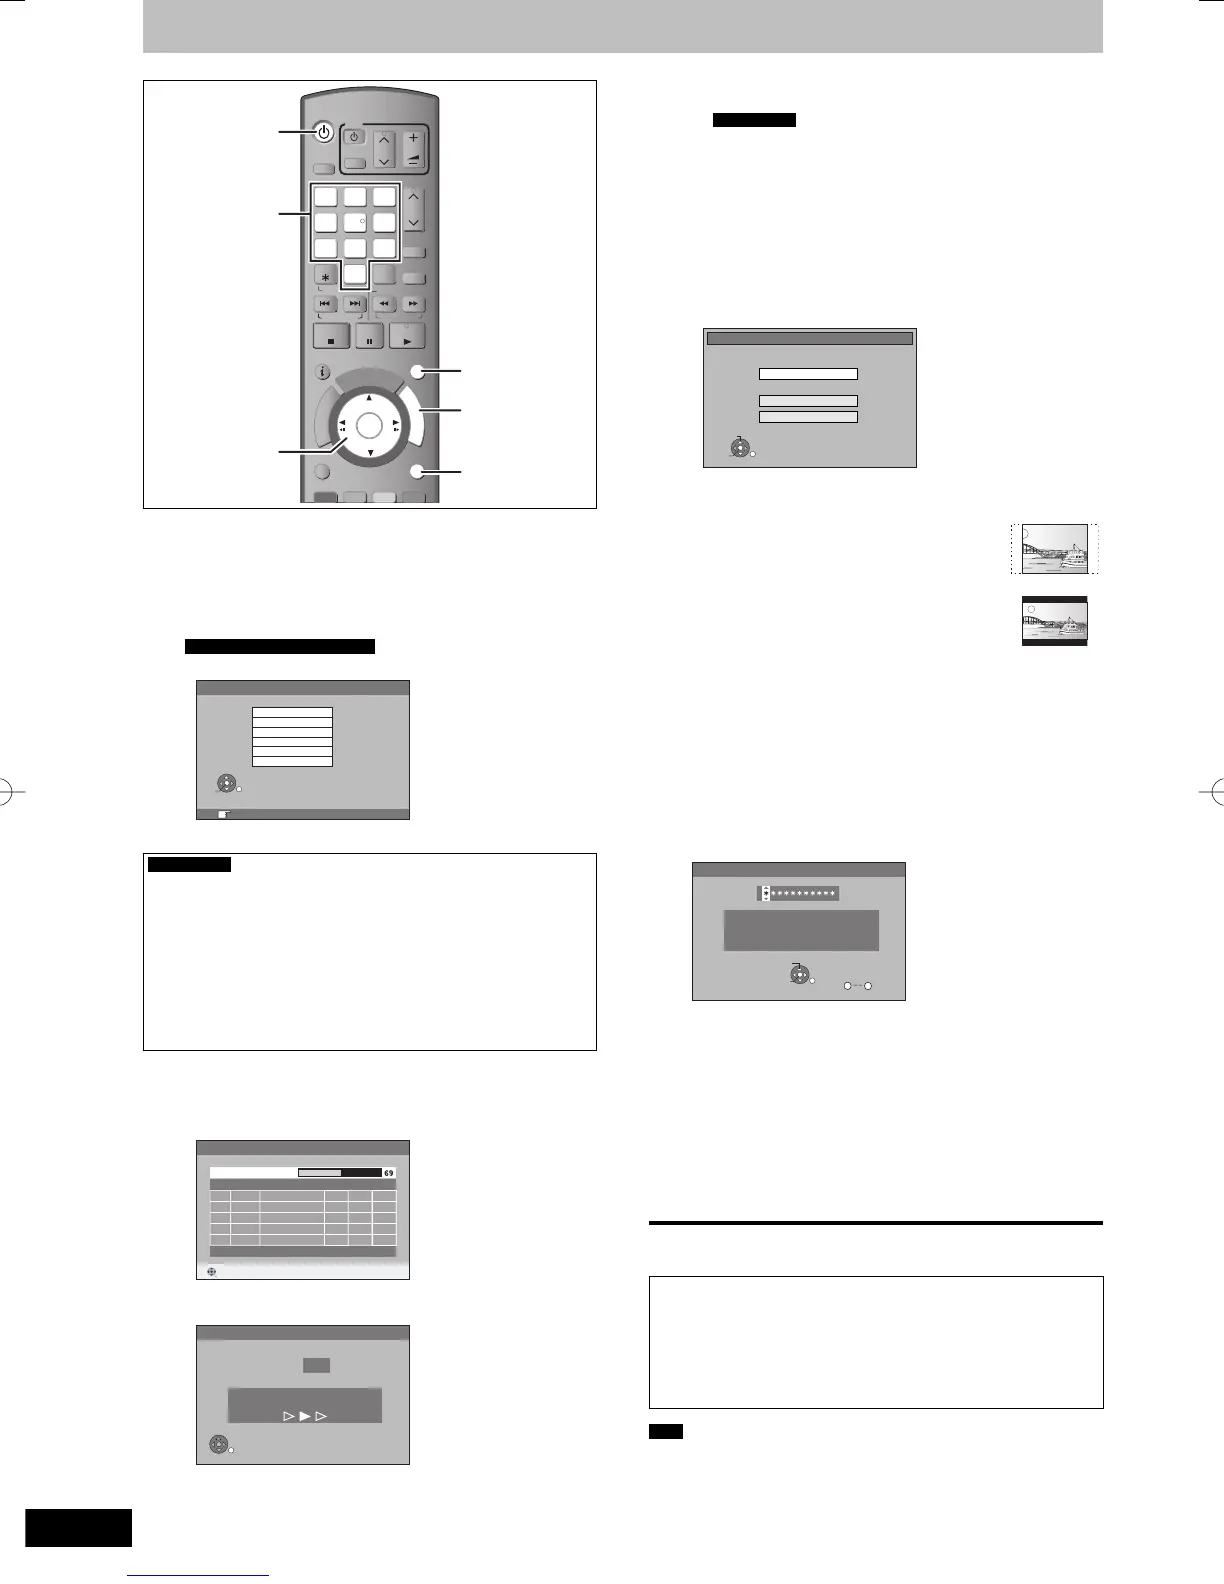
Numbered
buttons
^
DVD/VHS
e
,
r
,
w
,
q
OK
EXIT
FUNCTION
MENU
RETURN
1 Turn on the television and select the
appropriate AV input to suit the
connections to this unit.
2 Press [
^
DVD/VHS] to turn the unit on.
For Italy, Spain and Switzerland
y Country setting screen appears on the television.
Country
France
RETURN: leave OK: access
Svizzera
España
Italia
Schweiz
Suisse
Press [
e
,
r
] to select the country and press [OK].
For Germany
Only the Auto setup screens are displayed in German in the
operating instructions. After completing step 3, change the
on-screen display to English in the following steps.
1 Press [FUNCTION MENU].
2 Press [
e
,
r
] to select “Weit. Funktionen” and press [OK].
3 Press [
e
,
r
] to select “Setup” and press [OK].
4 Press [
e
,
r
] to select “Display” and press [
q
].
5 Press [
e
,
r
] to select “Sprachauswahl” and press [OK].
6 Press [
e
,
r
] to select “English” and press [OK].
7 Press [EXIT].
y DVB Auto-Setup starts.
The unit will search for the terrestrial digital channels. TV
channels will be located and stored ready for use.
This takes about 5-10 minutes.
RETURN
ABC
ABC 2
352
354
1
2
12302
12289
12302
12289
9
9
DVB Auto-Setup
RETURN: Abbrechen
Bitte warten! Kan 5
Prog. Kanal Sender Name Net ID TS ID Qualität
When DVB Auto-Setup is completed, analogue Auto-Setup
starts. This takes about 8 minutes.
RETURN
4
Sendersuchlauf
Kan
Suche analoge Sender, bitte warten.
RETURN: Abbrechen
y When the channel could not be received properly, adjust
the position and direction of the aerial.
For Germany
When using an indoor antenna,
– make sure that there is nothing causing interference.
– switch “Active Antenna” to “On” in the Setup menu
(➡ 76) if the antenna is not equipped with power supply.
Then repeat the Auto-Setup.
After analogue Auto-Setup is complete, TV aspect setting
screen appears.
y If you selected “Schweiz”, “Suisse” or “Svizzera” in the
Country setting, the “Power Save” setting menu appears
after analogue Auto-Setup is complete. Select “On” or “Off”
(➡ 77).
Then TV aspect setting screen appears.
OK
RETURN
SELECT
TV Bildschirmformat
16:9-Breitbild-TV
4:3-TV
16:9
Pan & Scan
Letterbox
y 16:9:
When connected to a 16:9 widescreen television
y Pan & Scan:
When connected to a 4:3 aspect television,
side picture is trimmed for 16:9 picture
(➡ 96).
y Letterbox:
When connected to a 4:3 aspect television.
16:9 picture is shown in the letterbox style
(➡ 96).
3 Press [
e
,
r
] to select the TV aspect
and press [OK].
When television picture appears, set up is complete.
If the confi rmation screen of GUIDE Plus+ data download
appears, perform the following steps.
(For information about GUIDE Plus+ system ➡ 21)
4 Press [
w
,
q
] to select “Ja” and press
[OK]
Number
OK
CHANGE
0
9
RETURN
Gewähltes Land : XXXXXX
Dieses Gerät aktualisiert die
GUIDE Plus+ Daten
mehrmals pro Tag.
Post Code
5 Press the numbered buttons or
[
e
,
r
,
w
,
q
] to enter your postal code
and press [OK].
GUIDE Plus+ data download starts. This takes about 30
minutes.
6 When the download has fi nished
Press [OK].
Set up is complete.
To stop partway
Press [RETURN].
■ If the clock setting menu appears
Set the clock manually (➡ 77).
■ To confi rm that stations have been tuned
correctly (➡ 71, 72)
■ To restart set up (➡ 71)
Note
y When this unit is not operated for approximately 5 minutes while
the screen is being displayed, the screen saver is displayed. To
return to the previous screen, press [OK].
RQT9090-LDMR-EX98VEC-EGen.indb12RQT9090-LDMR-EX98VEC-EGen.indb12 2008/04/3021:54:392008/04/3021:54:39
 Loading...