Numbered
buttons
AUDIO
g
g
h
HDD
RAM
-R
-RW(V)
+R
+RW
VHS
y
RAM
-RW(V)
+R
+RW
To use a new disc, formatting is necessary
(➡ 25).
y When recording a digital radio broadcast or a digital broadcast
that is not being received correctly, the digital channel information
(➡ 18) is also recorded.
Preparation
y Turn on the television and select the appropriate AV input to suit
the connections to this unit.
y Turn on this unit.
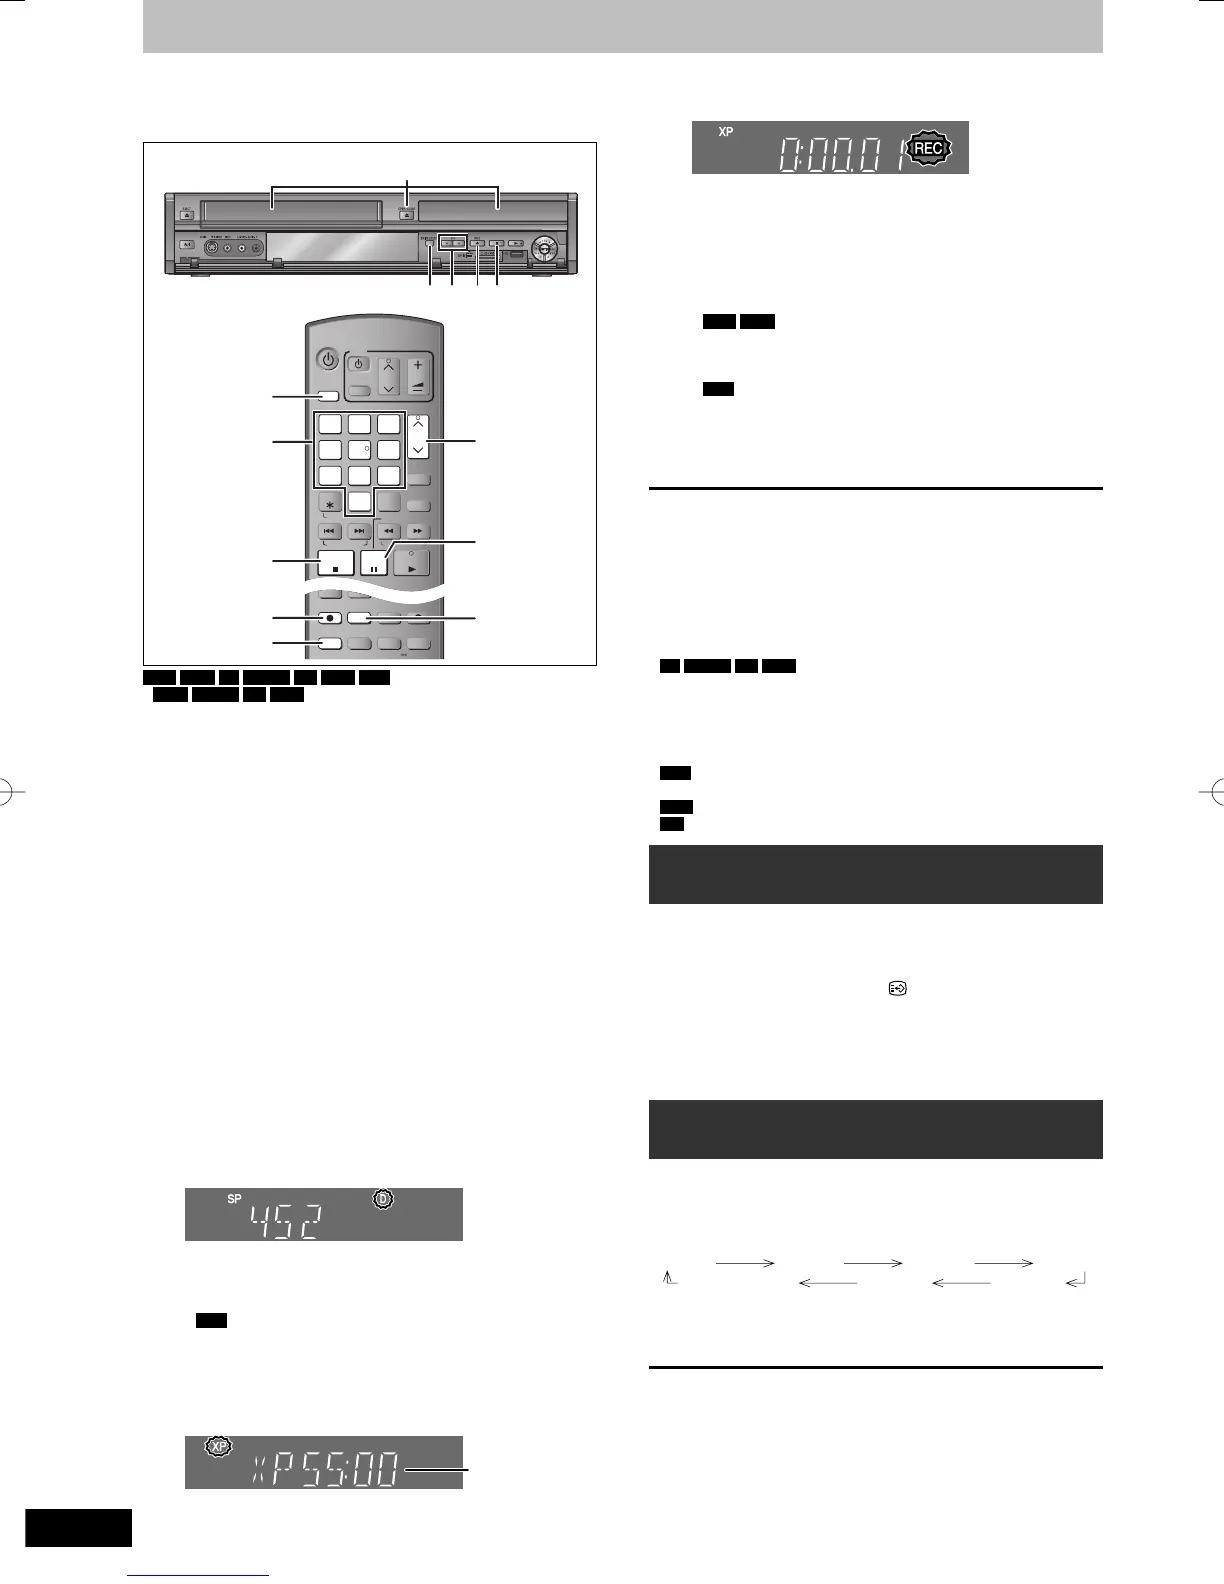
1 Press [DRIVE SELECT] to select the
HDD, DVD or VHS drive.
The HDD, DVD or VHS indicator lights up on the unit’s front panel.
2 If you selected the DVD drive
Press [
;
OPEN/CLOSE] on the main
unit to open the tray and insert a disc.
y Press the button again to close the tray.
If you selected the VHS drive
Insert a video cassette with an intact
accidental erasure prevention tab.
3 Press [
1
2
CH] to select the channel.
Channels are displayed in the order of digital channels fi rst,
and then followed by analogue channels.
“D” means digital
broadcasts.
To select with the numbered buttons:
e.g., 5: [0] ➡ [0] ➡ [5]
15: [0] ➡ [1] ➡ [5]
115: [1] ➡ [1] ➡ [5]
y
VHS
The “DV” channel can be selected however it cannot
be recorded.
4 Press [REC MODE] to select the
recording mode.
y Recording modes and approximate recording times (➡ 24)
Remaining time
y To record sound using LPCM (XP mode only):
Set the “Audio Mode for XP Recording” to “LPCM” in the
Setup menu (➡ 74).
5 Press [
*
REC] to start recording.
Recording will take place on open space on the HDD or disc.
Data will not be overwritten.
y You cannot change the channel or recording mode during
recording.
y You can record while the unit is in standby for timer
recording. However, once the time for the timer recording to
begin is reached, any recording taking place will stop and
the timer recording will begin.
y
HDD
RAM
(Analogue broadcast only) When “Rec for High
Speed Copy” is set to “Off” (➡ 73), you can change the
audio being received by pressing [AUDIO] during recording.
(Does not affect the recording of audio.)
y
VHS
– Even if the video cassette is labelled “S-VHS”, it is not
possible to record in the S-VHS system with this unit.
This unit records in the normal VHS system.
– When recording is paused for 5-minutes or more, the
unit returns to stop.
■ To pause recording
Press [
h
].
Press again to restart recording.
You can also press [
*
REC] to restart.
(Title is not split into separate titles.)
■ To stop recording
Press [
g
].
y From the start to the end of the recording is called one title.
y
-R
-RW(V)
+R
+RW
It takes about 30 seconds for the unit to
complete recording management information after recording
fi nishes.
In order to play DVD-R, DVD-RW (DVD-Video format) and +R
(recorded with this unit) on other DVD players, it is necessary
to fi nalise them (➡ 70).
y
VHS
It is not possible to record SECAM signal on a video
cassette.
y
USB
It is not possible to record on a USB memory.
y
SD
It is not possible to record on a card.
When recording digital broadcast with
subtitle or multiple audio
If a programme to record has subtitle or multiple audio, you can
record with subtitle or selected audio.
y Subtitle is available in Italy, Spain and Switzerland only.
To record with subtitle
Before start recording, press [STTL
] to show the subtitle.
If the programme has multiple subtitle, select the desired language
(➡ 18).
y Subtitle cannot be switched after recording.
To record with the selected audio
Before start recording, select the desired language for audio (➡ 18).
To specify a time to stop recording—
One Touch Recording
During recording
Press [
*
REC] on the main unit to select the recording
time.
y You can specify up to 4 hours later.
y The unit display changes as shown below.
OFF 0:30 OFF 1:00 OFF 1:30 OFF 2:00
Counter (cancel) OFF 4:00 OFF 3:00
y This does not work during timer recordings (➡ 21, 30) or while
using Flexible Recording (➡ 26).
y The unit turns off automatically after the time to stop recording is
reached.
To cancel
Press [
*
REC] on the main unit several times until the counter
appears.
y The time to stop recording is cancelled; however, recording
continues.
To stop recording
Press [
g
].
 Loading...