Chapter 1
Preparation — About your projector
26 - ENGLISH
Attention
f
Do not drop the remote control.
f
Avoid contact with liquids or moisture.
f
Do not attempt to modify or disassemble the remote control.
f
Please observe the following contents that are described on the back of the remote
control unit (see the right picture).
1. Do not use a new battery together with an old battery.
2. Do not use unspecied batteries.
3. Make sure the polarities (+ and -) are correct when inserting the batteries.
f
In addition, please read the contents that are related to batteries in the "Read this rst!".
Caution label at the back of the remote control
Note
f
When operating the remote control by directly pointing the remote control signal receiver of the projector, operate the remote control at
a distance approx. 30 m (98'5") or shorter from the remote control signal receiver. The remote control can control at angles of up to ±30°
vertically and horizontally, but the effective control range may be reduced.
f
If there are any obstacles between the remote control and the remote control signal receiver, the remote control may not operate properly.
f
The signal will be reected off the screen. However, the operating range may be limited from light reection loss due to the screen material.
f
If the remote control signal receiver directly receives strong light, such as uorescent light, the remote control may not operate properly. Use
it in a place distant from the light source.
f
The power indicator <ON (G)/STANDBY(R)> will blink if the projector receives a remote control signal.
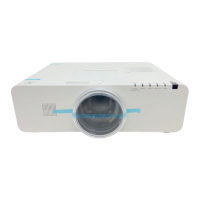
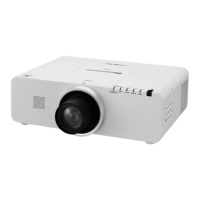
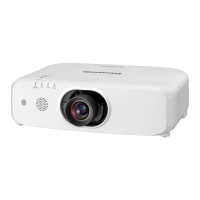
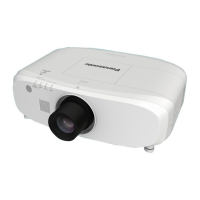
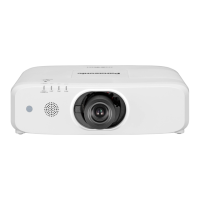
Projector body
r Front
1 2 3 4 5
6
7 98 6
10
12 13 1514
18
16
10
17
11
r Side
r Rear
Projection direction
WARNING
Keep your hands and other objects away from the air
exhaust port.
f
Keep your hands and face away.
f
Do not insert your ngers.
f
Keep heat-sensitive objects away.
Heated air from the air exhaust port can cause burns, injury, or
deformations.
1 Remote control signal receiver (front)
2 Power indicator <ON (G)/STANDBY(R)>
Displays the status of the power.
3 Lamp indicator <LAMP>
Displays the status of the lamp.
4 Temperature indicator <TEMP>
Displays the status of the internal temperature.
5 Filter indicator <FILTER>
Displays the status of the air lter unit.
6 Adjustable feet
Adjusts the projection angle.
7 Speaker
8 Lens release button (x page 38)
9 Projection lens
(Only models with lens)
10 Air exhaust port
11 Remote control signal receiver (rear)
12 <AC IN> terminal
Connect the supplied power cord.
13 <MAIN POWER> switch
Turns off/on the main power.
14 Connecting terminals (x page 28)
15 Security slot
This security slot is compatible with the Kensington security
cables.
1. 请勿把旧电池和新电池一起使用。
2. 请勿使用不合规格的电池。
3. 确保电池安装正确。
原产地:中国
1.Do not use old battery with new one.
2.Do not use batteries other than the
type specified.
3.Be sure the batteries are inserted properly.