Install Drivers for 9000 Boards
14
plug a mouse into one COM port and the PenMount touch screen to
another COM port before installing the PenMount Windows 3.1 driver.
2. Open the FILE MANAGER and under the MAIN group, run the
"Install.exe" software in the PenMount "WIN31" directory. The first
display shows "Welcome to install the PenMouse Driver." Click
"Continue" to begin installation.
3. Select the COM port you plugged the PenMount touch screen into, and
click "Continue."
4. The next screen is "Set the PORT address for com<x>”, select
"...[default]" or choose "User define". Then "Set the IRQ Number",
select "...[default]" or choose "User define." If you choose "User
define," key in an IRQ number. Click "Continue".
5. The last screen shows “Setup succeeded…" Click ‘EXIT’ to finish setup.
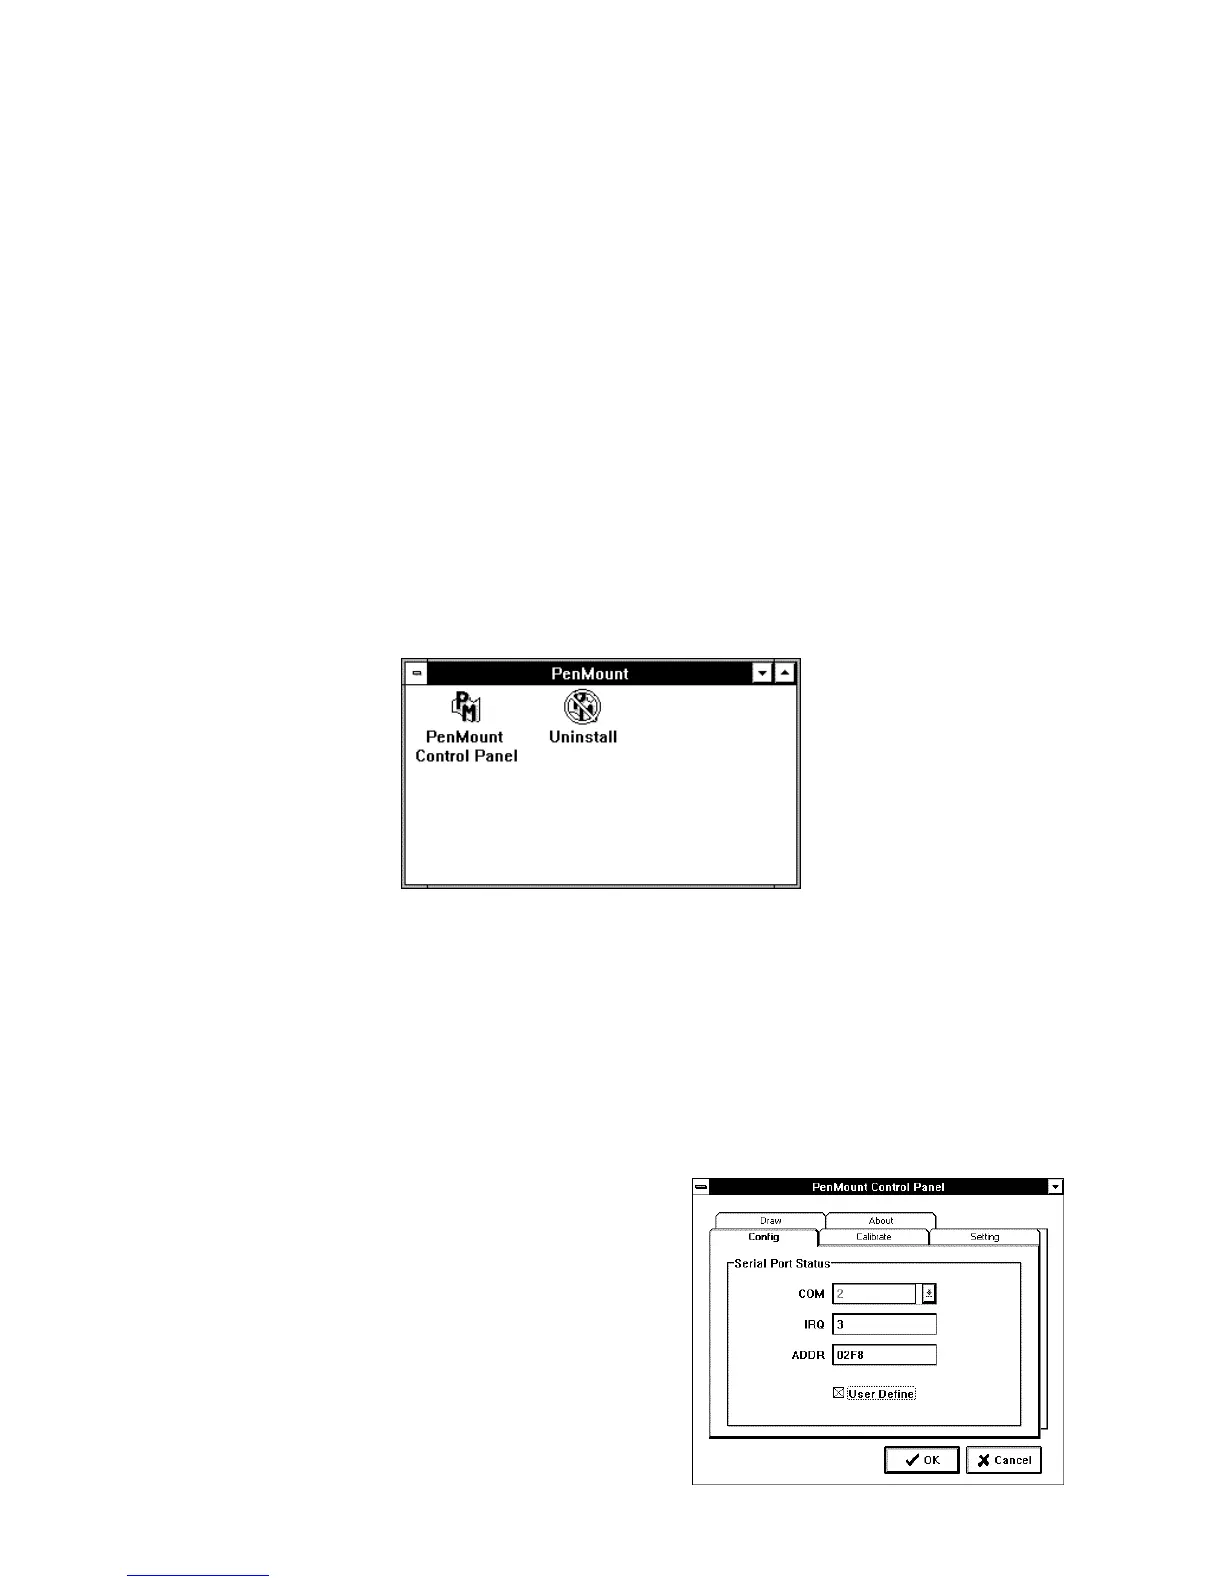
A new “PENMOUNT” group is generated after installing the PenMount
Windows 3.1 driver. Restart Windows 3.1. In the PenMount group, two
icons appear, “PenMount Control Panel” and “UNINSTALL,” The
PenMount Windows 3.1 driver is working concurrently with mouse.
3.2.2. PenMount Windows 3.1 Driver Functions
After installing PenMount the Windows 3.1 driver, the system generates a
Group named "PenMount" with two icons in the Group.
3.2.2.1. PenMount Control Panel
The functions of the PenMount Control Panel are described as
following:
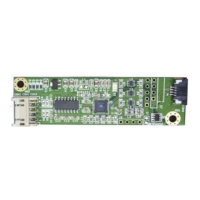
Config
This sets the COM port,
IRQ number and base
address. Select COM
port and a default IRQ
number appears. If the
default IRQ number is
not what you require,
click “USER DEFINE”
and key-in an IRQ
number and base
address.