3
Shooting
49
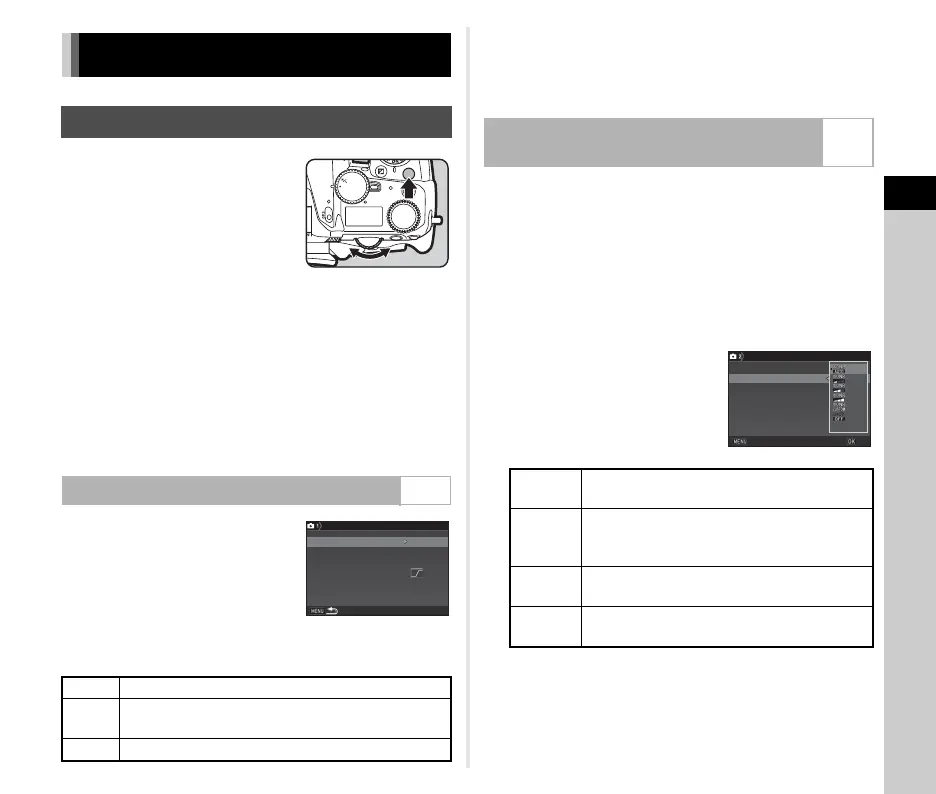
1 Press N, and then turn
R.
The sensitivity displayed on the
status screen, Live View screen,
LCD panel and in the viewfinder
changes.
Press M to set the sensitivity to
[ISO AUTO].
t Memo
• The sensitivity can also be changed by the Smart Function.
(p.19)
•In C mode, the sensitivity can be set from ISO 100 to ISO
3200.
•
The adjustment steps for the sensitivity is 1 EV step. To adjust
the sensitivity in accordance with the EV step setting for the
exposure, set from [2 Sensitivity Steps] of the
E
1 menu.
You can set the range in which the
sensitivity is automatically adjusted
when the sensitivity is set to [ISO
AUTO]. Set in [ISO AUTO Setting] of
the A1 menu.
The manner in which the sensitivity is
increased can be specified in [AUTO
ISO Parameters].
u Caution
• When [HDR Capture] of the A3 menu is enabled and [Auto
Align] is set to Z (On), [AUTO ISO Parameters] is fixed to
J.
You can set the Noise Reduction setting when shooting with a
high ISO sensitivity.
1 Select [Noise Reduction] in A2 menu and press
D.
The [Noise Reduction] screen appears.
2 Select [High-ISO NR] and press D.
3 Select the Noise Reduction
level and press E.
Proceed to Step 7 when other than [CUSTOM] is selected.
4 Select [Setting] and press D.
Setting the Exposure
Sensitivity
Setting the Range of ISO AUTO A1
H Increases the sensitivity as little as possible.
I
Increases the sensitivity at the intermediate level
between H and J .
J Actively increases the sensitivity.
ISO
Wi-Fi
HDR
BKT
CH/CL
ISO
Wi
-
Fi
Crop
SR
Grid
3200
100
ISO Range (Maximum)
ISO Range (Minimum)
AUTO ISO Parameters
ISO AUTO Setting
Noise Reduction when Shooting with a
High ISO Sensitivity
A2
AUTO
Applies Noise Reduction at optimally
calculated levels throughout ISO range.
Low/
Medium/
High
Applies Noise Reduction at constant chosen
level throughout ISO range.
CUSTOM
Applies Noise Reduction at user-defined
levels for each ISO setting.
OFF
Does not apply Noise Reduction at any ISO
setting.
Noise Reduction
High-ISO NR
Slow Shutter Speed NR
Cancel
OK